Sage BOB 50 - local agent installation process
Last updated: May 22, 2026
PREREQUISITES
The connector currently support the version with the ADS database (and the ADT files).
If you have a more recent version using a MySQL database, the connector is not compatible yet with your version of BOB 50.
You need to install a program on the same server where Sage 50 is installed. To ensure the connector works on the server, please make sure before installation that:
You have admin access to the server where Sage 50 is installed in order to proceed with the installation
Be aware that the server/computer must be permanently accessible with internet access (24 hours a day). Otherwise, the data will not be synchronized
The integration is enabled for Sage versions 6.16 and above
Have the code (not the password) of the ADMIN user in BOB50.
You may require the help of the person managing your company's server to setup the integration
The .NET Framework 4.8 MUST be installed on the server/computer where the local agent will be installed !
If your integration is expected to push data into BOB50, then the link module needs to be enabled for the connection to work. Otherwise no data will be sent into BOB50.
PREPARATION
Step 1: Find the accounting folder code from your authentification page on your Sage BOB 50 account.
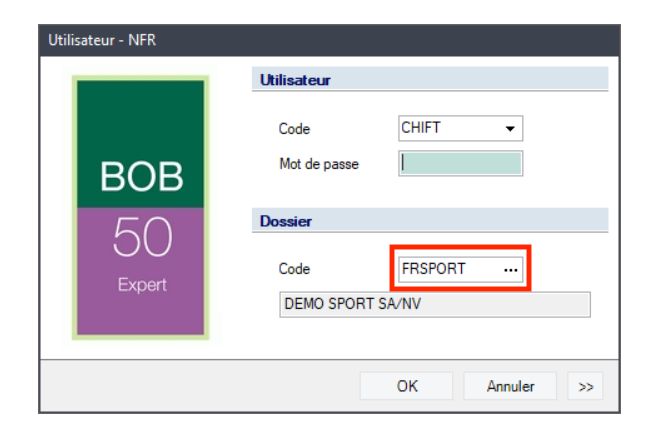
Step 2: Find the username from your authentification page on your Sage BOB 50 account.
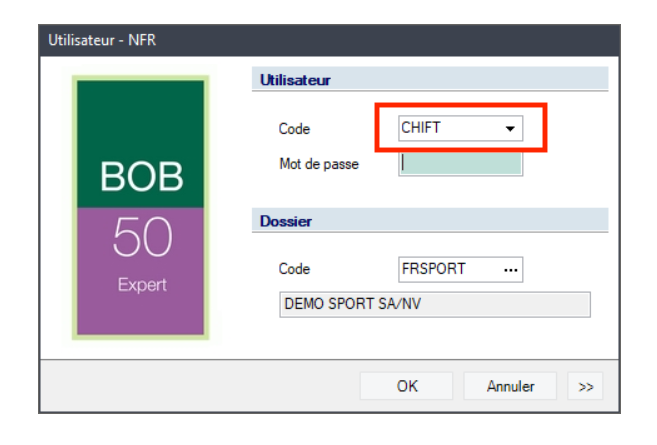
NOTE: Make sure the user is an Admin user and that the user doesn't require a password to use BOBLINK. This can be done by opening BOB System and select the chosen user:
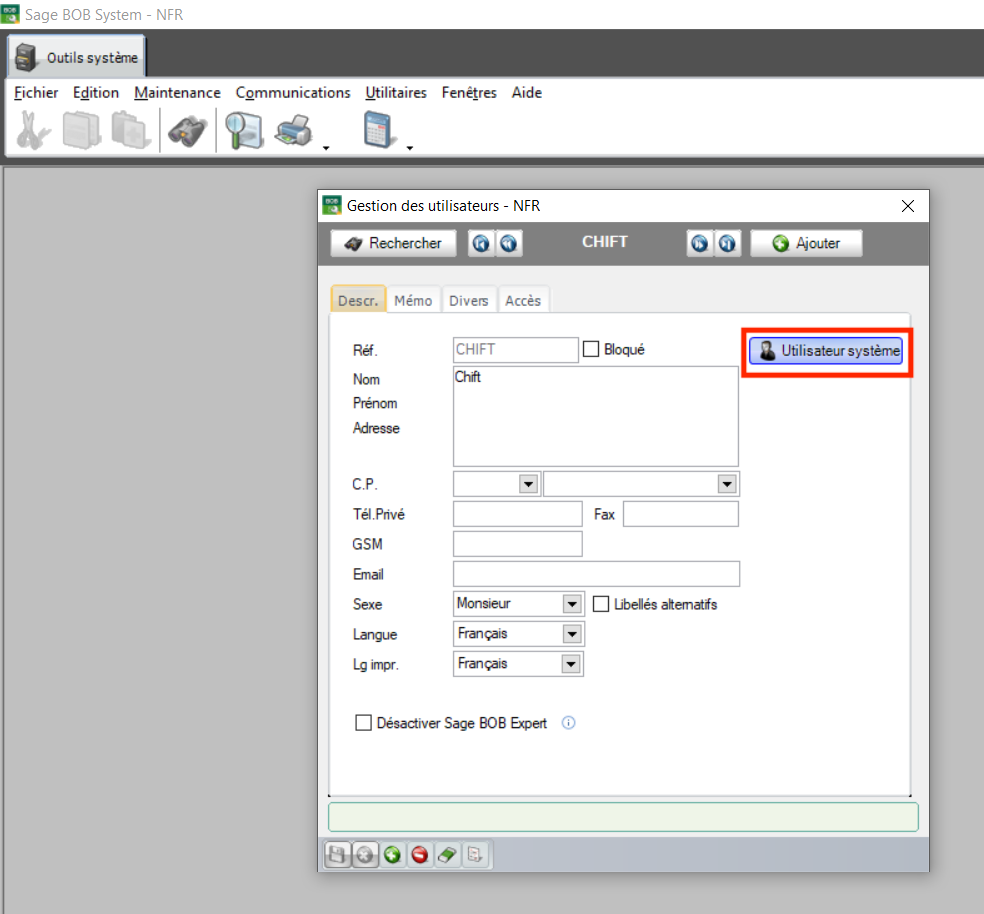
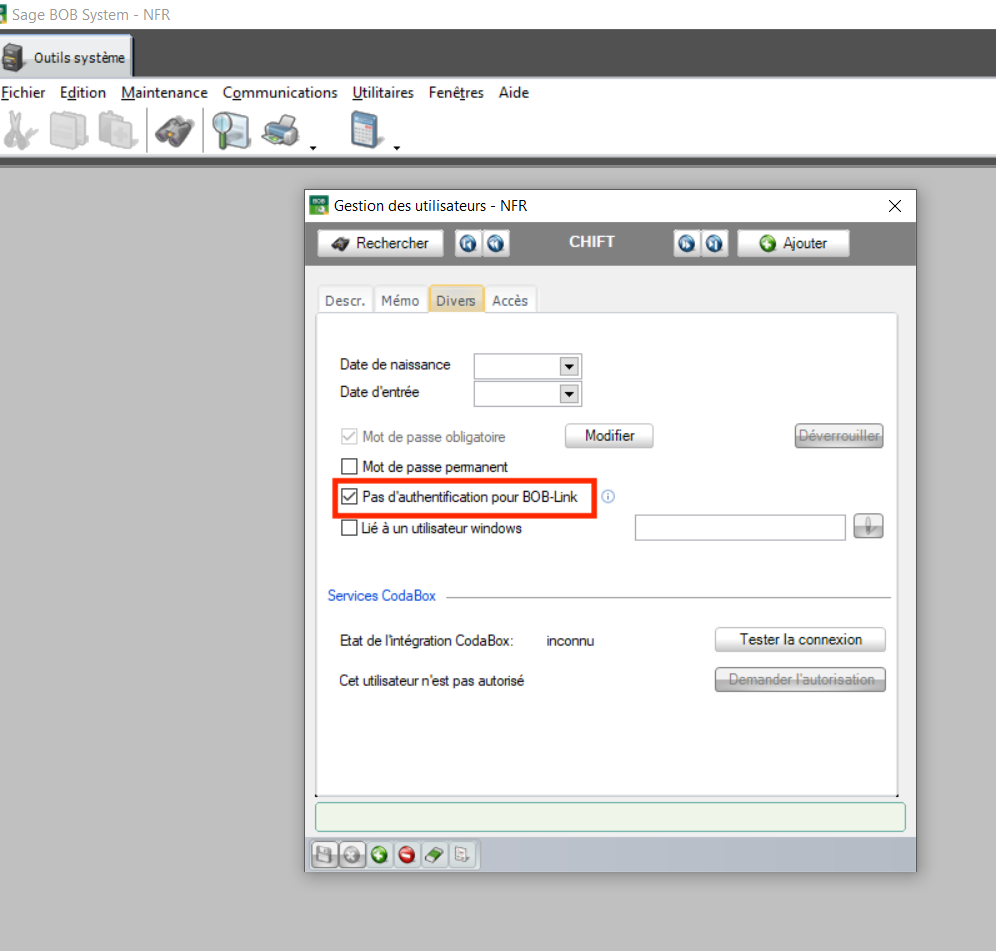
How can I make sure that the user is configured properly ?
To verify that your user do not require a password for the BOBLink authentication. Go into the User Management tab and follow the following steps
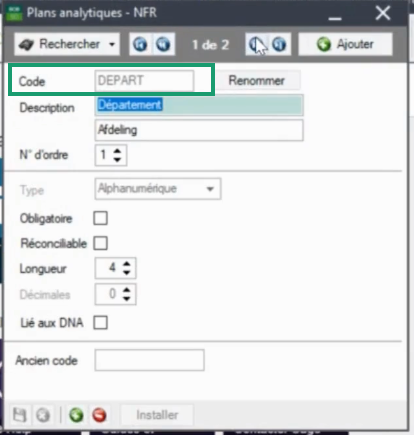
Step 3: Find the analytical plan code
Utilities→Configuration→Define analytics plan
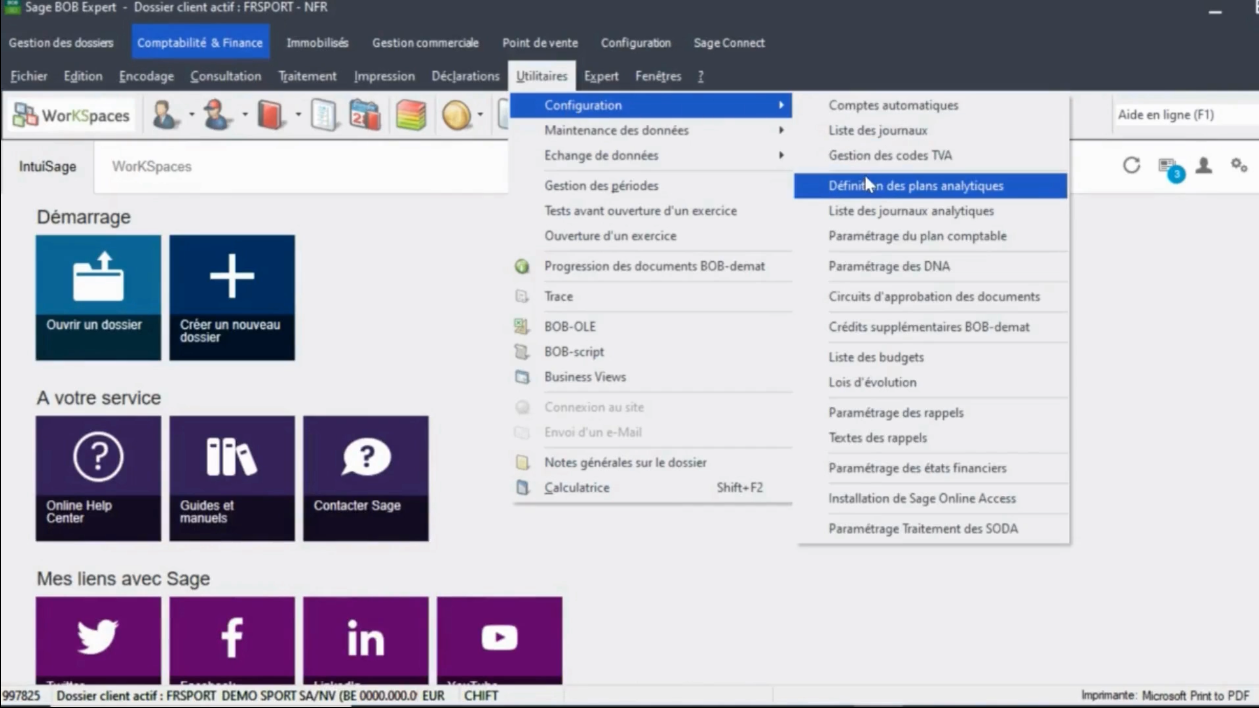
There can be one or many plans, determine the plan you want to connect and copy the analytical plan code.
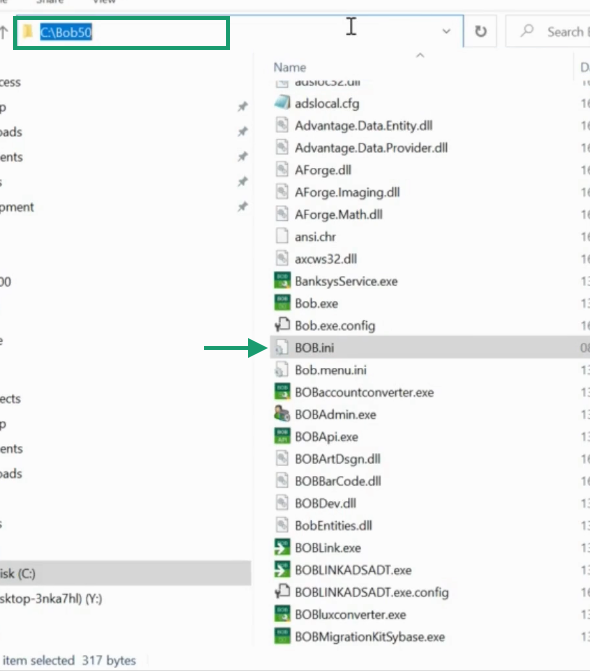
Step 4: Find where your Sage BOB 50 software is located on your computer.
Go to folder → Hard disk (?:) → Bob50
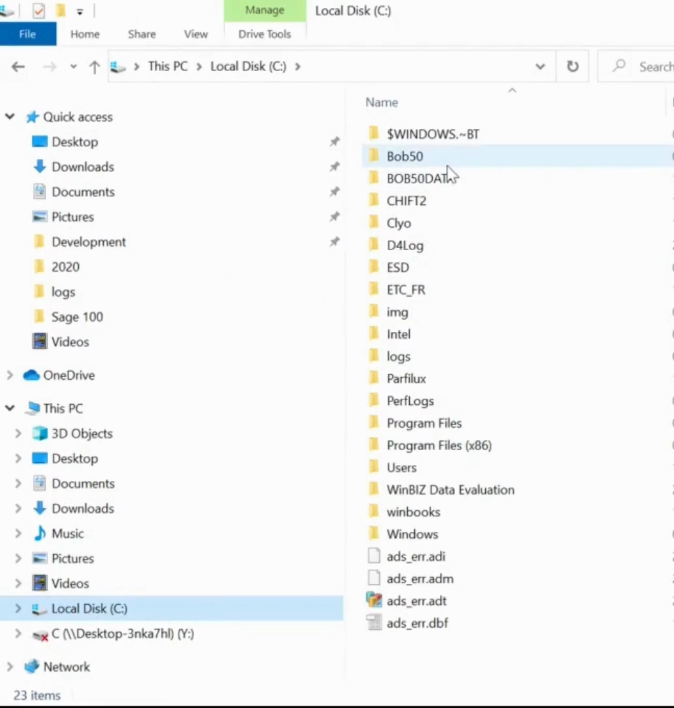
You should find a BOB.ini file in this folder. If you see it, you are in the right folder.
CONNECTION
Step 1: Choose a name for your connection. This field is not always displayed, so if you do not see it you can ignore this step and go directly to Step 2.

Step 2: Provide the id of the analytic plan Code. To know how to retrieve it, please refer to Preparation - Step 3.

Step 3: Choose if you want to use the sage box or attach pdfs to invoices.

Step 4: Once every field has been filled (or left empty for the optional ones), you can click Connect to create the connection.

Step 5: You then need to download the zip file needed to instal the local agent on your server. You can either download it on the computer where you are filling the form or send it via email to the person that is going to perform the installation of the service.

Step 6: Provide the code of the accounting folder you are trying to connect in BOB. Please refer to Preparation - step 1 for more informations on this. Once filled you can click submit to finalise the configuration of the connection.

Installation process
Cockpit installation
Step 1: install the Chift Cockpit on your server by running the SetupBOB50Service.exe provided in the zip file you downloaded.
Step 2: Pick your preferred installation language then click OK.

Step 3: Provide the path you your Bob50 file (containing your BOB.ini file). For more information, refer to Preparation - step 4. Then click next.

Step 4: Finalise the installation by clicking next, install then Finish


For more information about the usage of the cockpit, please refer to the following article: 📄 Cockpit — User Guide
Setting up your BOB50 connection
Step 1: To setup a new connection in the cockpit, make sure you are on the BOB50 section of the cockpit, then click on the "add connection" button.

Step 2: Select the settings.json file that was sent to you with the exe file that you used and click open. You will then see a connection that should match with the connection you configured before.

Step 3: Open the connection by clicking on the connection name and provide the user you prepared in Preparation - Step 2. Once filled, click on the save button on the top of the cockpit. A new pop up should appear to mention that changes have been detected and that the service must be restarted for those changes to be applied. You can simply press yes here.

Step 4: Click on the Check Health button on the top right of the cockpit to test if everything has been setup properly.

If your BOB data are stored on a shared drive then you must execute step 5. If this is not your case then you should be done with the configuration of your connection.
Step 5: Change the user running the service.
If you are using shared drives then the service do not necessarily have access to your shared drives. You then have 2 options:
Update the permissions of the Local System user to have the following permissions:
Read and write access to C:\ (required to read configuration files and write logs allowing the monitoring fo the connection).
Read and write access to your shared drive containing your BOB datas
Update the user running the service.
Update the user running the service through the cockpit
You can click on the Change button on the bottom left of the cockpit to change the user running the service.

A new windows will open to let you select the proper windows user to use for the service to be executed.
