Sage 100 FR "On Premise"
Last updated: October 14, 2025
🚨 This activation requires the support of your IT partner or Sage integrator.
All necessary information and assistance are detailed in the section below.
🚨 PREREQUISITES (conditions to be met prior to connection)
Before proceeding, please ensure the following 5 prerequisites are fully met — otherwise, the connector will fail to establish a connection.
✅ You have admin access to the server where Sage 100 is installed
⚠ Please note that the server/computer must be accessible at all times with internet access (24 hours a day).
Otherwise, the data will not be synchronized
✅ The .NET framework 4.8 are installed on the server
✅ We have a Windows user who has read and write access to the SQL database of the accounting file and to the Sage 100 file.
There are two possible options:
Retrieve the name and password of a user who would have these two accesses.
Create a user specific to the Sage 100 connector - this is the recommended solution
✅ The Sage version is at least version 7, the version from which the business objects are compatible with the connector
✅ The versions of Sage 100 and those of Business Objects must match; here is a summary :
Sage 100 version 7.0 => Sage Objets métiers version7.20
Sage 100 version 8.0 => Sage Objets métiers version 8.05
Sage 100 version 9.0 => Sage Objets métiers version 9.02
Sage 100 version 10.0 => Sage Objets métiers version 10.05
Sage 100 version 11.0 => Sage Objets métiers version 11.0
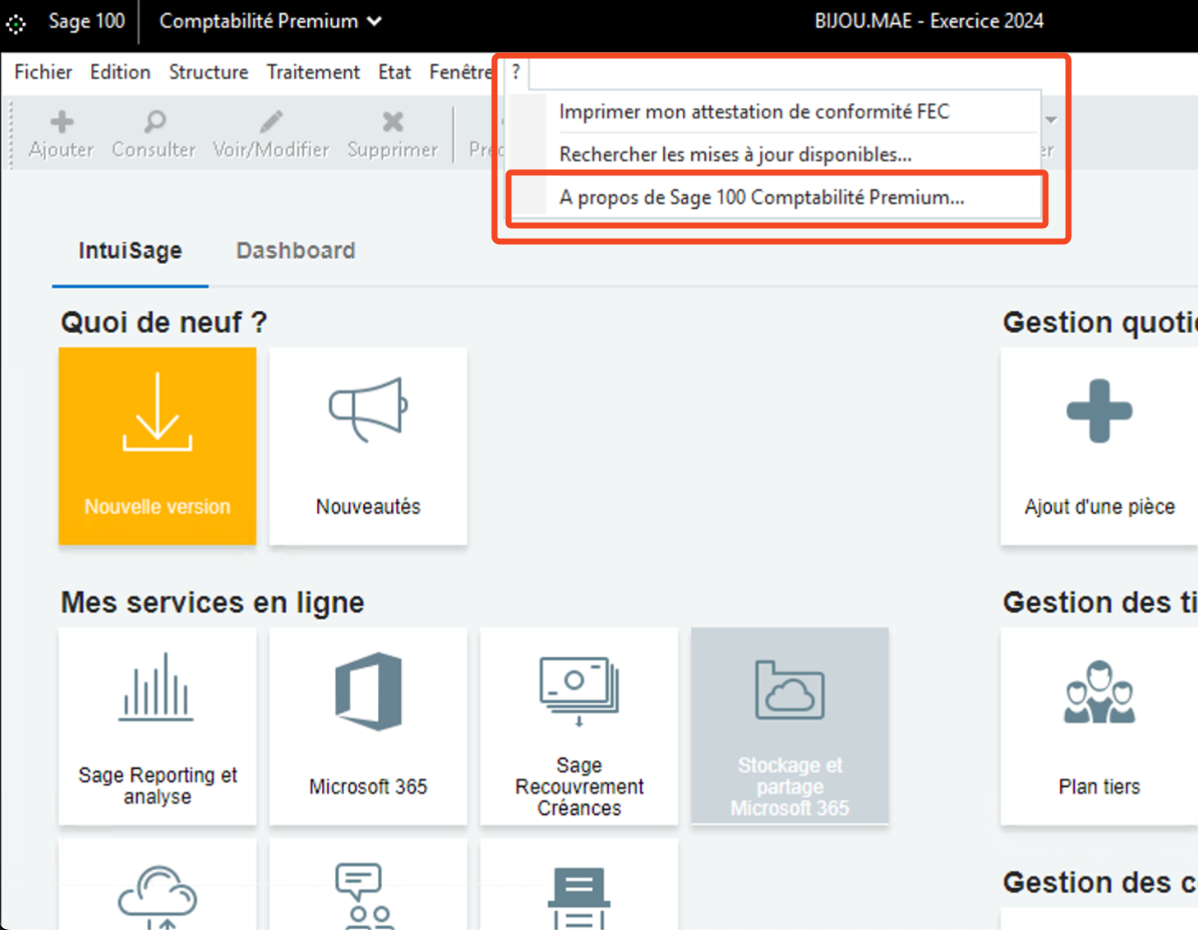
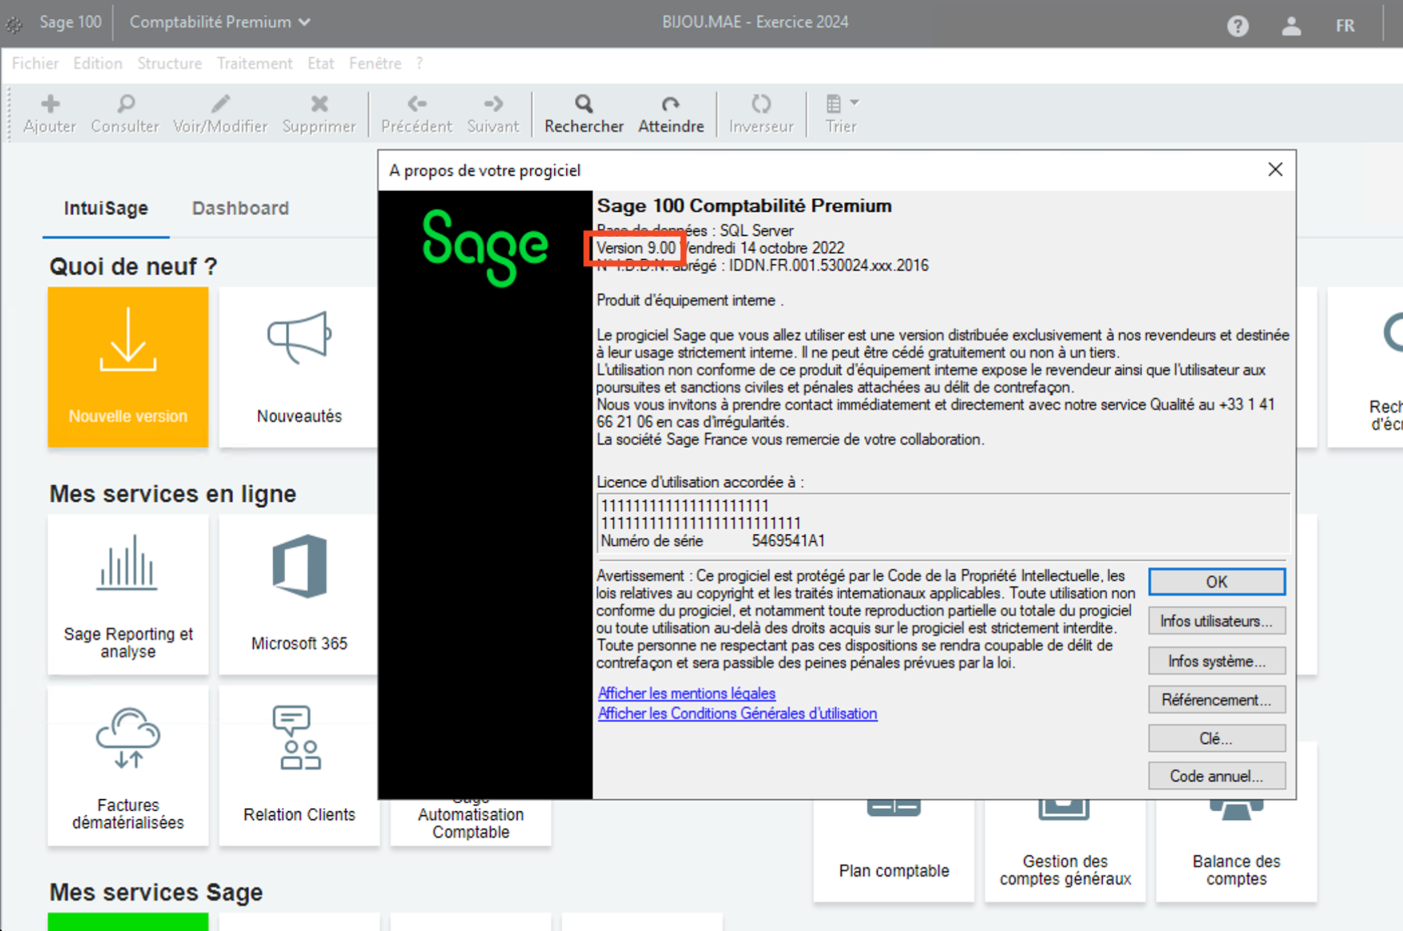
Check your Sage version:
From your account in the menu bar →"?" → "About Sage 100 Accounting ..."
On the page that opens, you will find at the top of the page the number of your Sage versions.
The required library can be found and downloaded directly from Sage's website
🛠 PREPARATION (informations needed prior to connection)
In order to establish the connection with Sage 100 "On Premise", you will need to retrieve a certain amount of information on your Sage 100 instance and from the integrator partner who installed your Sage 100 instance.
Find the code of your file / company
Retrieve the number of the zone / analytical plan
Retrieve the location of the accounting file (.mae)
Retrieve your username and password
Retrieve your SQL Server username and password
1. Find your file / company code
This information is visible from your Sage 100 instance at the very top of your page in a menu bar. In the center of this "menu" banner you will see the code of your file (company) indicated.

2. Retrieve the number of the analytical zone/plan
To identify the analytical zone/plan number, you need to follow these steps from your Sage100 instance.
Menu → Structure → Analytical plan
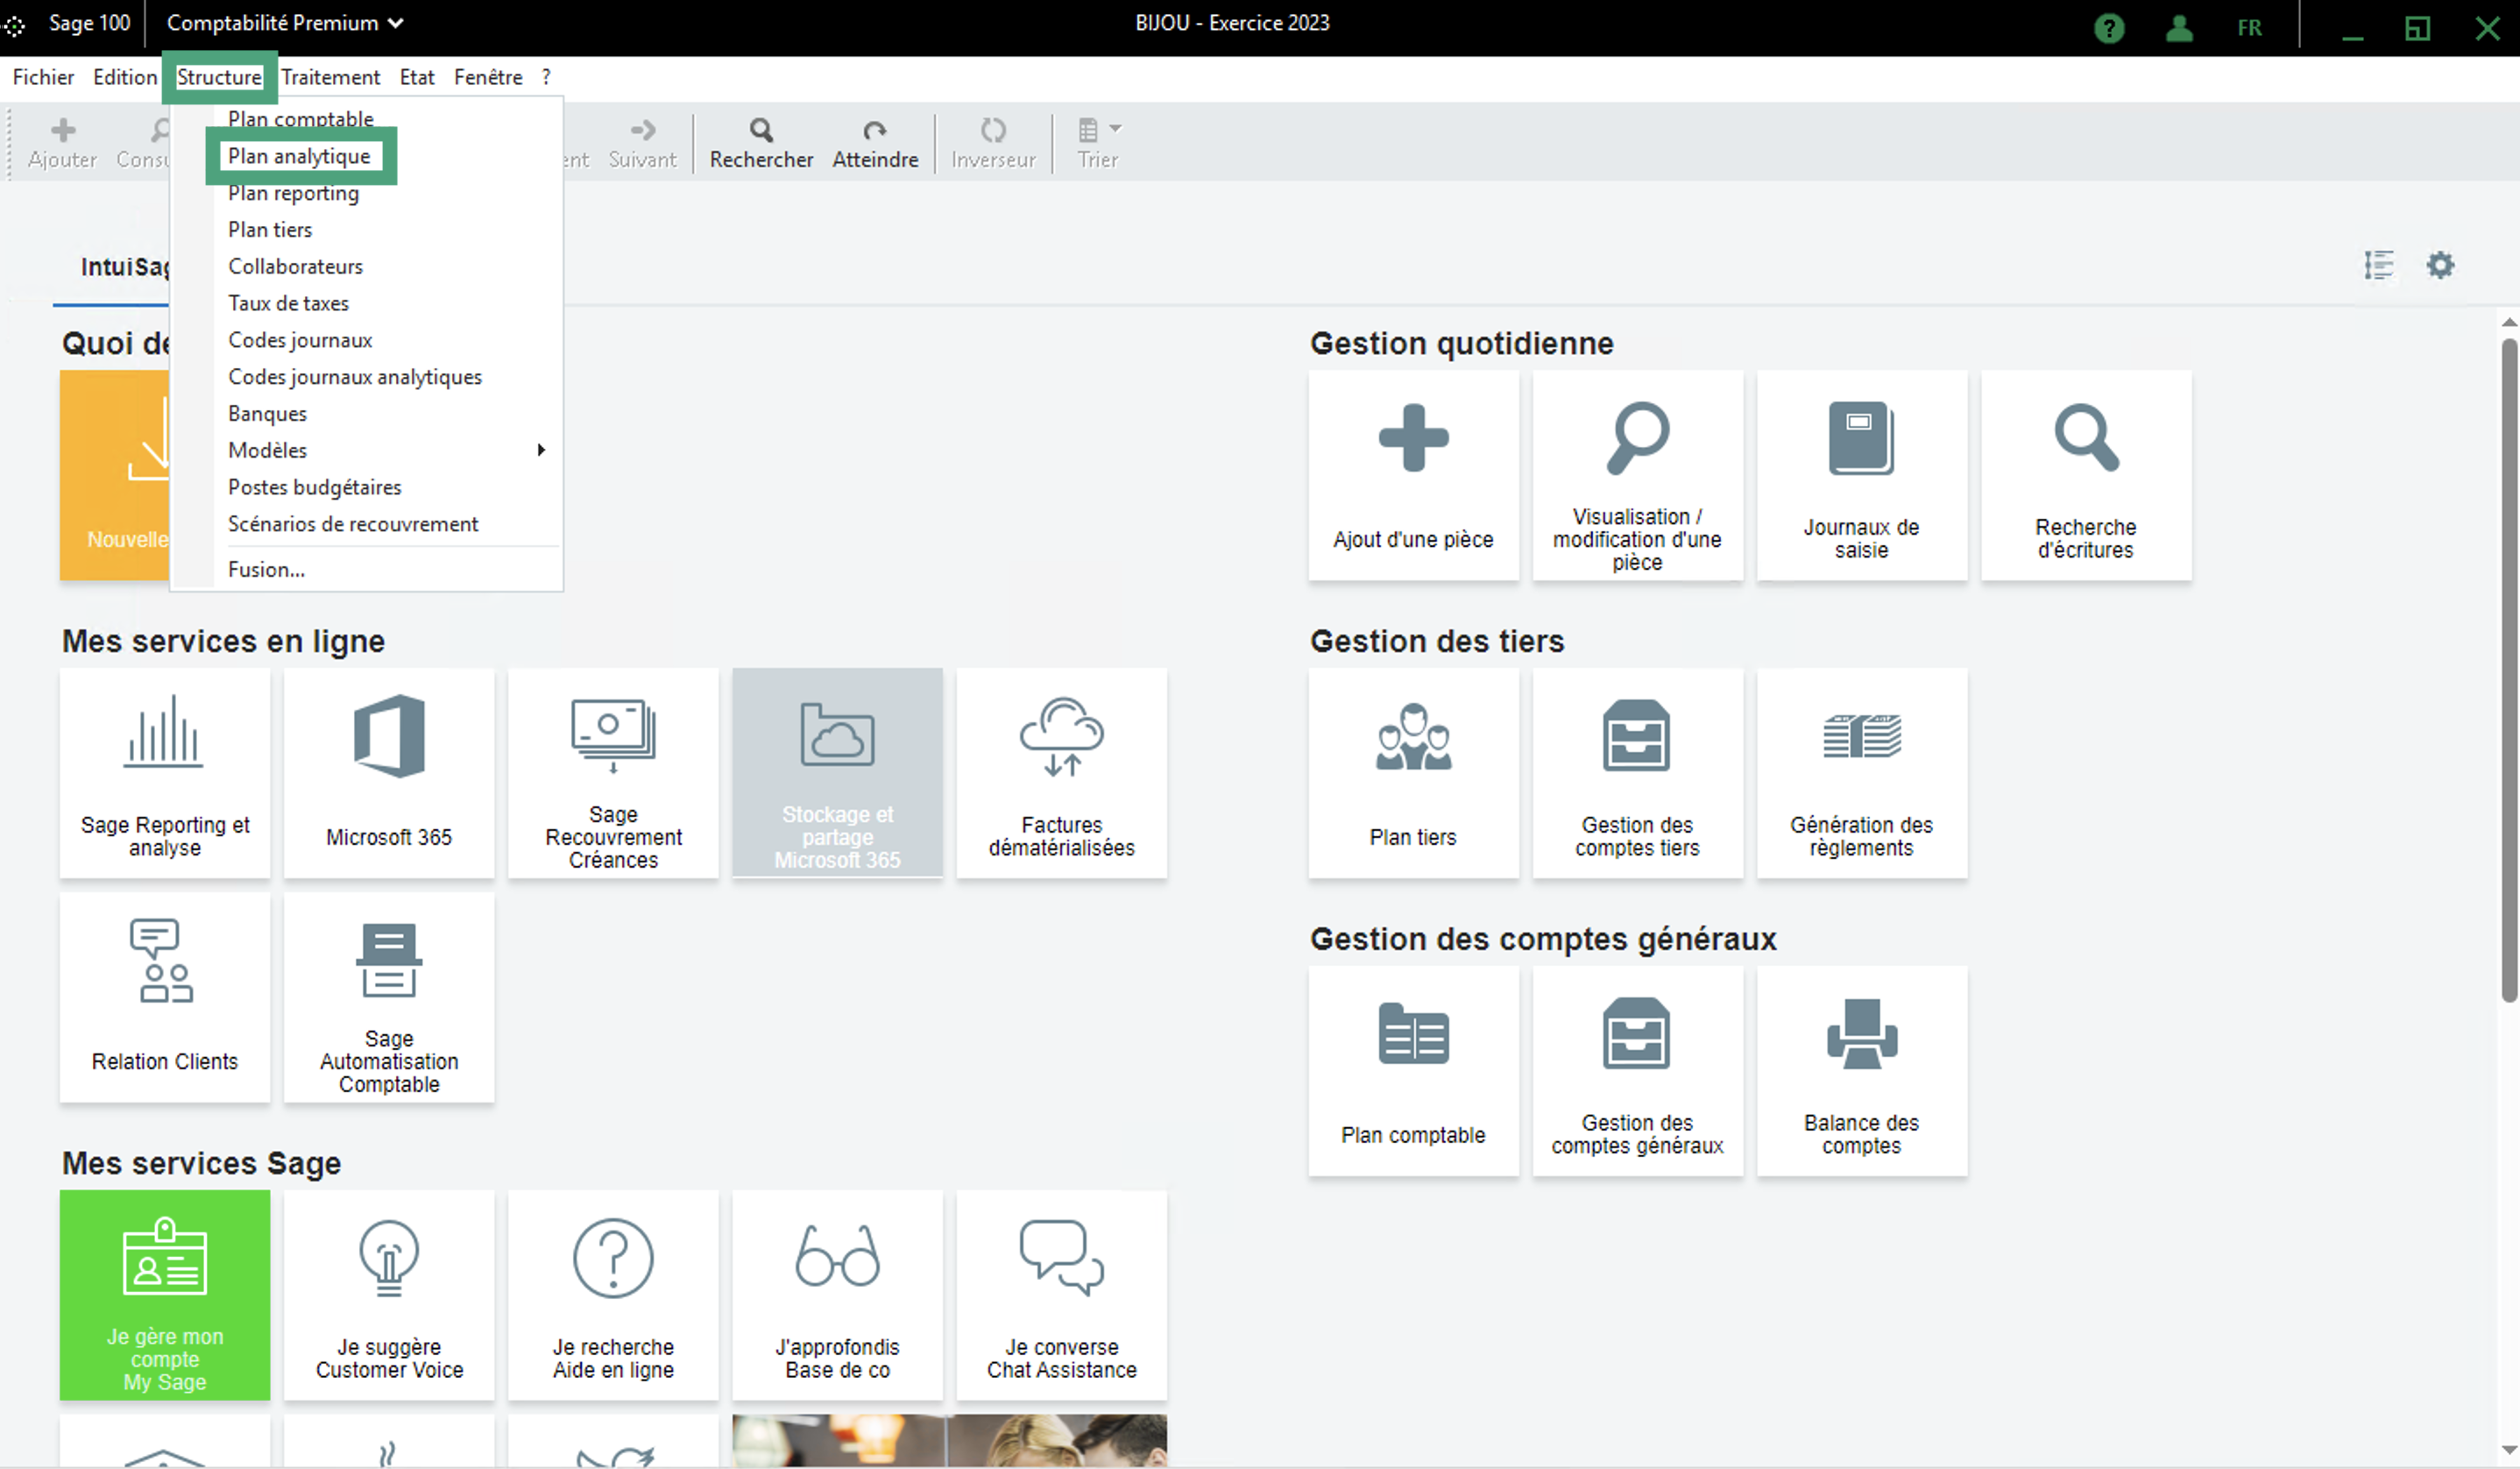
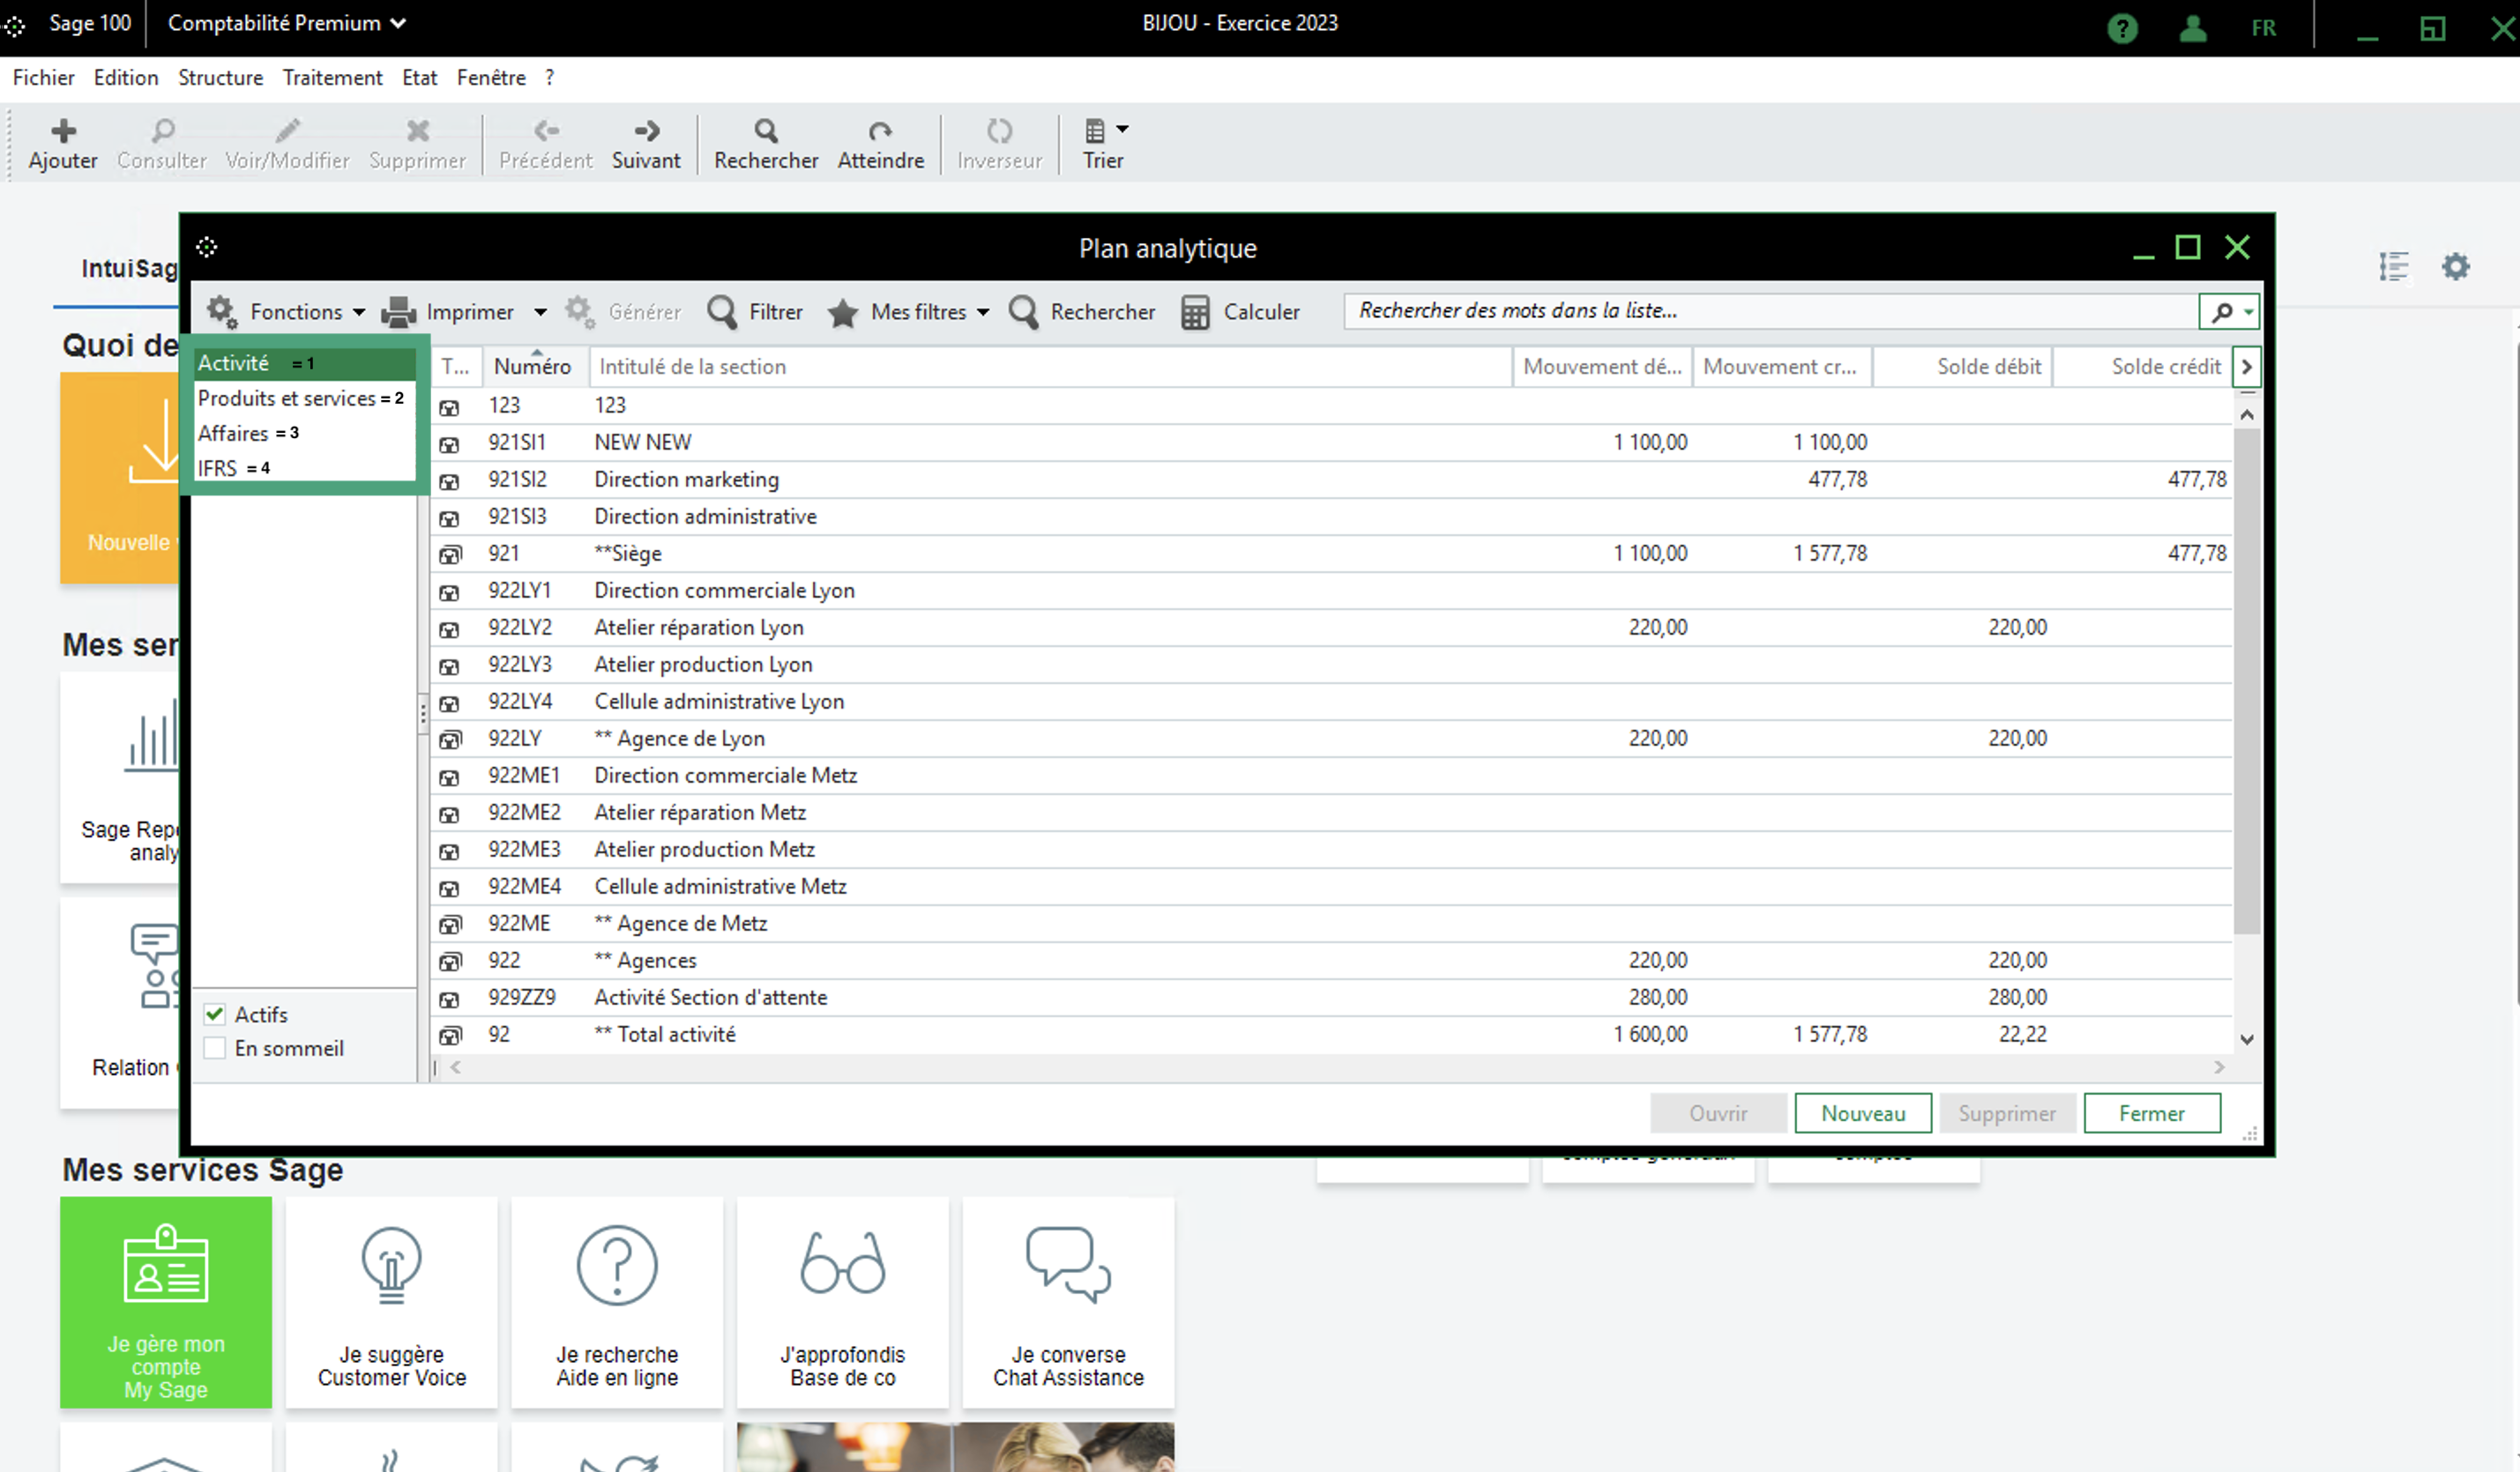
You need to choose the analytical plan to connect. In the example account below we have 4 possible analytical plans
Activity = 1 (fill in the number 1 to select the first analytical plan option)
Products and services = 2 (fill in the number 2 to select the second analytical plan option)
Business = 3 (fill in the number 3 to select the third analytical plan option)
and so on...
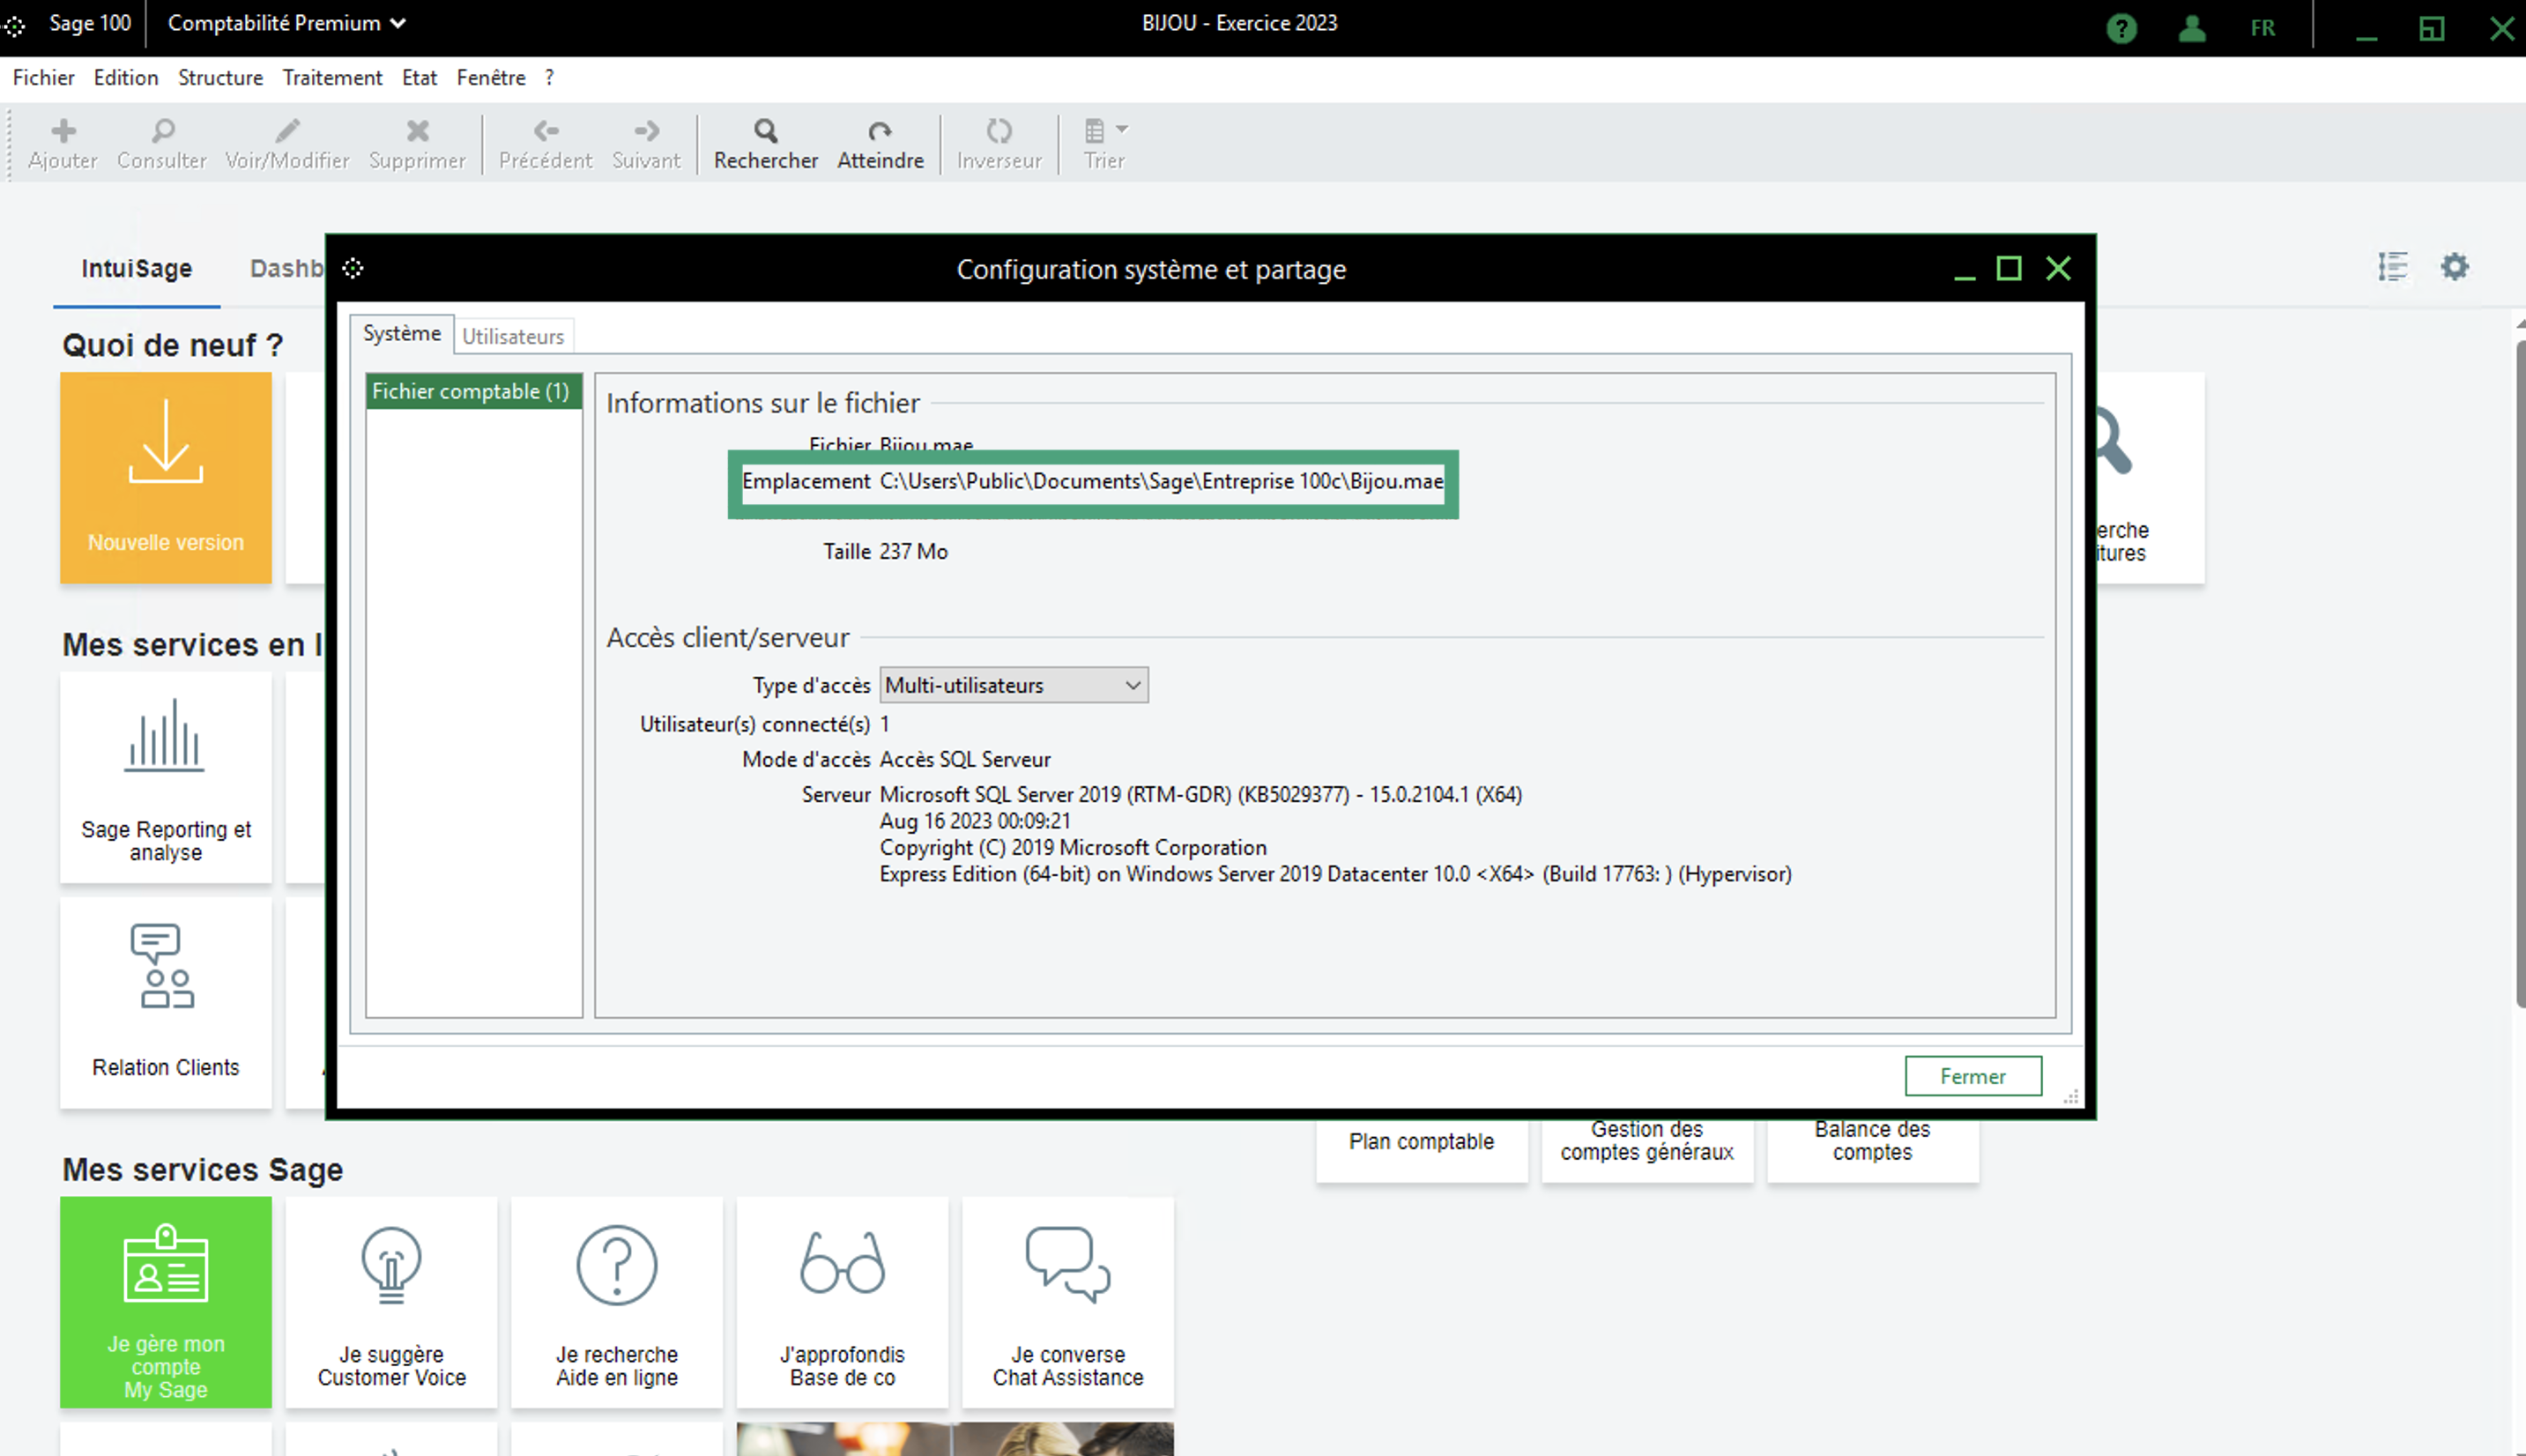
3. Retrieve the location of the accounting file (.mae)
From your Sage 100 instance, go to "Files" → "System Configuration and Sharing"
Then, as shown in the screenshot below, select "accounting file" and copy the name of the Sage 100 data folder location and keep it to fill it later in the connection form.
⚠ Make sure that the access type is set to "multi-user".
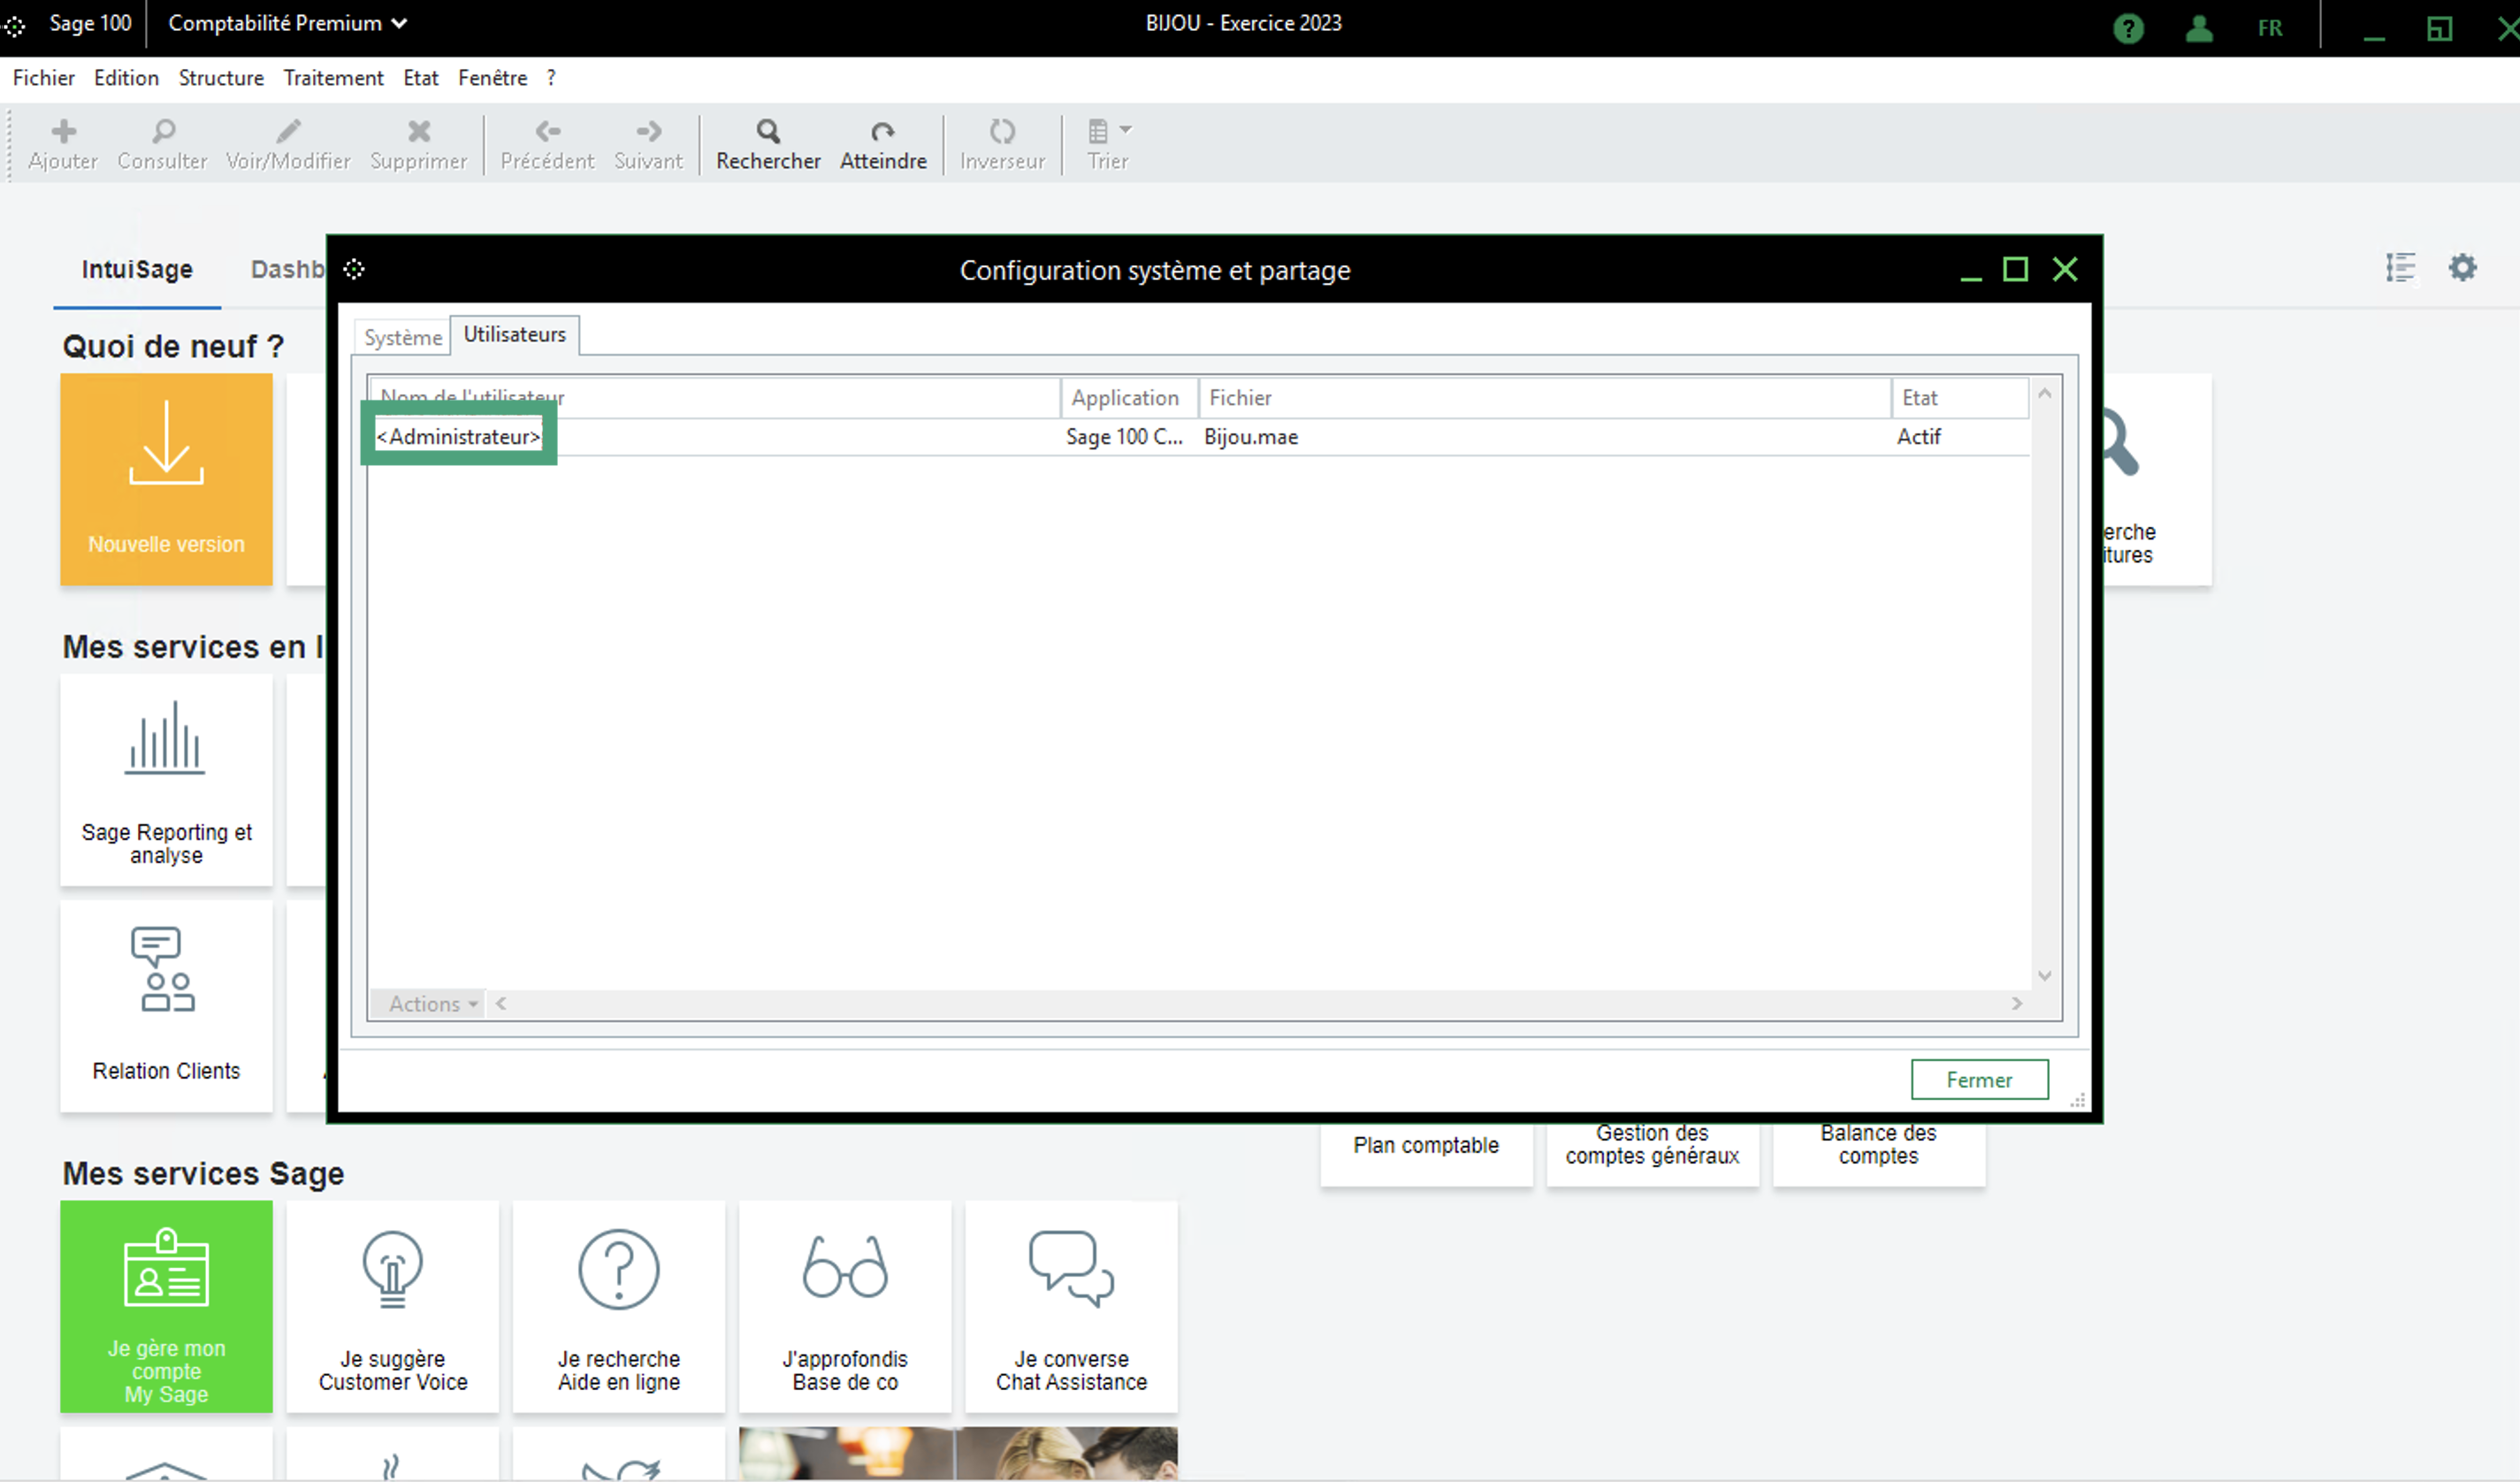
4. Retrieve your username and password
The Sage 100 user name can be retrieved as follows: on your Sage 100 account go to "File" → "System configuration and sharing".
⚠ If you use the "administrator" user, fill in "" with the ">"
The password of the Sage user is that of the user above. It is possible that the user mentioned does not have a password. In this case, leave this field blank.

5. Retrieve your SQL Server username and password
To find this information, you must contact your Sage100 integrator and ask them to provide you with the following information:
Sage100 SQL server username
Sage100 SQL server password
⚡️CONNECTION
Step 1: Choose a name for your connexion (may vary from tools your are connecting to)
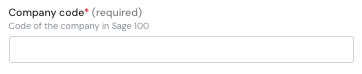
Step 2: Fill in the company code (name of the *.MAE file without the extension)
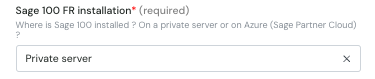
Step 3: Choose your Sage100 instance installation type (either on premise or on a Azure SPC server)
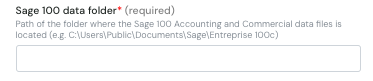
Step 4: Fill in the Sage 100 data files path
💡 Important
If the folder is located on a network drive / remote server, it is imperative to enter the UNC path instead of the shortcut (e.g. do not use a S:/... path but rather the corresponding UNC path).
In this case, it is also important to run the Windows service with a user who has access to this network drive / remote server (the Localsystem user does not have access to network drives and remote servers)
Step 5: Do you want to save sales and purchase receipts?
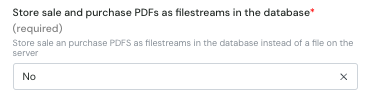
💡 Here you have to choose between two backup methods:
YES - then the backup is done directly in the database. The file is then not accessible outside of Sage 100.
NO - then the backup is done as a separate file in a folder on the server.
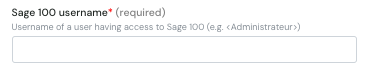
Step 6 : Fill in the Sage 100 username
Step 7 : Fill in the windows/Sql server username

💡 The provided windows user must be able to access Sage data folders (if on a shared network) and also Sage database.
Step 8 : Fill in the Sage 100 password (if you have one)

Step 9: Fill in the windows/Sql server password

Step 10: Click on "Connect" to finalize the connexion and download the local agent

💿 FINALISATION - local agent download and installation
After completing the connection step, you will need to download and install the local agent on the server or computer where your Sage 100 instance is running.
Please follow the steps described this tutorial in order to finalize the connexion.