Odoo
Last updated: April 24, 2026
🚨 PREREQUISITES
The integration is enabled for Odoo versions 13 and above for Odoo.sh et Odoo SaaS.
A "custom" pricing plan is necessary for the activation of the integration with Odoo. (Odoo's Plans & Pricing)
The user must have admin permissions to enable the connexion
Constraints added in customisations in Odoo may impact the performances of the connector.
🛠 PREPARATION
Watch this video:
https://chift-connector-videos.s3.eu-west-3.amazonaws.com/1000/1000-config.mp4
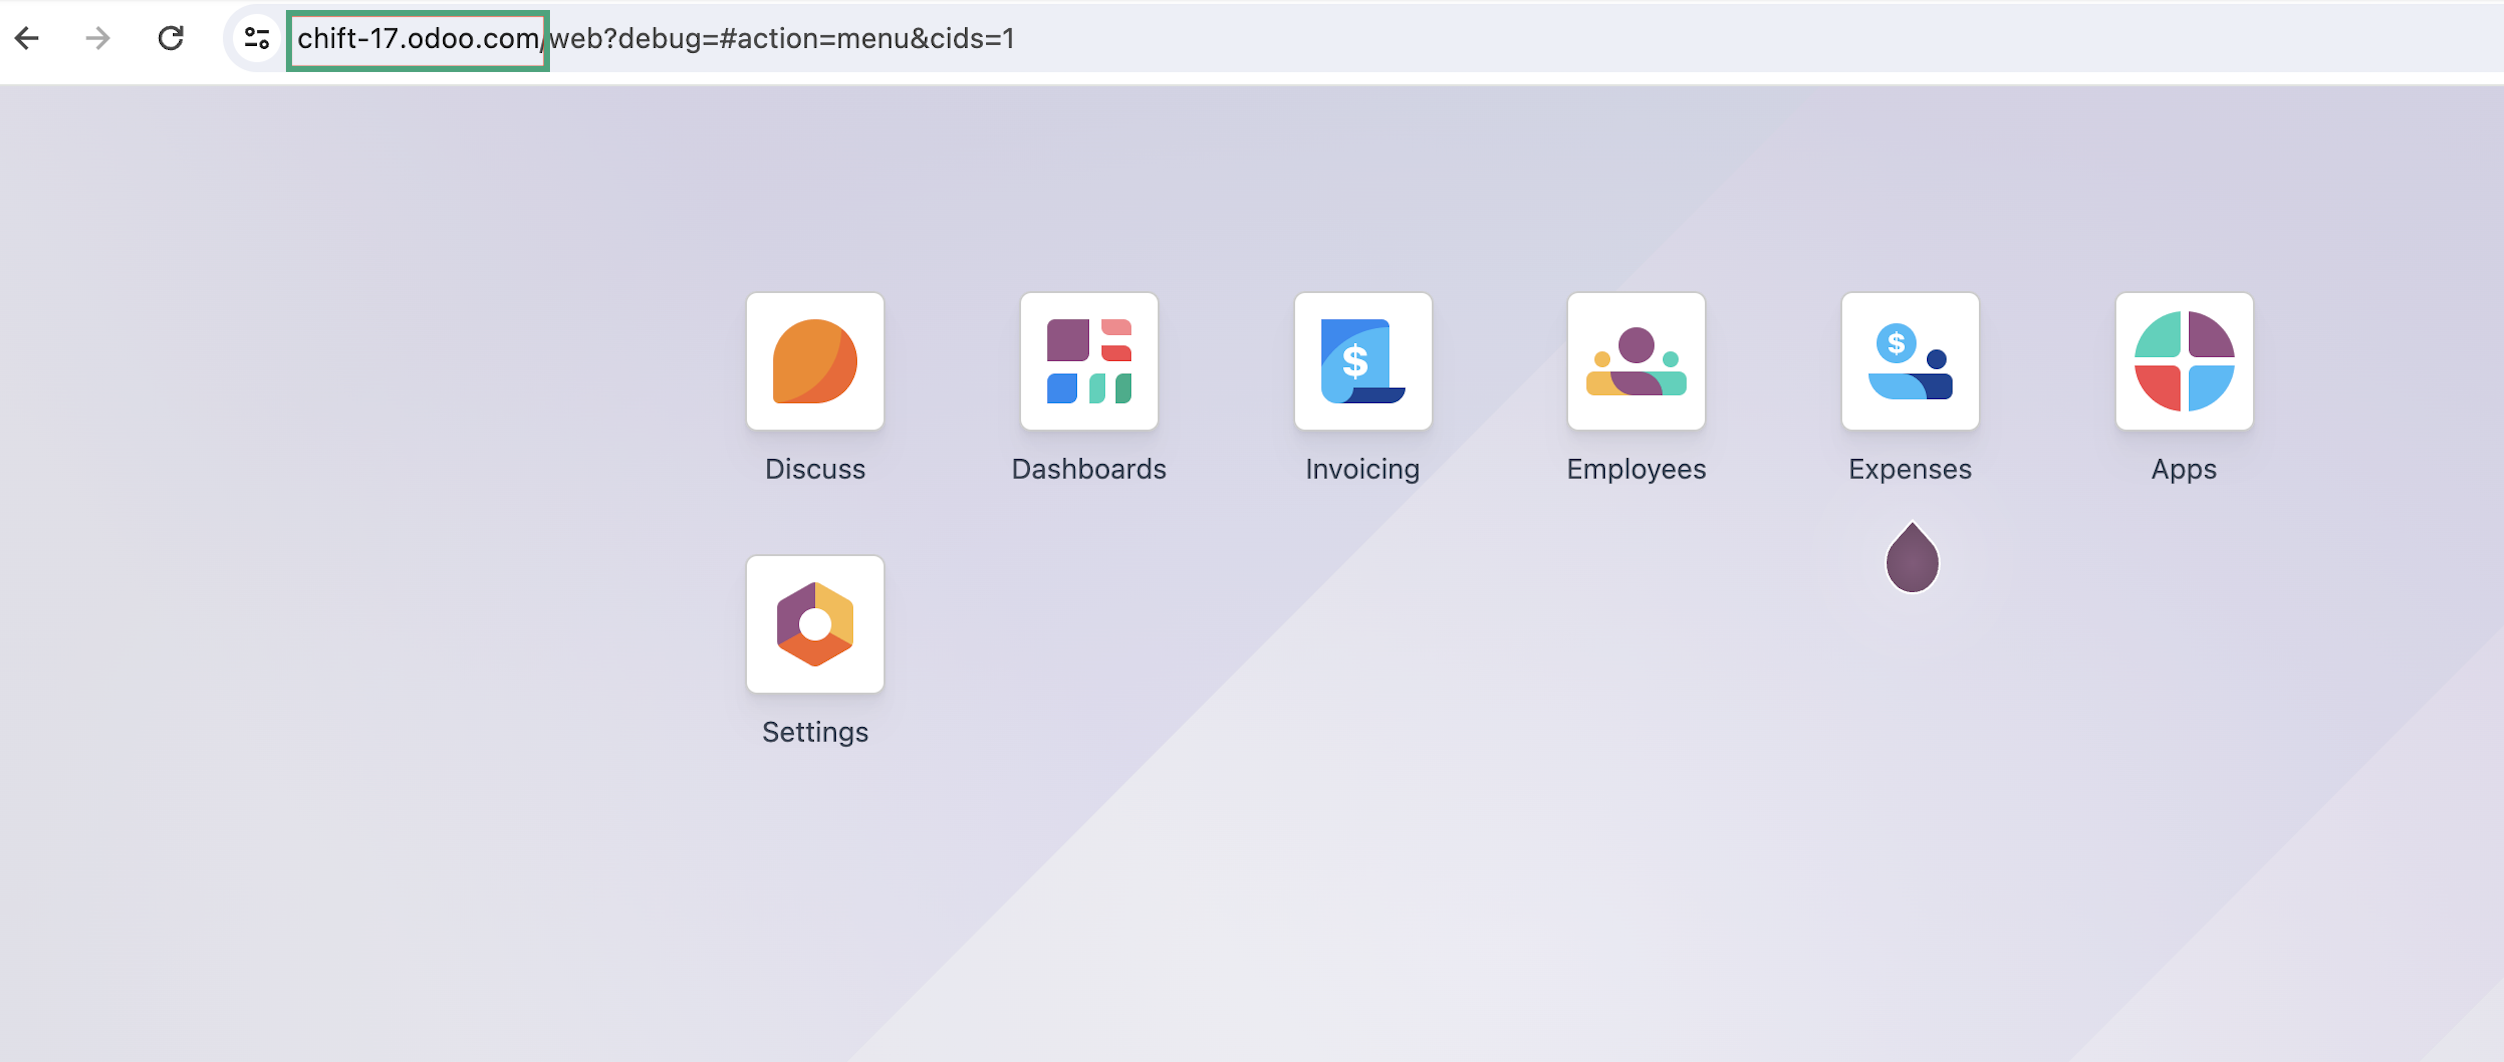
Find your Odoo URL.
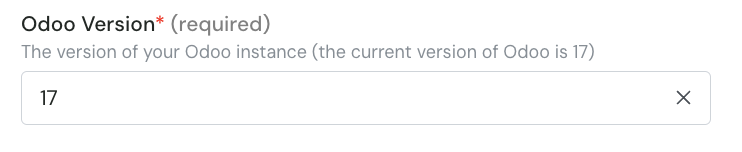
(If you don't know it of unsure) Find the version of your Odoo account in your settings
Go to Configuration → Settings

In the left menu, select General Settings. Then, scroll down to the About section to see your version.

Find your database name
Activate developer mode in Odoo.
Your database name will appear in the top-right corner under your username.


⚡️ CONNECTION
Step 1: Choose a name for your connexion. (If the connection name field isn’t visible, simply skip this step and continue.

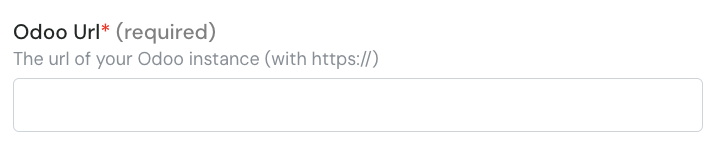
Step 2: Enter the url of your Odoo instance.
Step 3: Enter the version of your odoo account.
Step 4: Enter the database name

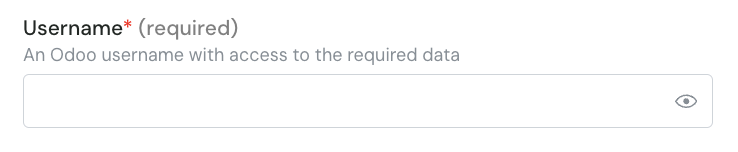
Step 5: Enter your Odoo account username.
Step 6: Enter your Odoo account password.
⚠ Please note that is you activated the MFA on your Odoo account, you will need to setup an API Key and use it instead of your password.
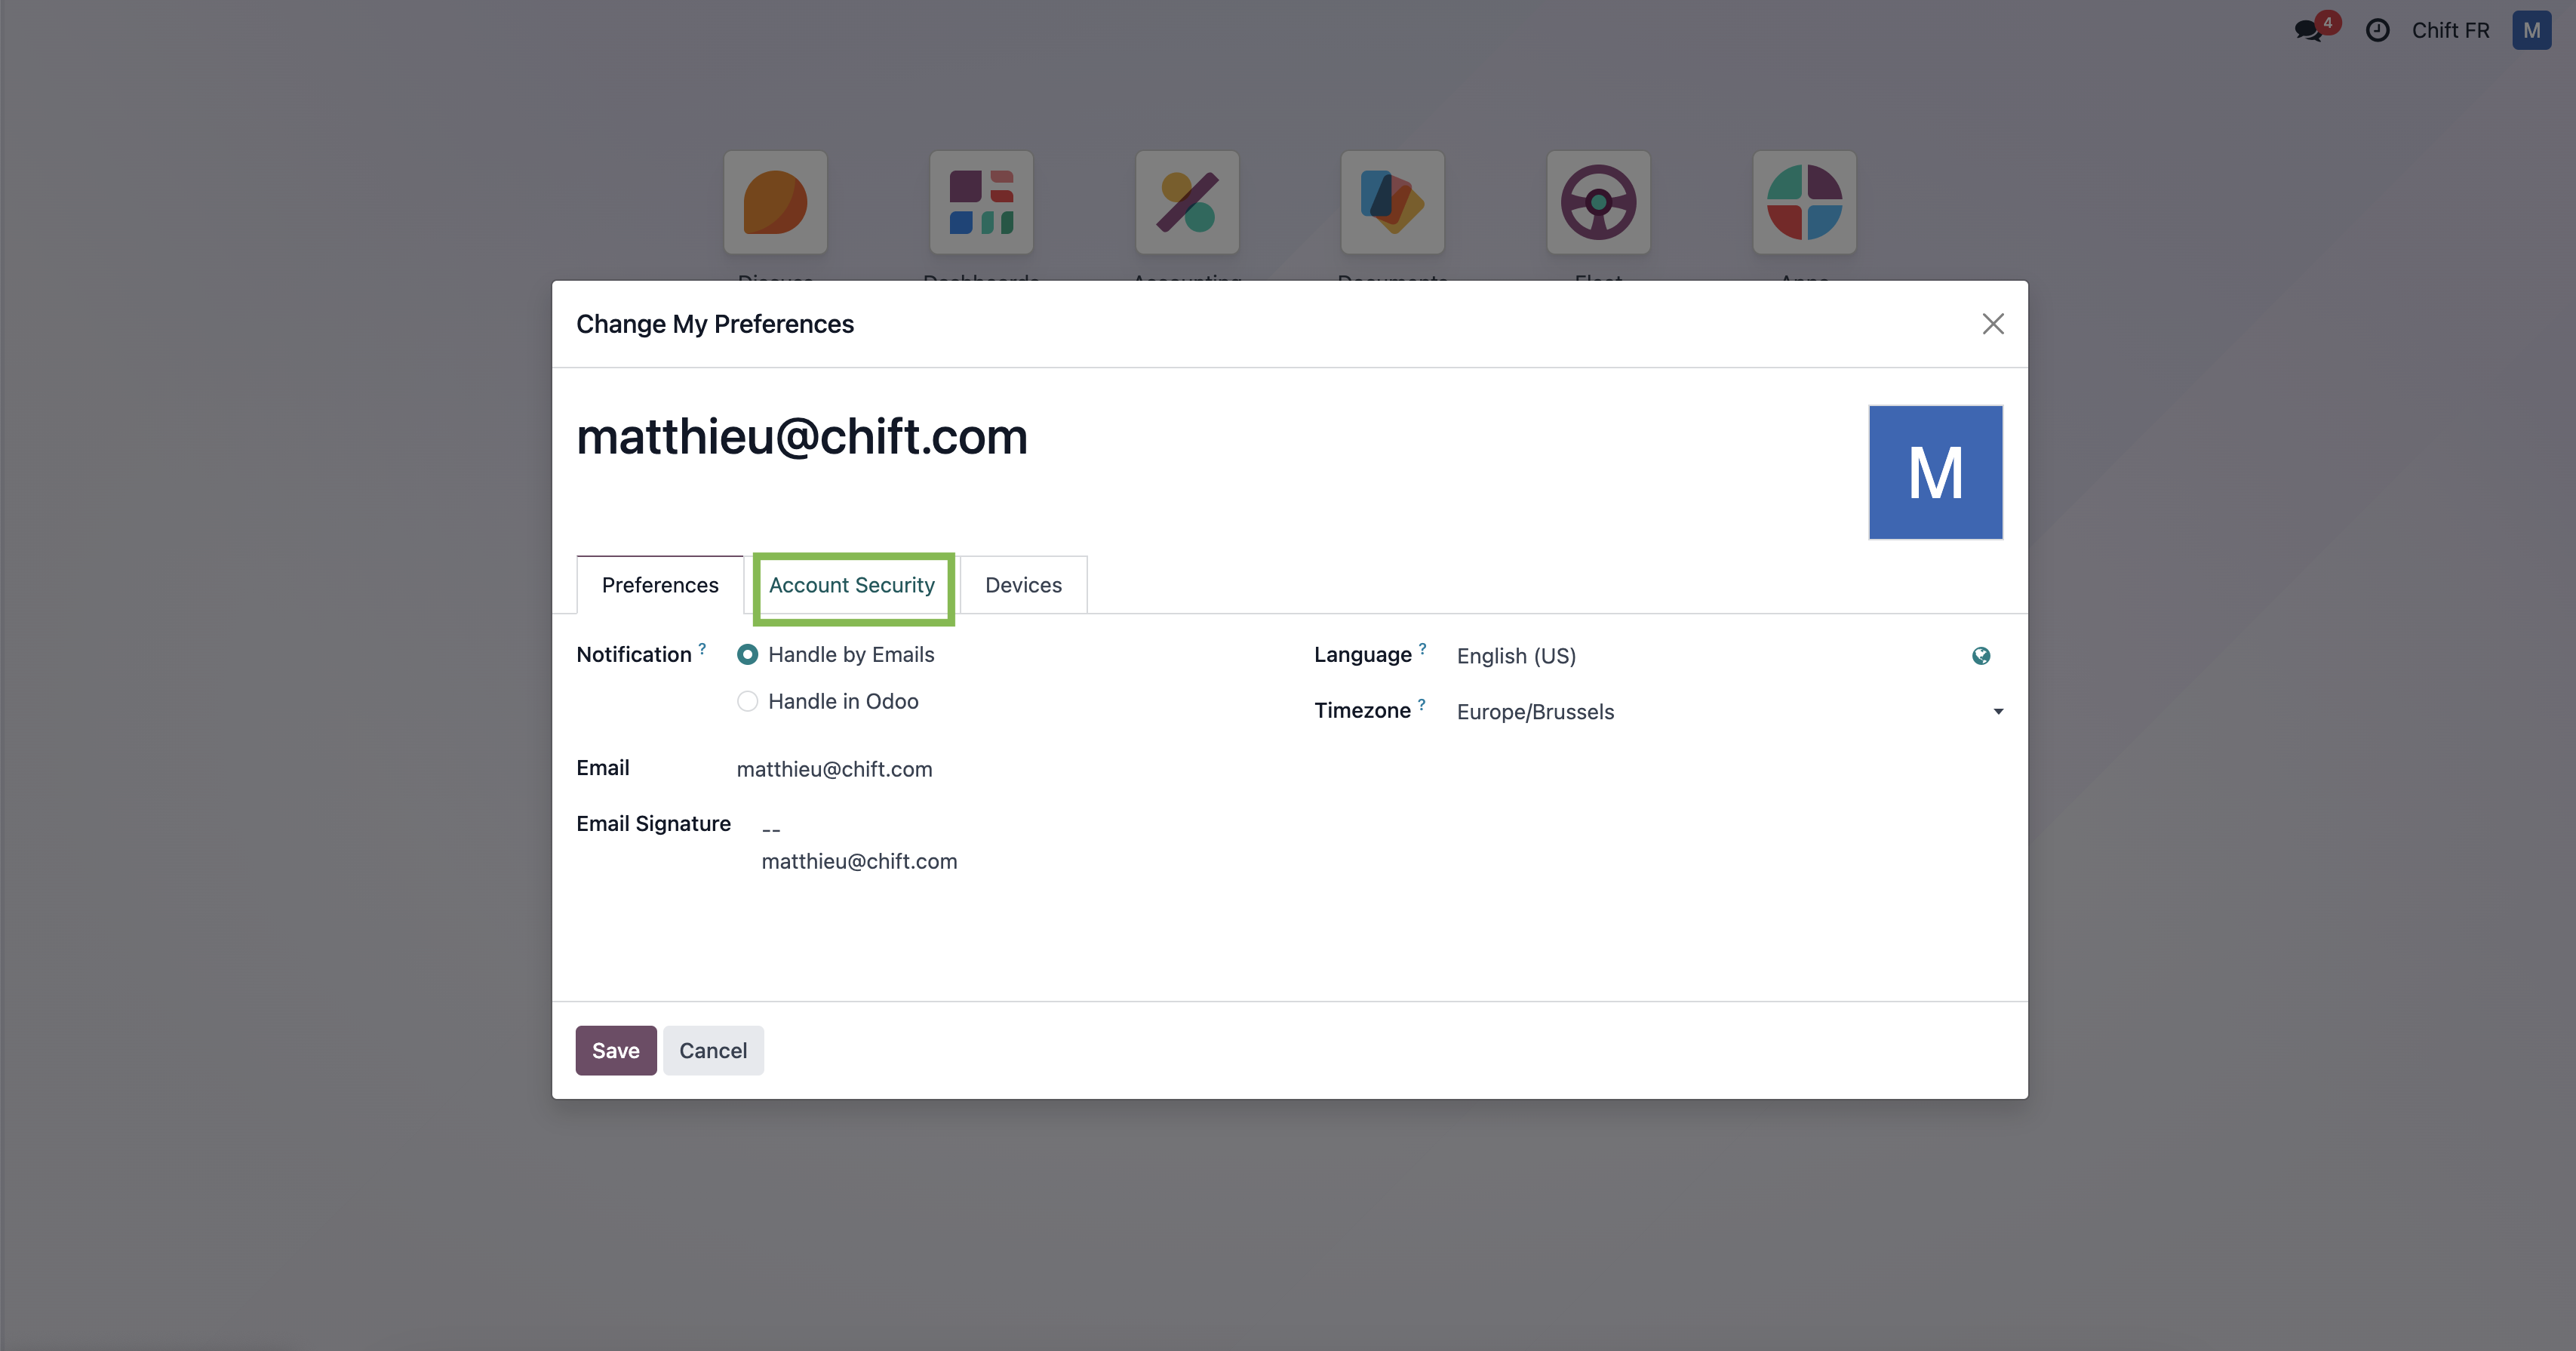
Step 6-1: If you need to generate an API Key, log into Odoo and click on the right top corner button and on "preferences".

Step 6-2: Select "Account security"
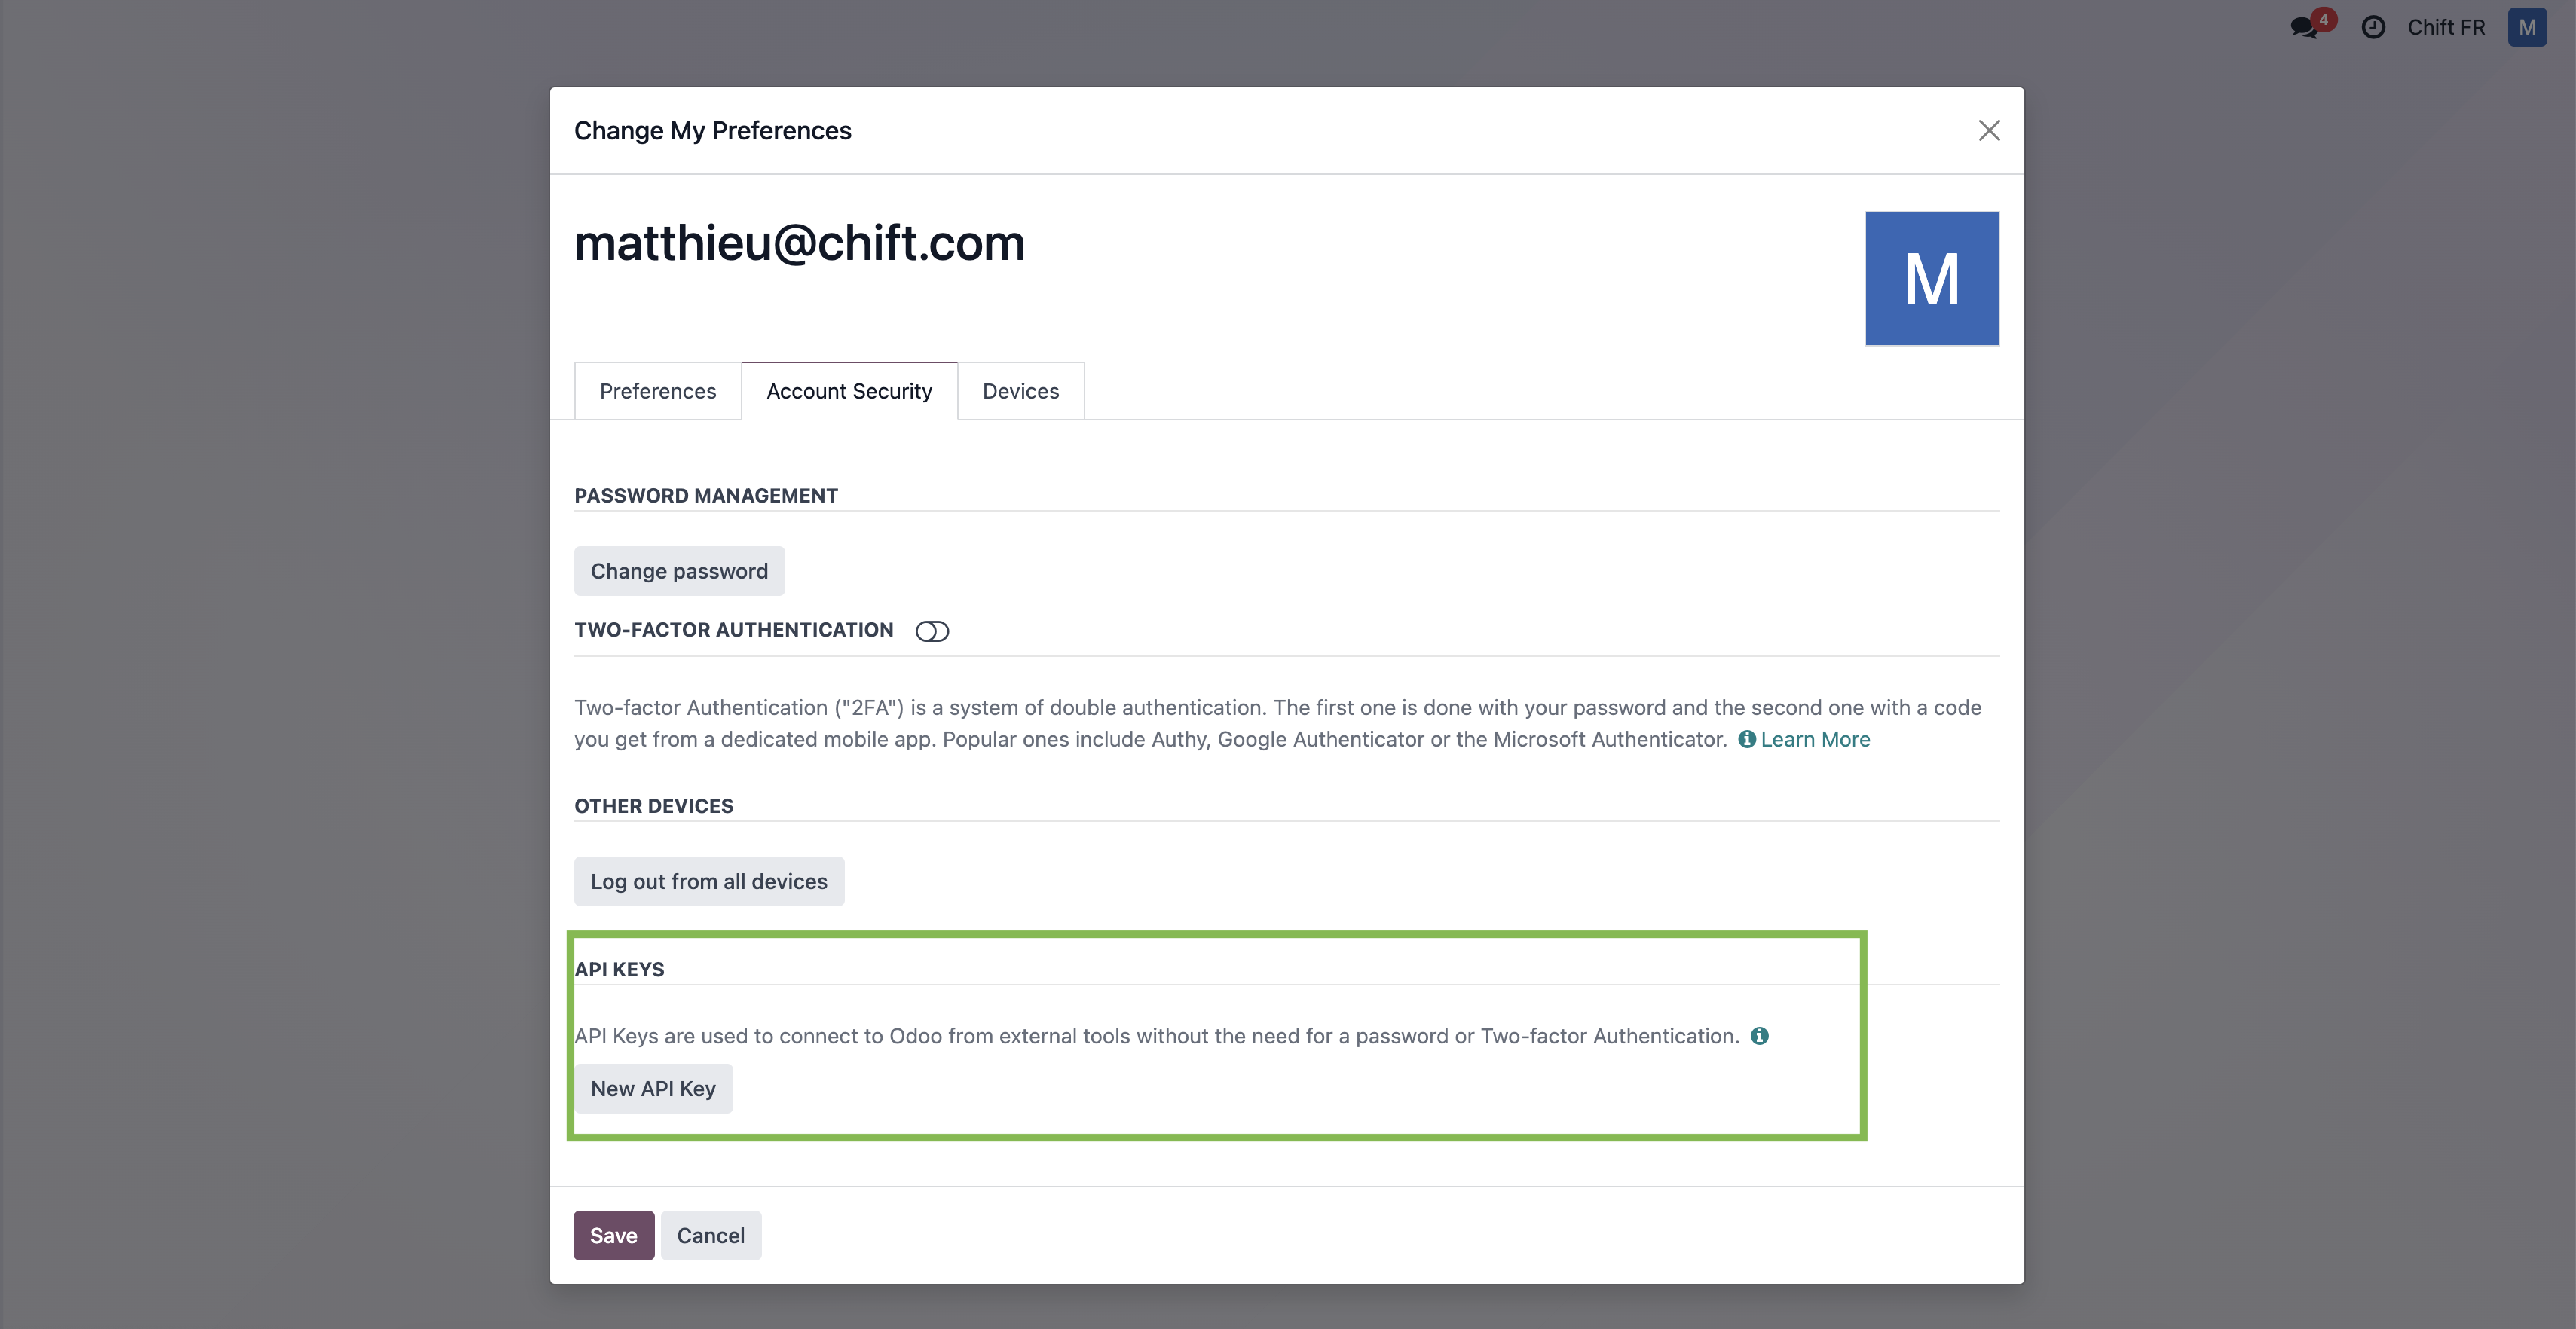
Step 6-3: Select "New API key"
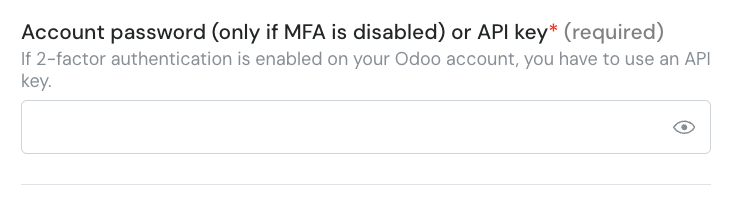
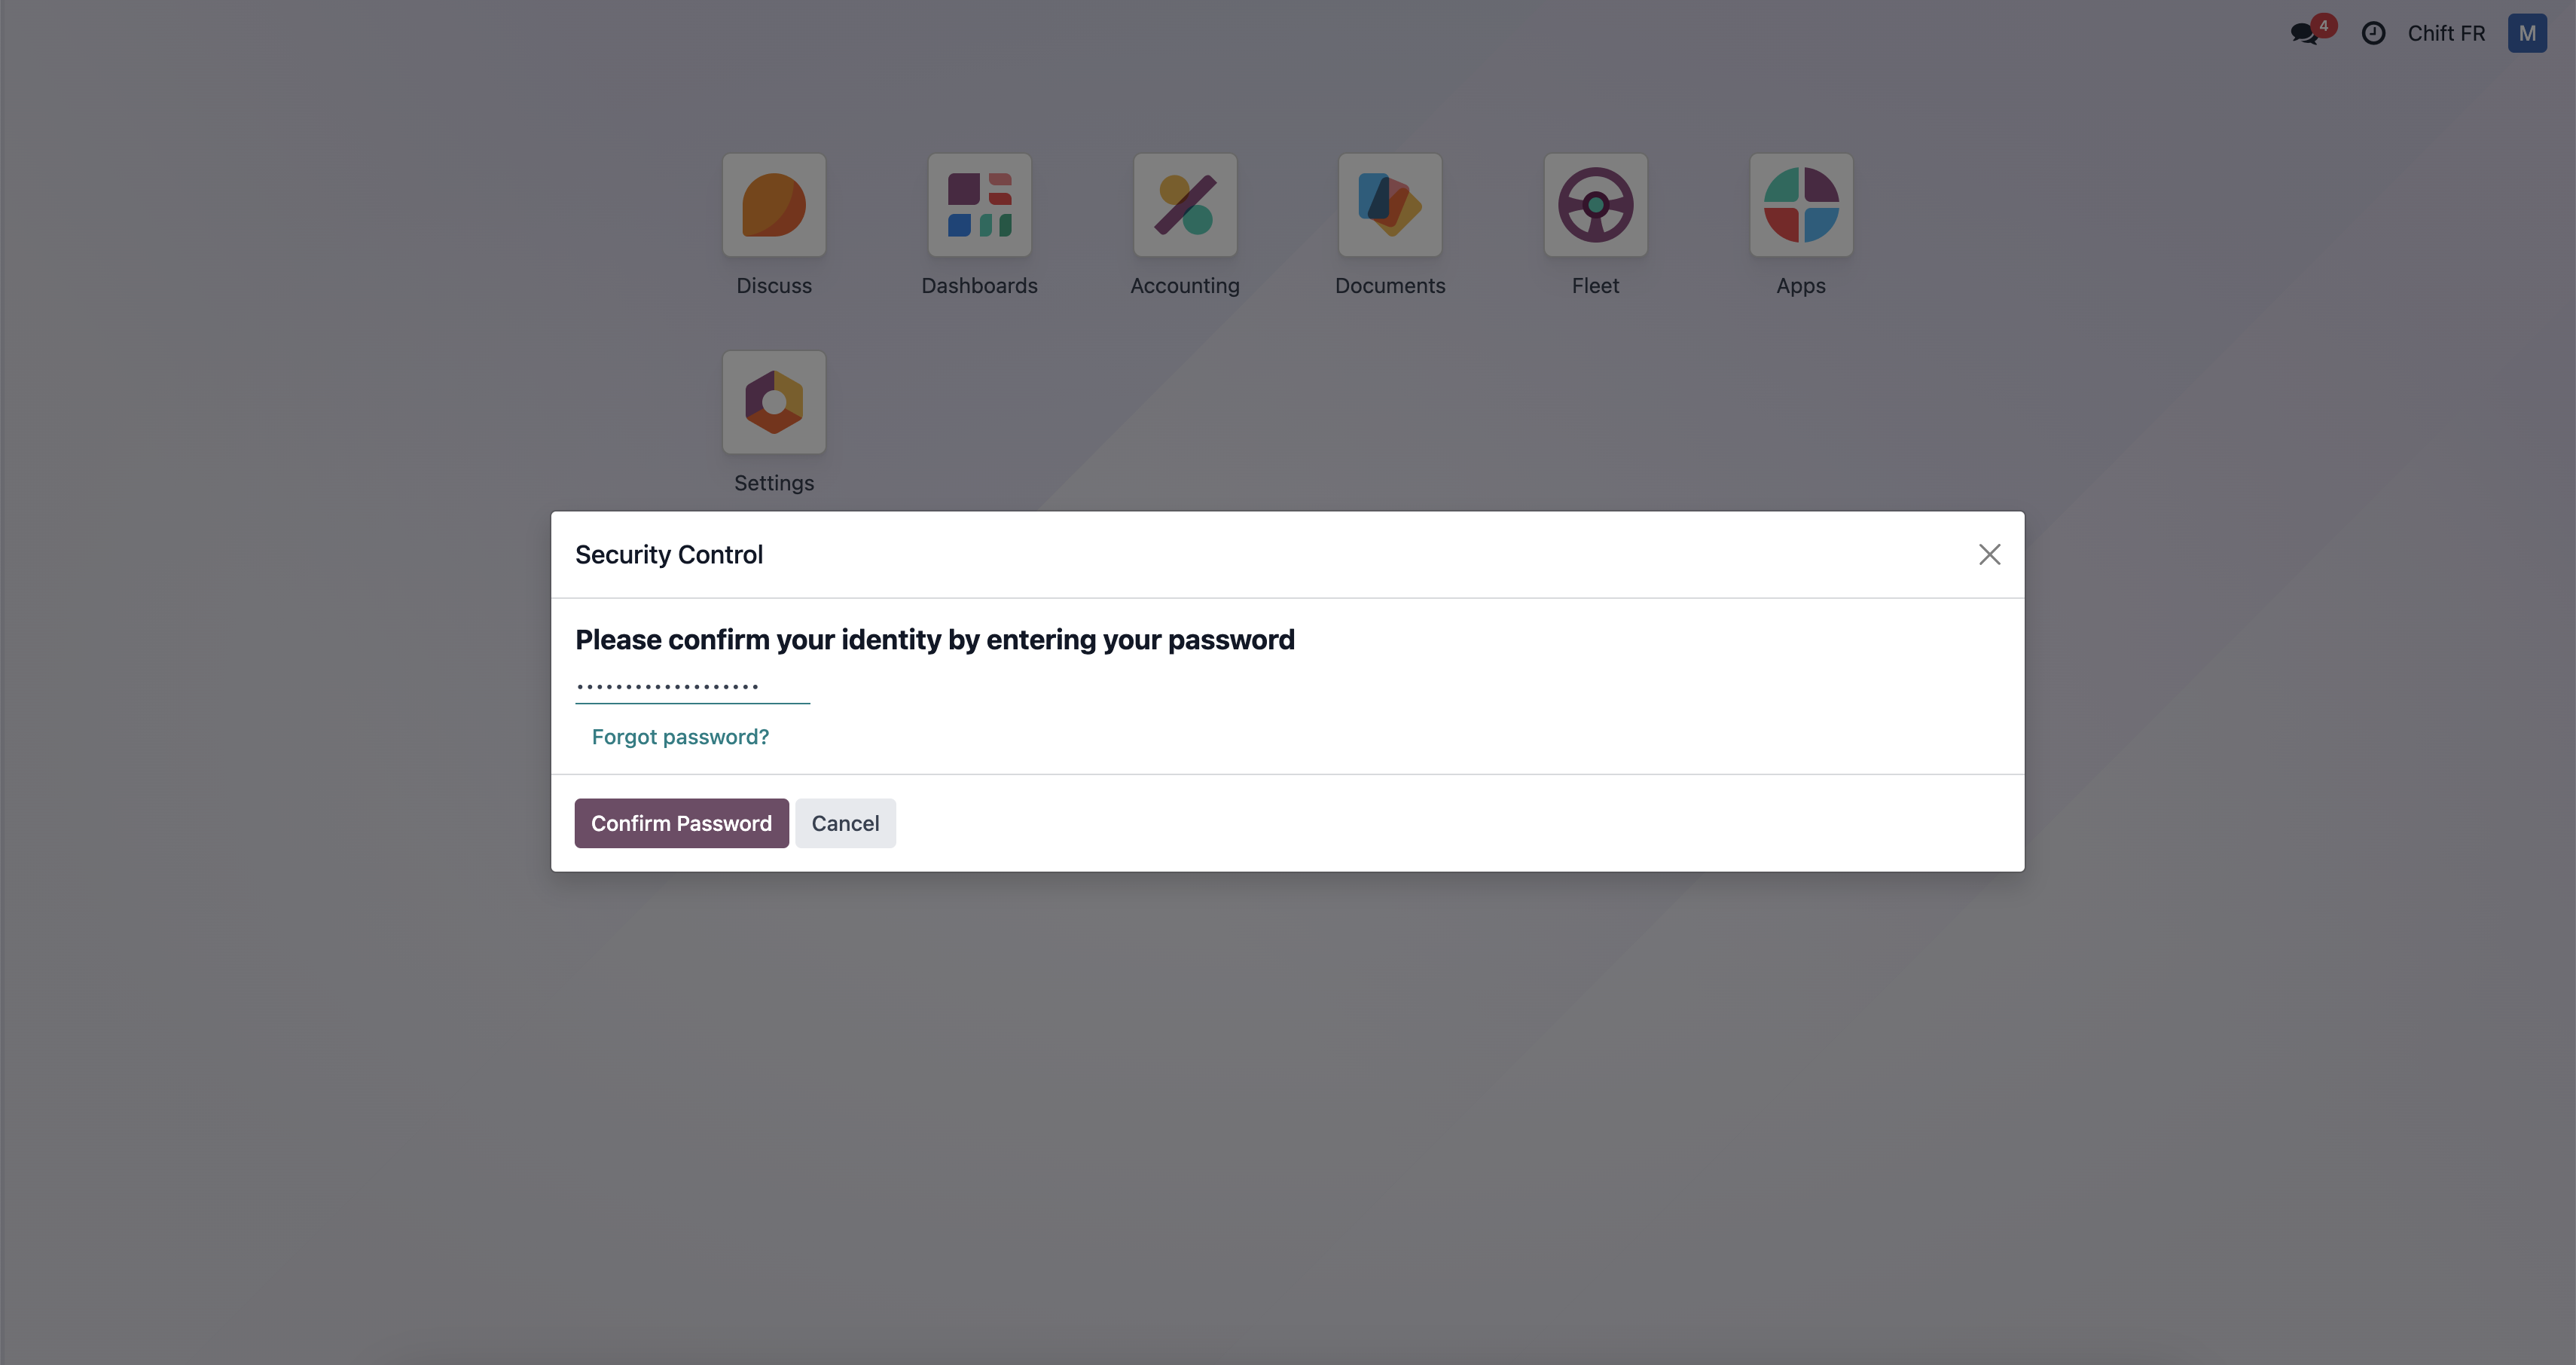
Step 6-4: Fill your password
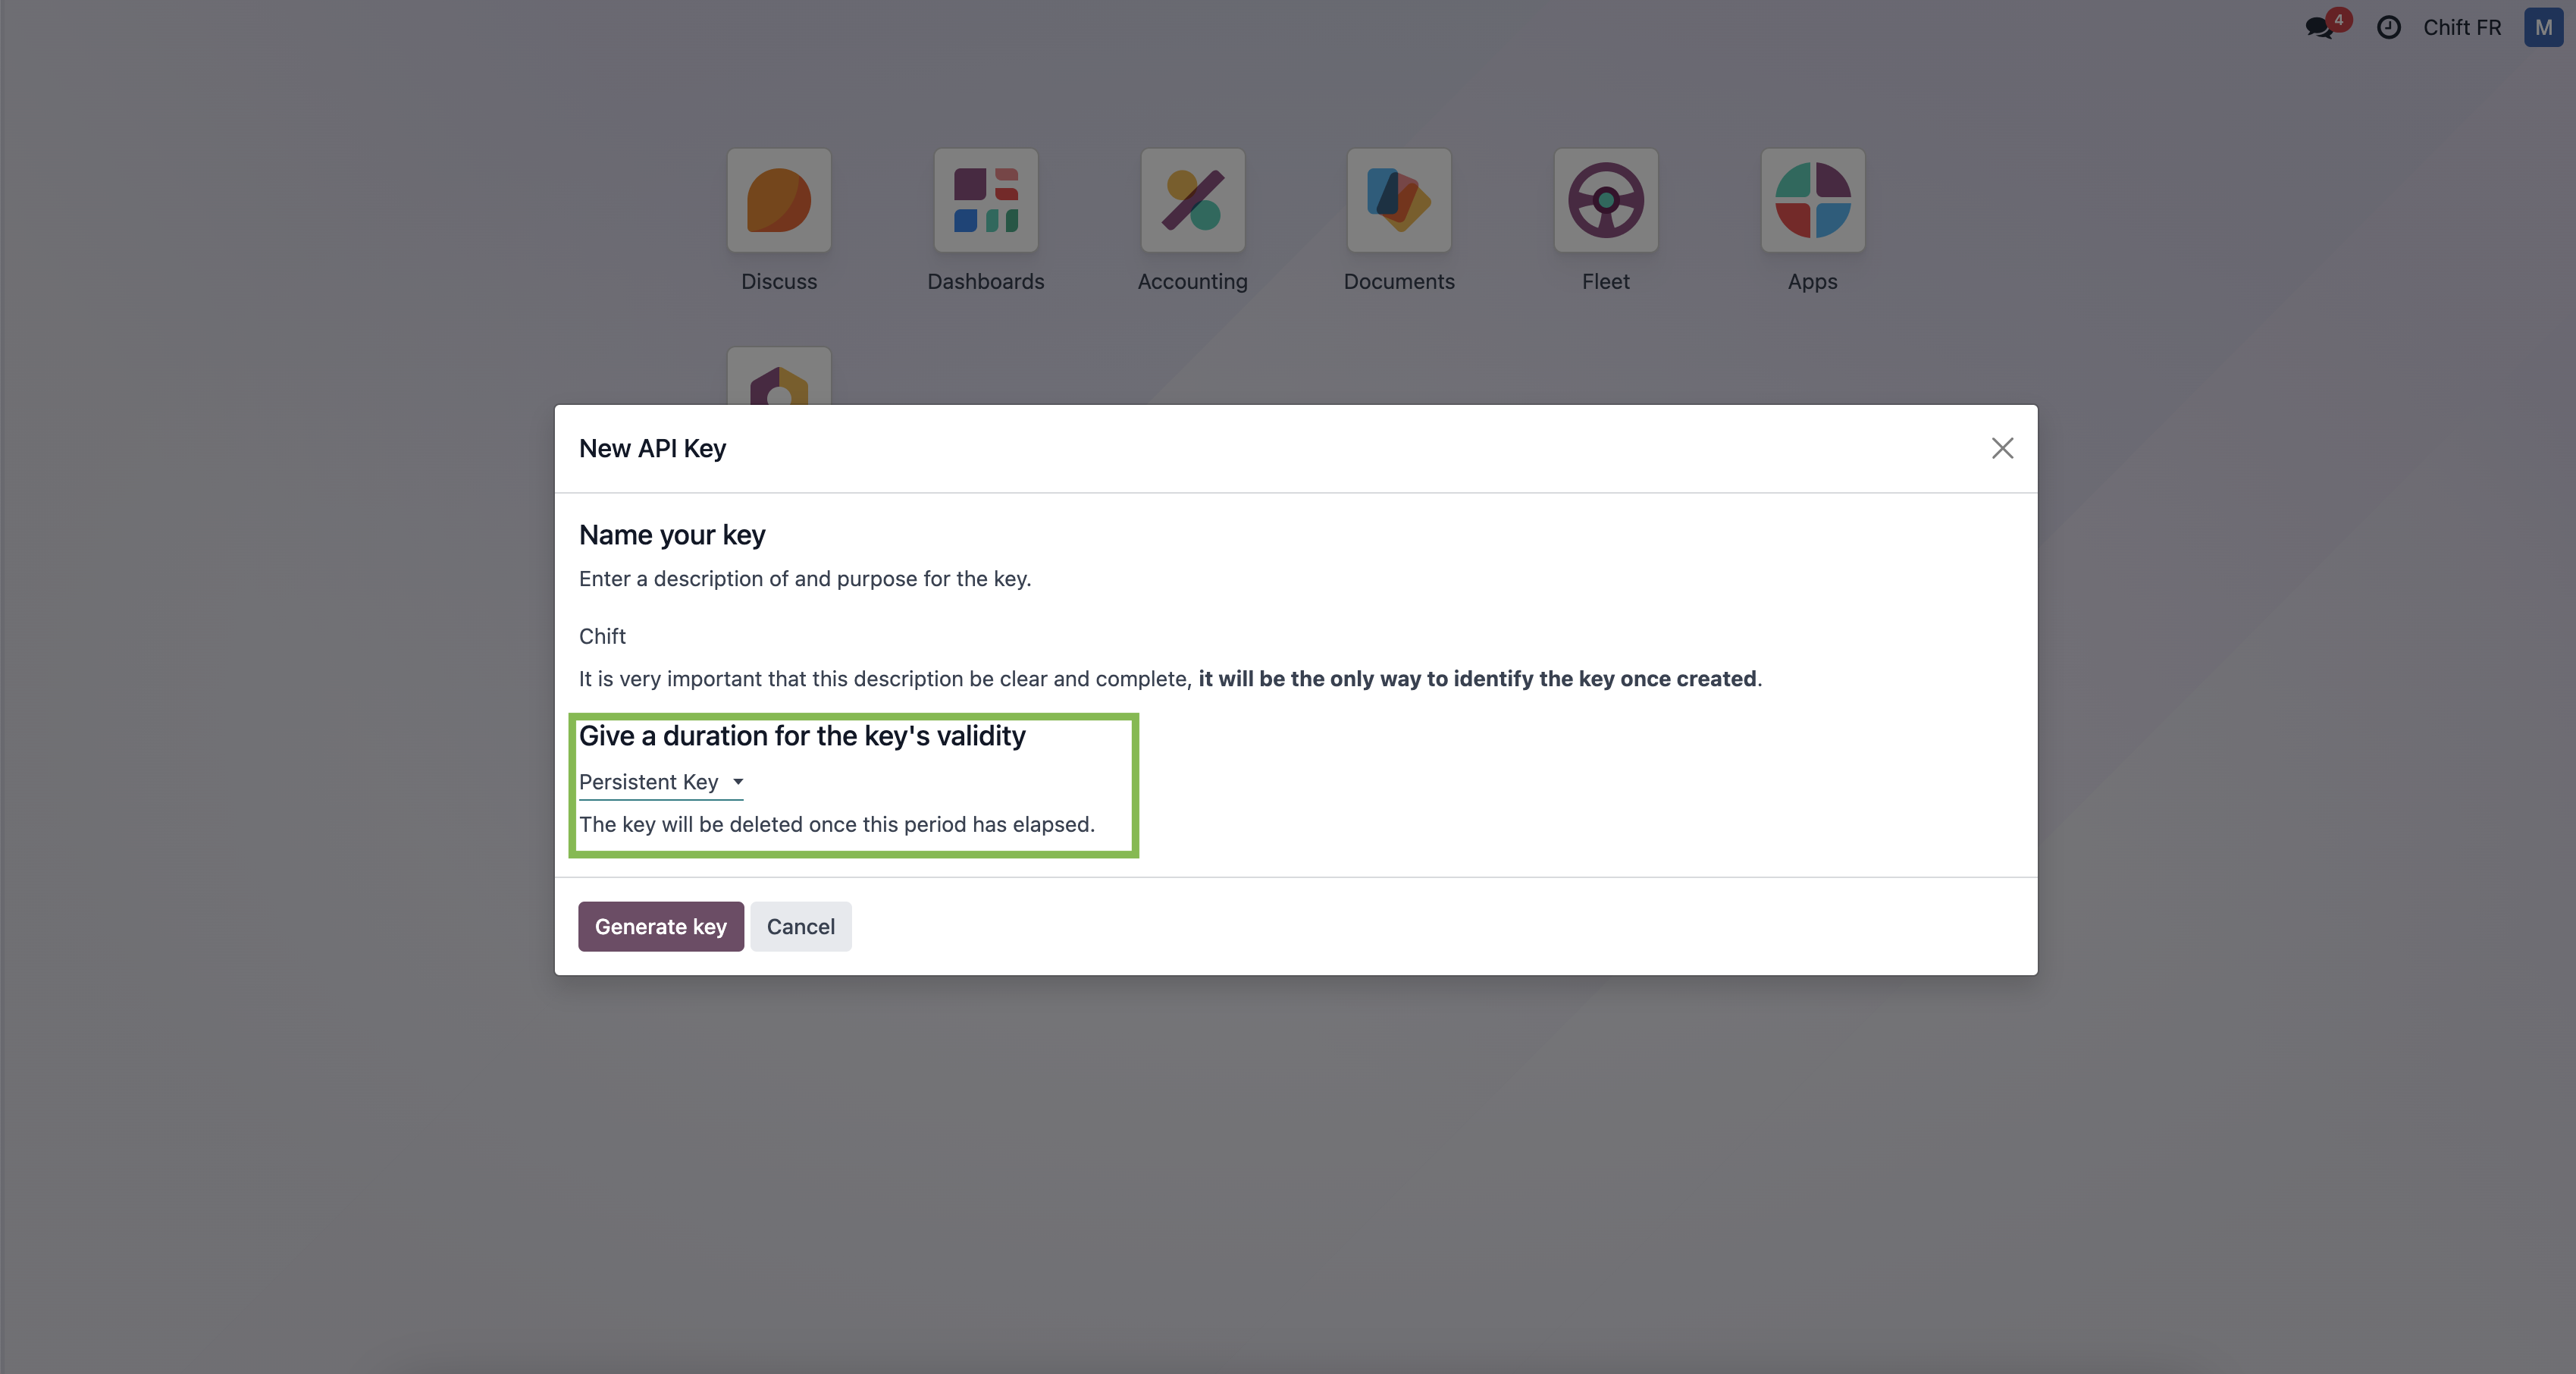
Step 6-5: Give a name to your api key and give "persistant key" as duration.
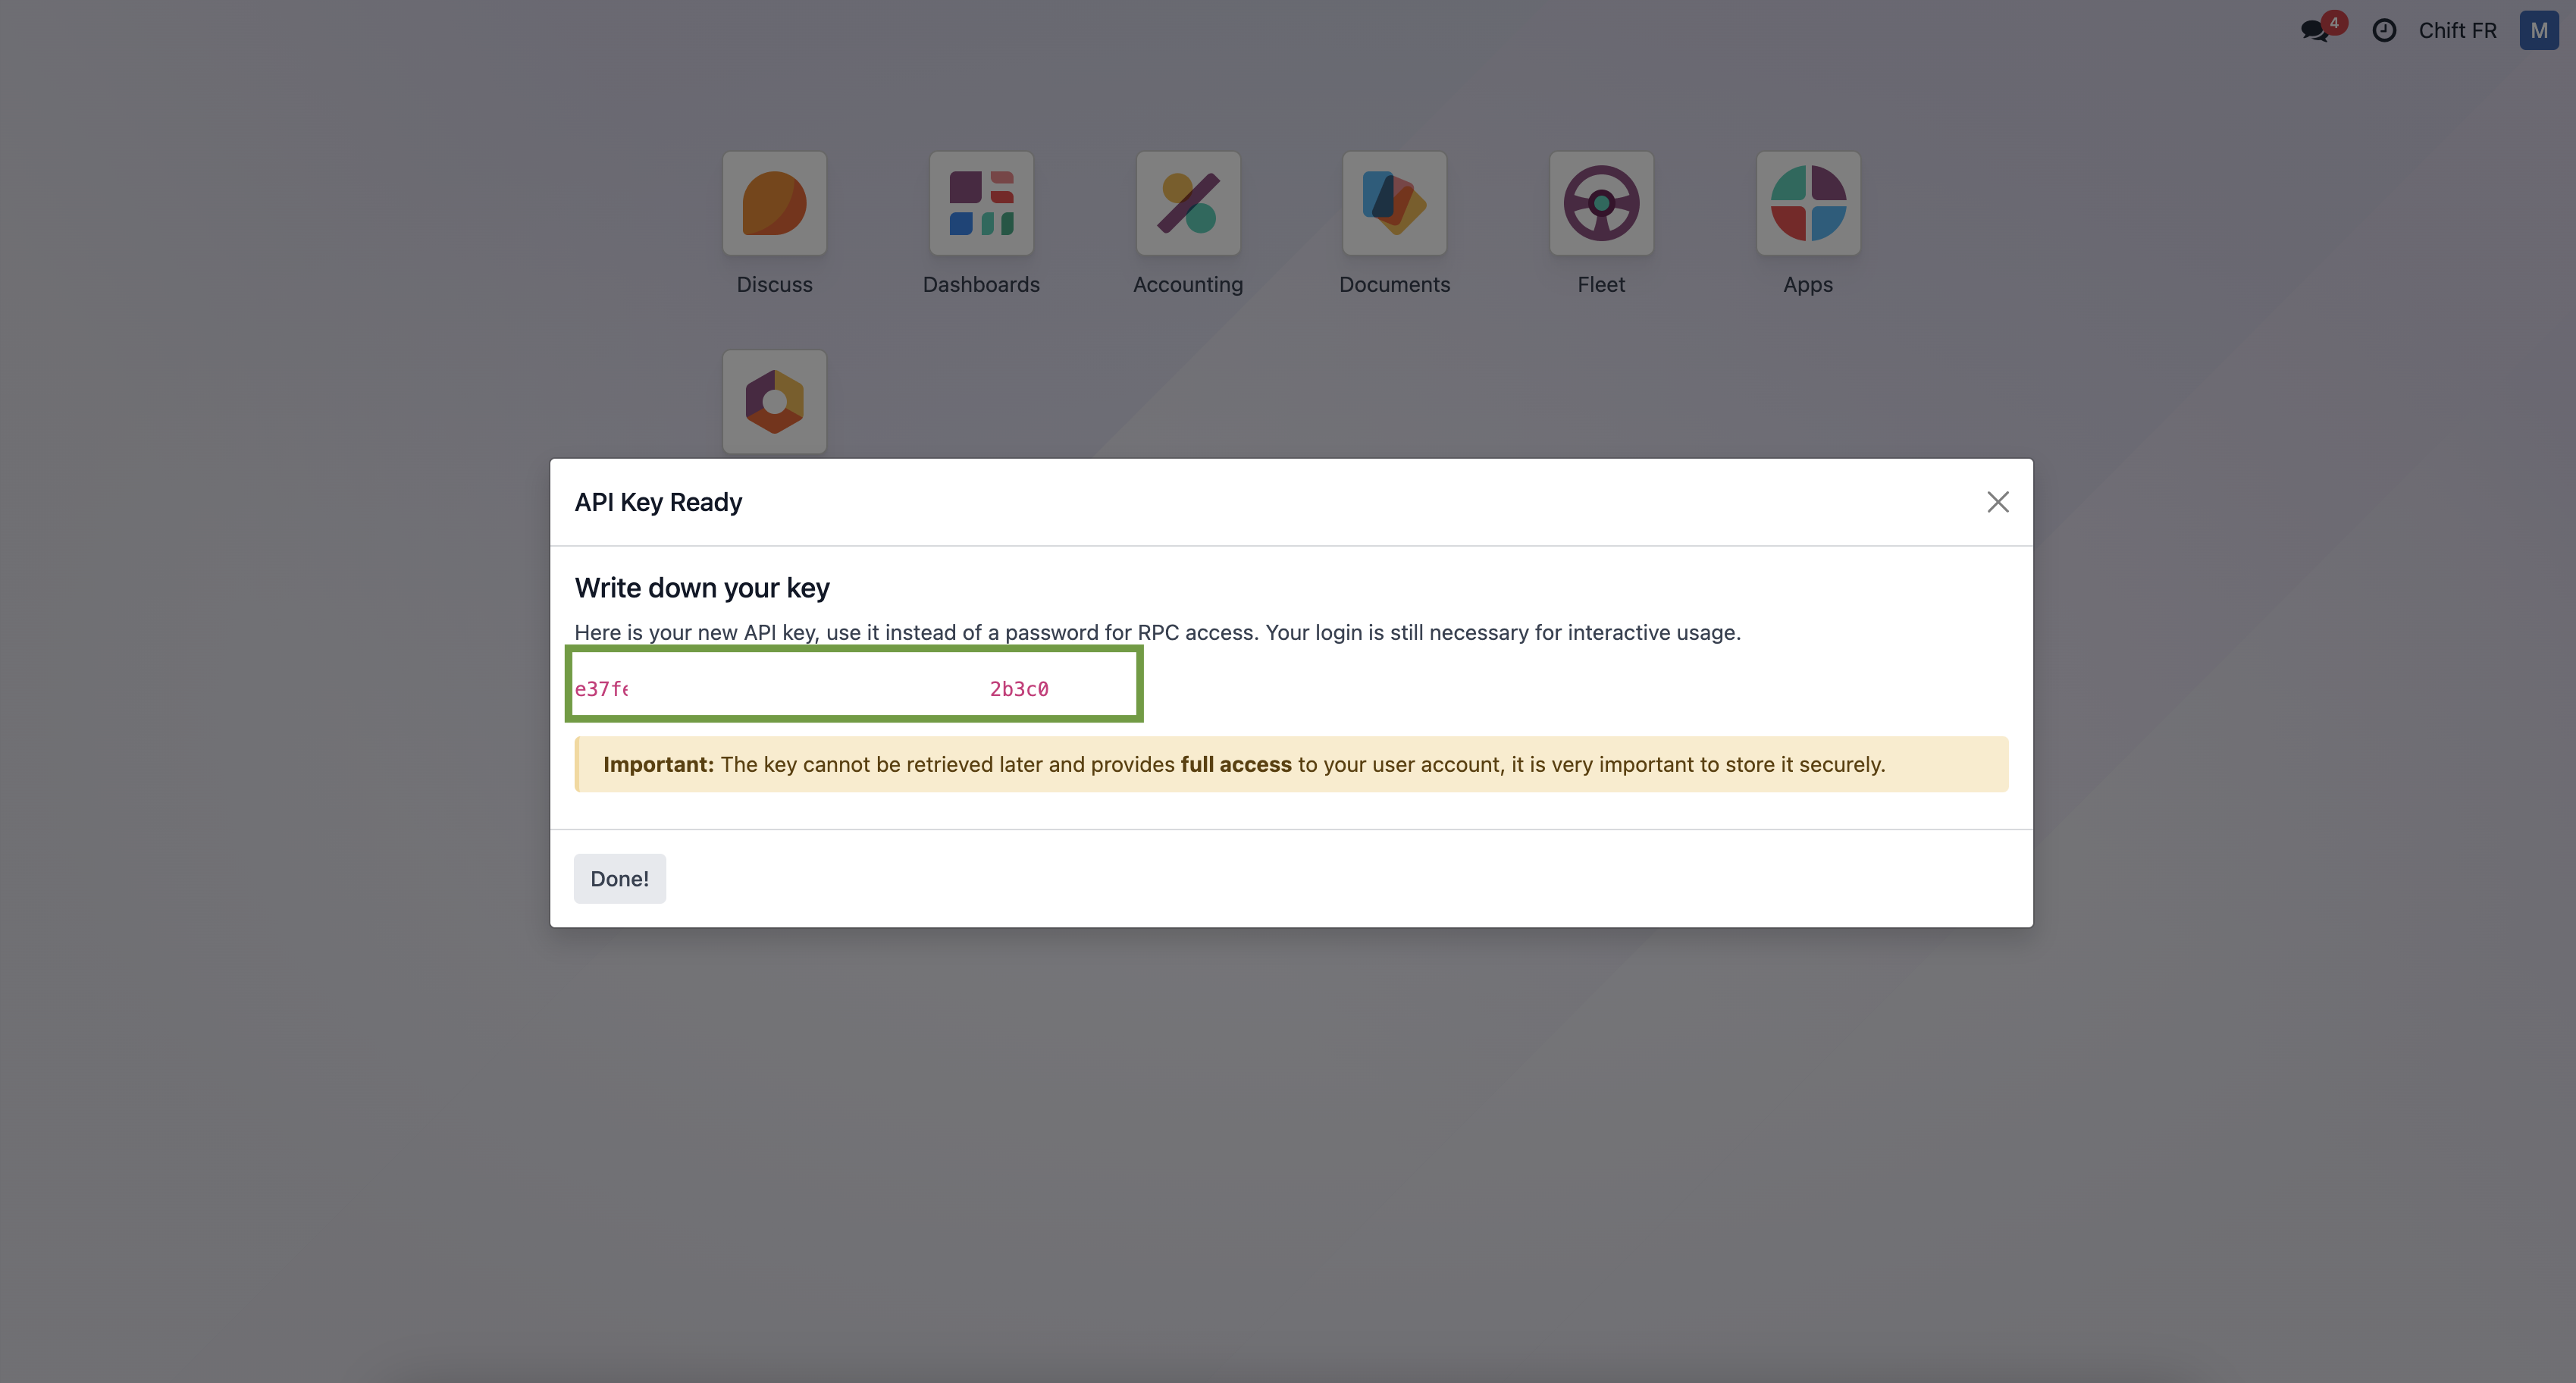
Step 6-6: Here is your API key that you can use in Chift funnel to connect Odoo.
Step 7: Click "Connect" to finalise the connexion.

CONFIGURATION
Step 1: Select the company to connect to on Odoo.

Step 2: Click "Submit" to finalise the configuration