Winbooks Classic
Last updated: December 29, 2025
PREREQUISITES
A version 7 or above of Winbooks is required
You need to install the connector on the server where Winbooks is installed. To ensure the connector works on the server, please make sure before installation that:
You have admin access to the server where Winbooks is installed in order to proceed with the installation
Be aware that the server/computer must be permanently accessible with internet access (24 hours a day). Otherwise, the data could not be synchronized at some point.
You know your Winbooks username and password
The .NET Framework 4.8 MUST be installed on the server/computer where the connector will be installed !
If you are using a network drive, all paths provided in the next steps will have to be UNC path and not local paths for the service to work. If you do, you will also need to update the user running the service to be using a user having access to both Winbooks and the network drive.
PREPARATION
Watch this video:
Find the code of your accounting folder in your Winbooks account
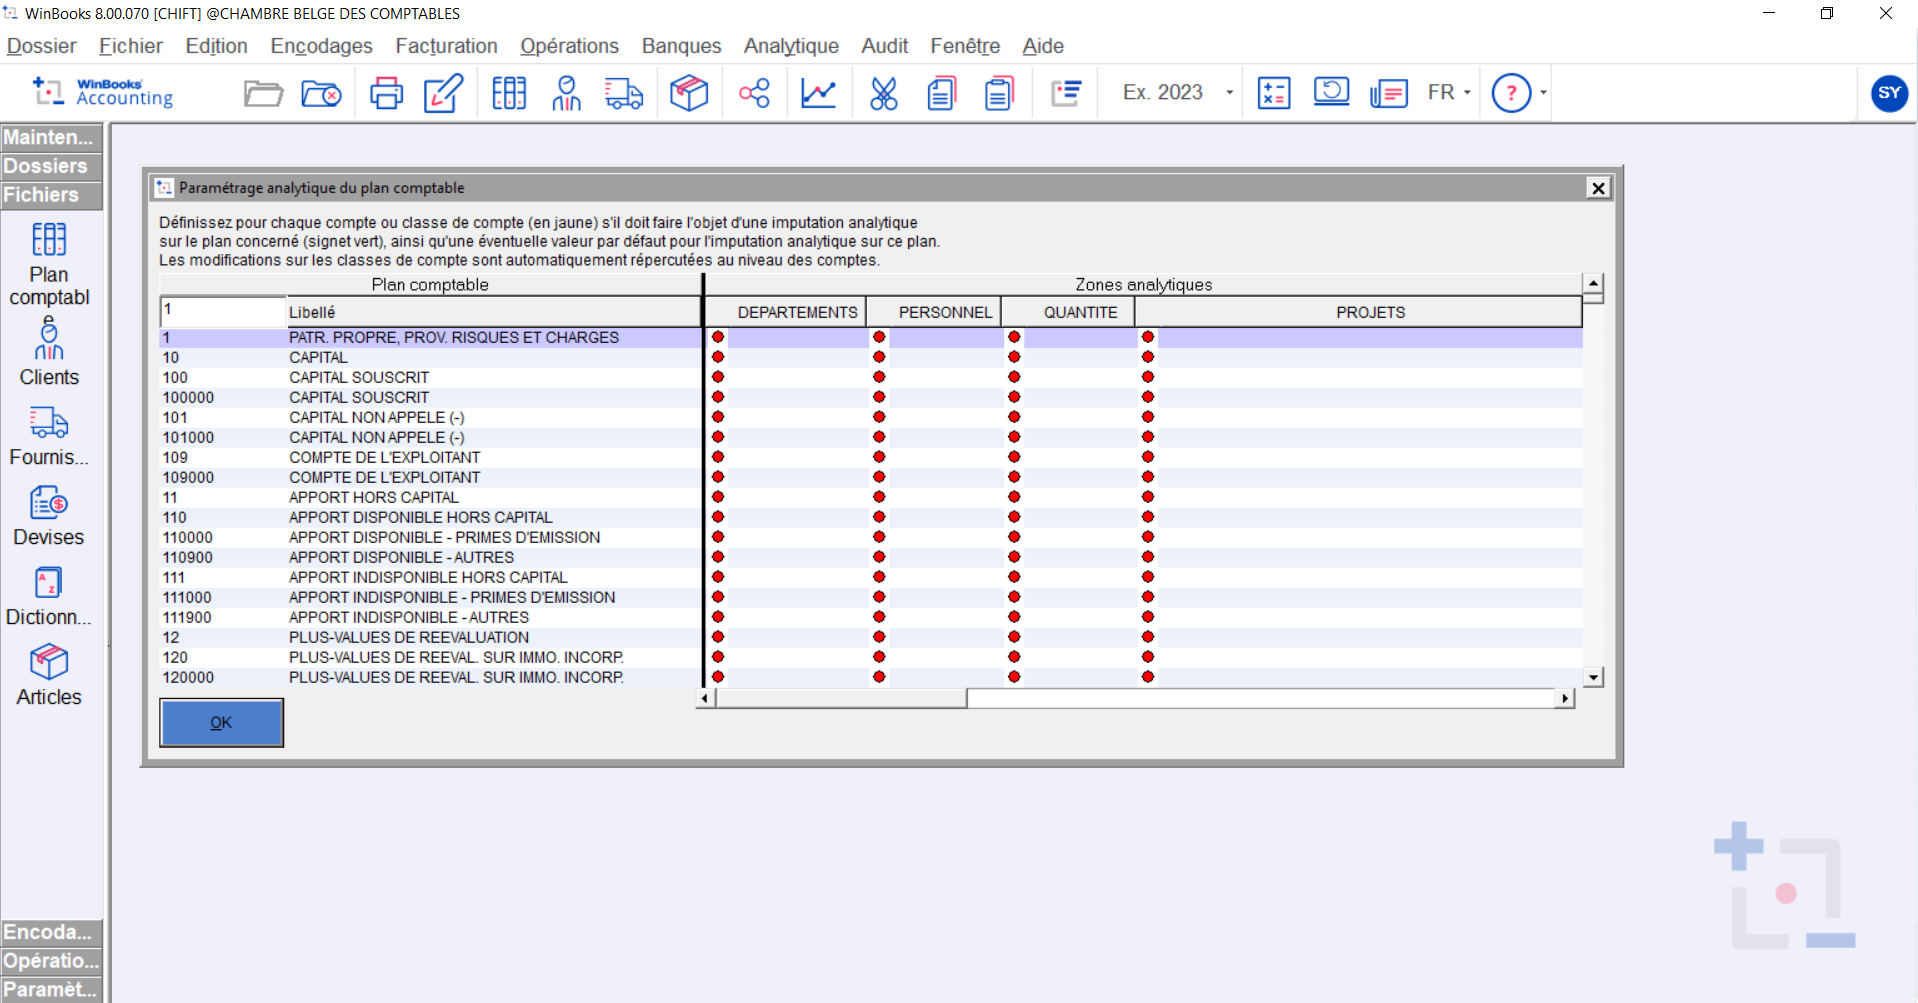
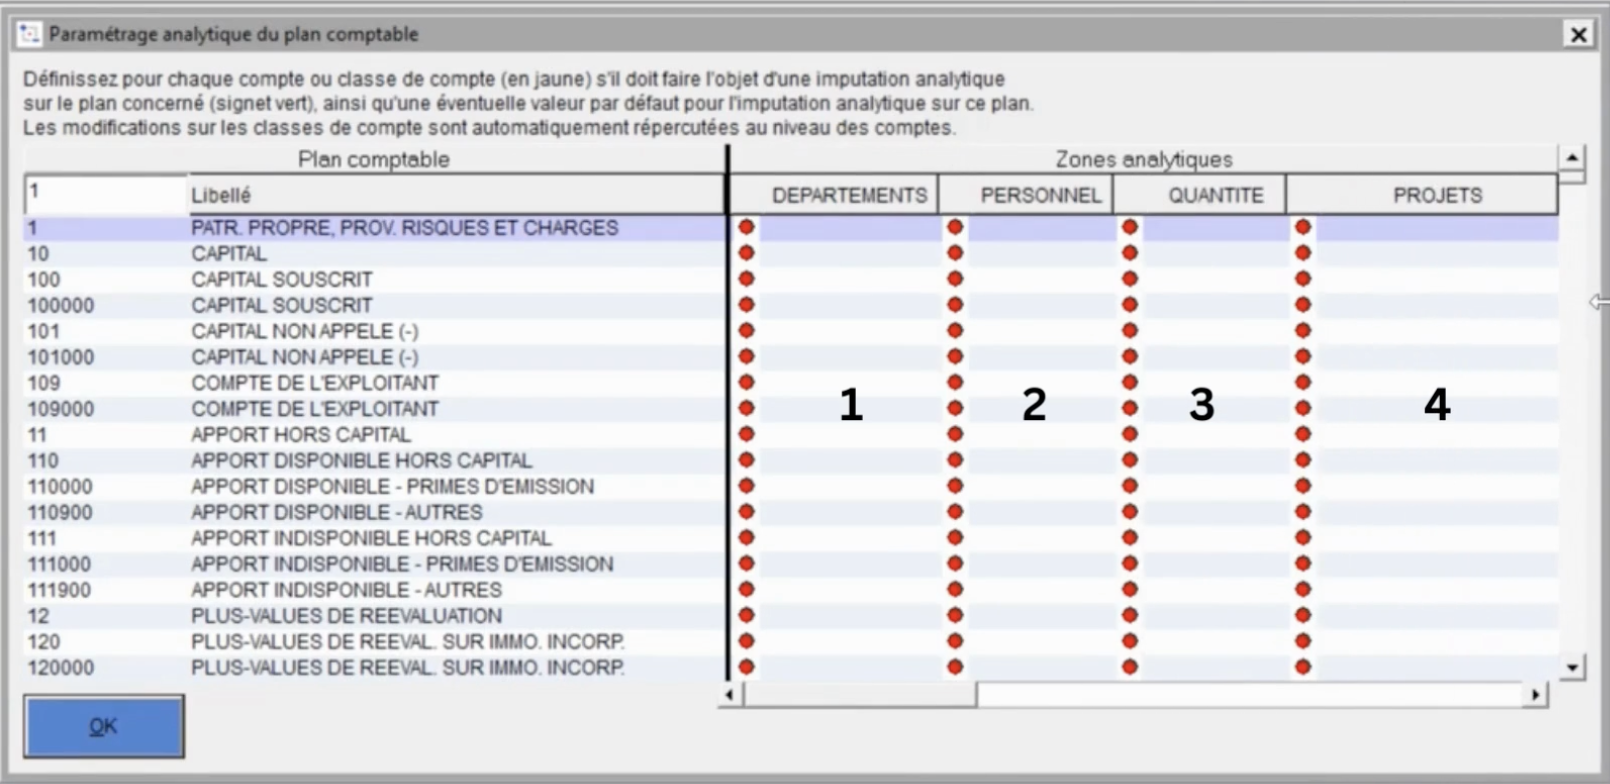
Select the analytical plan to use by default
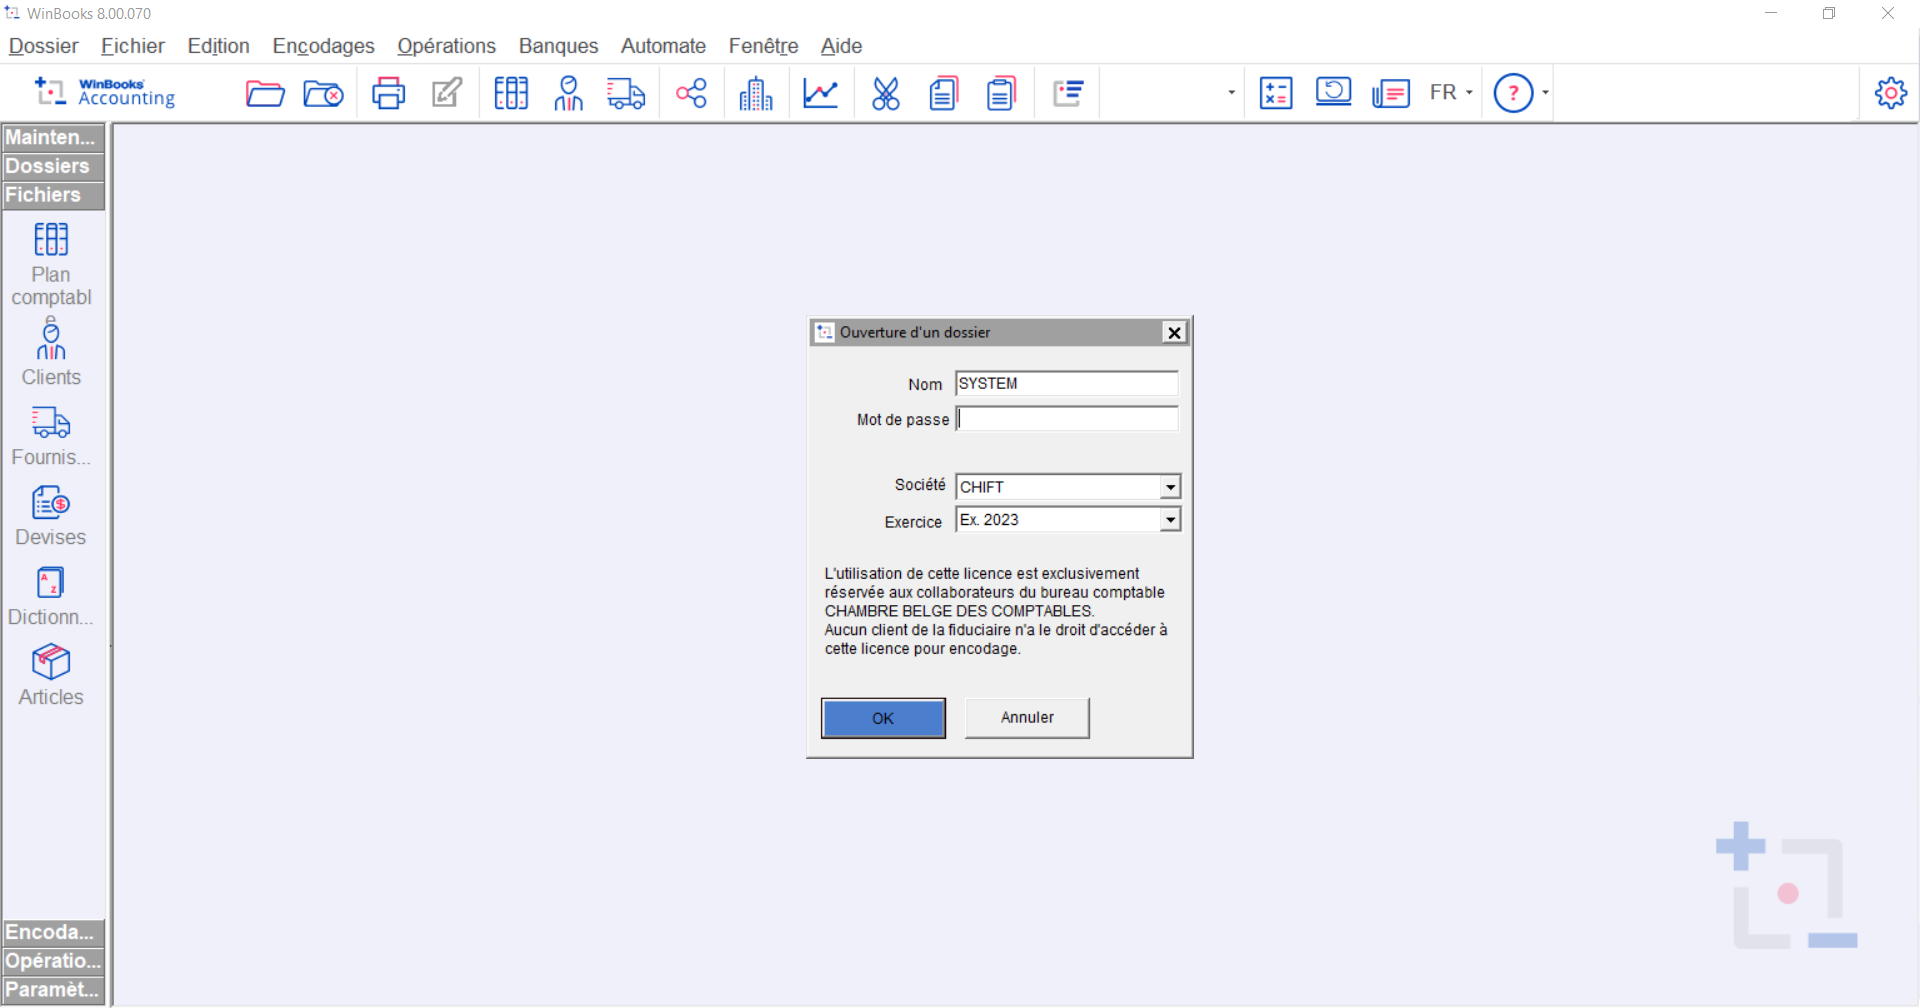
Go to your Winbooks account
Select the Analytics tab → Parameters → Accounting Plan

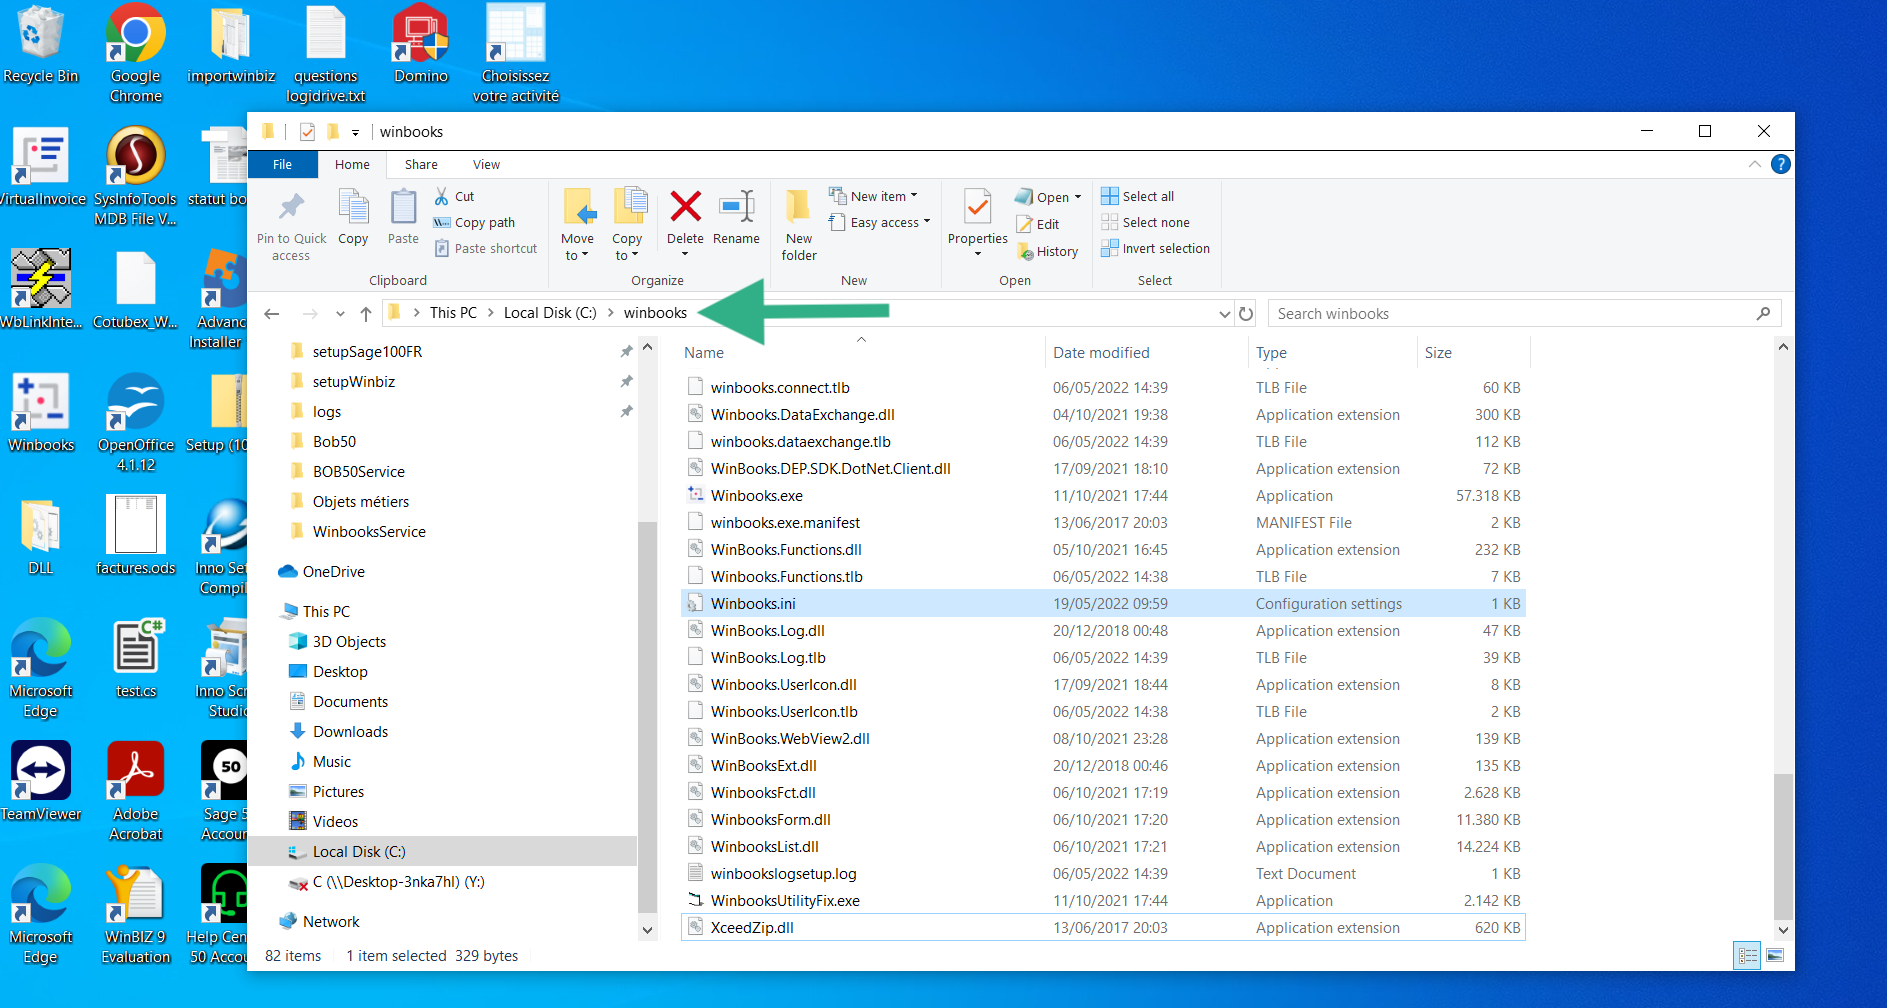
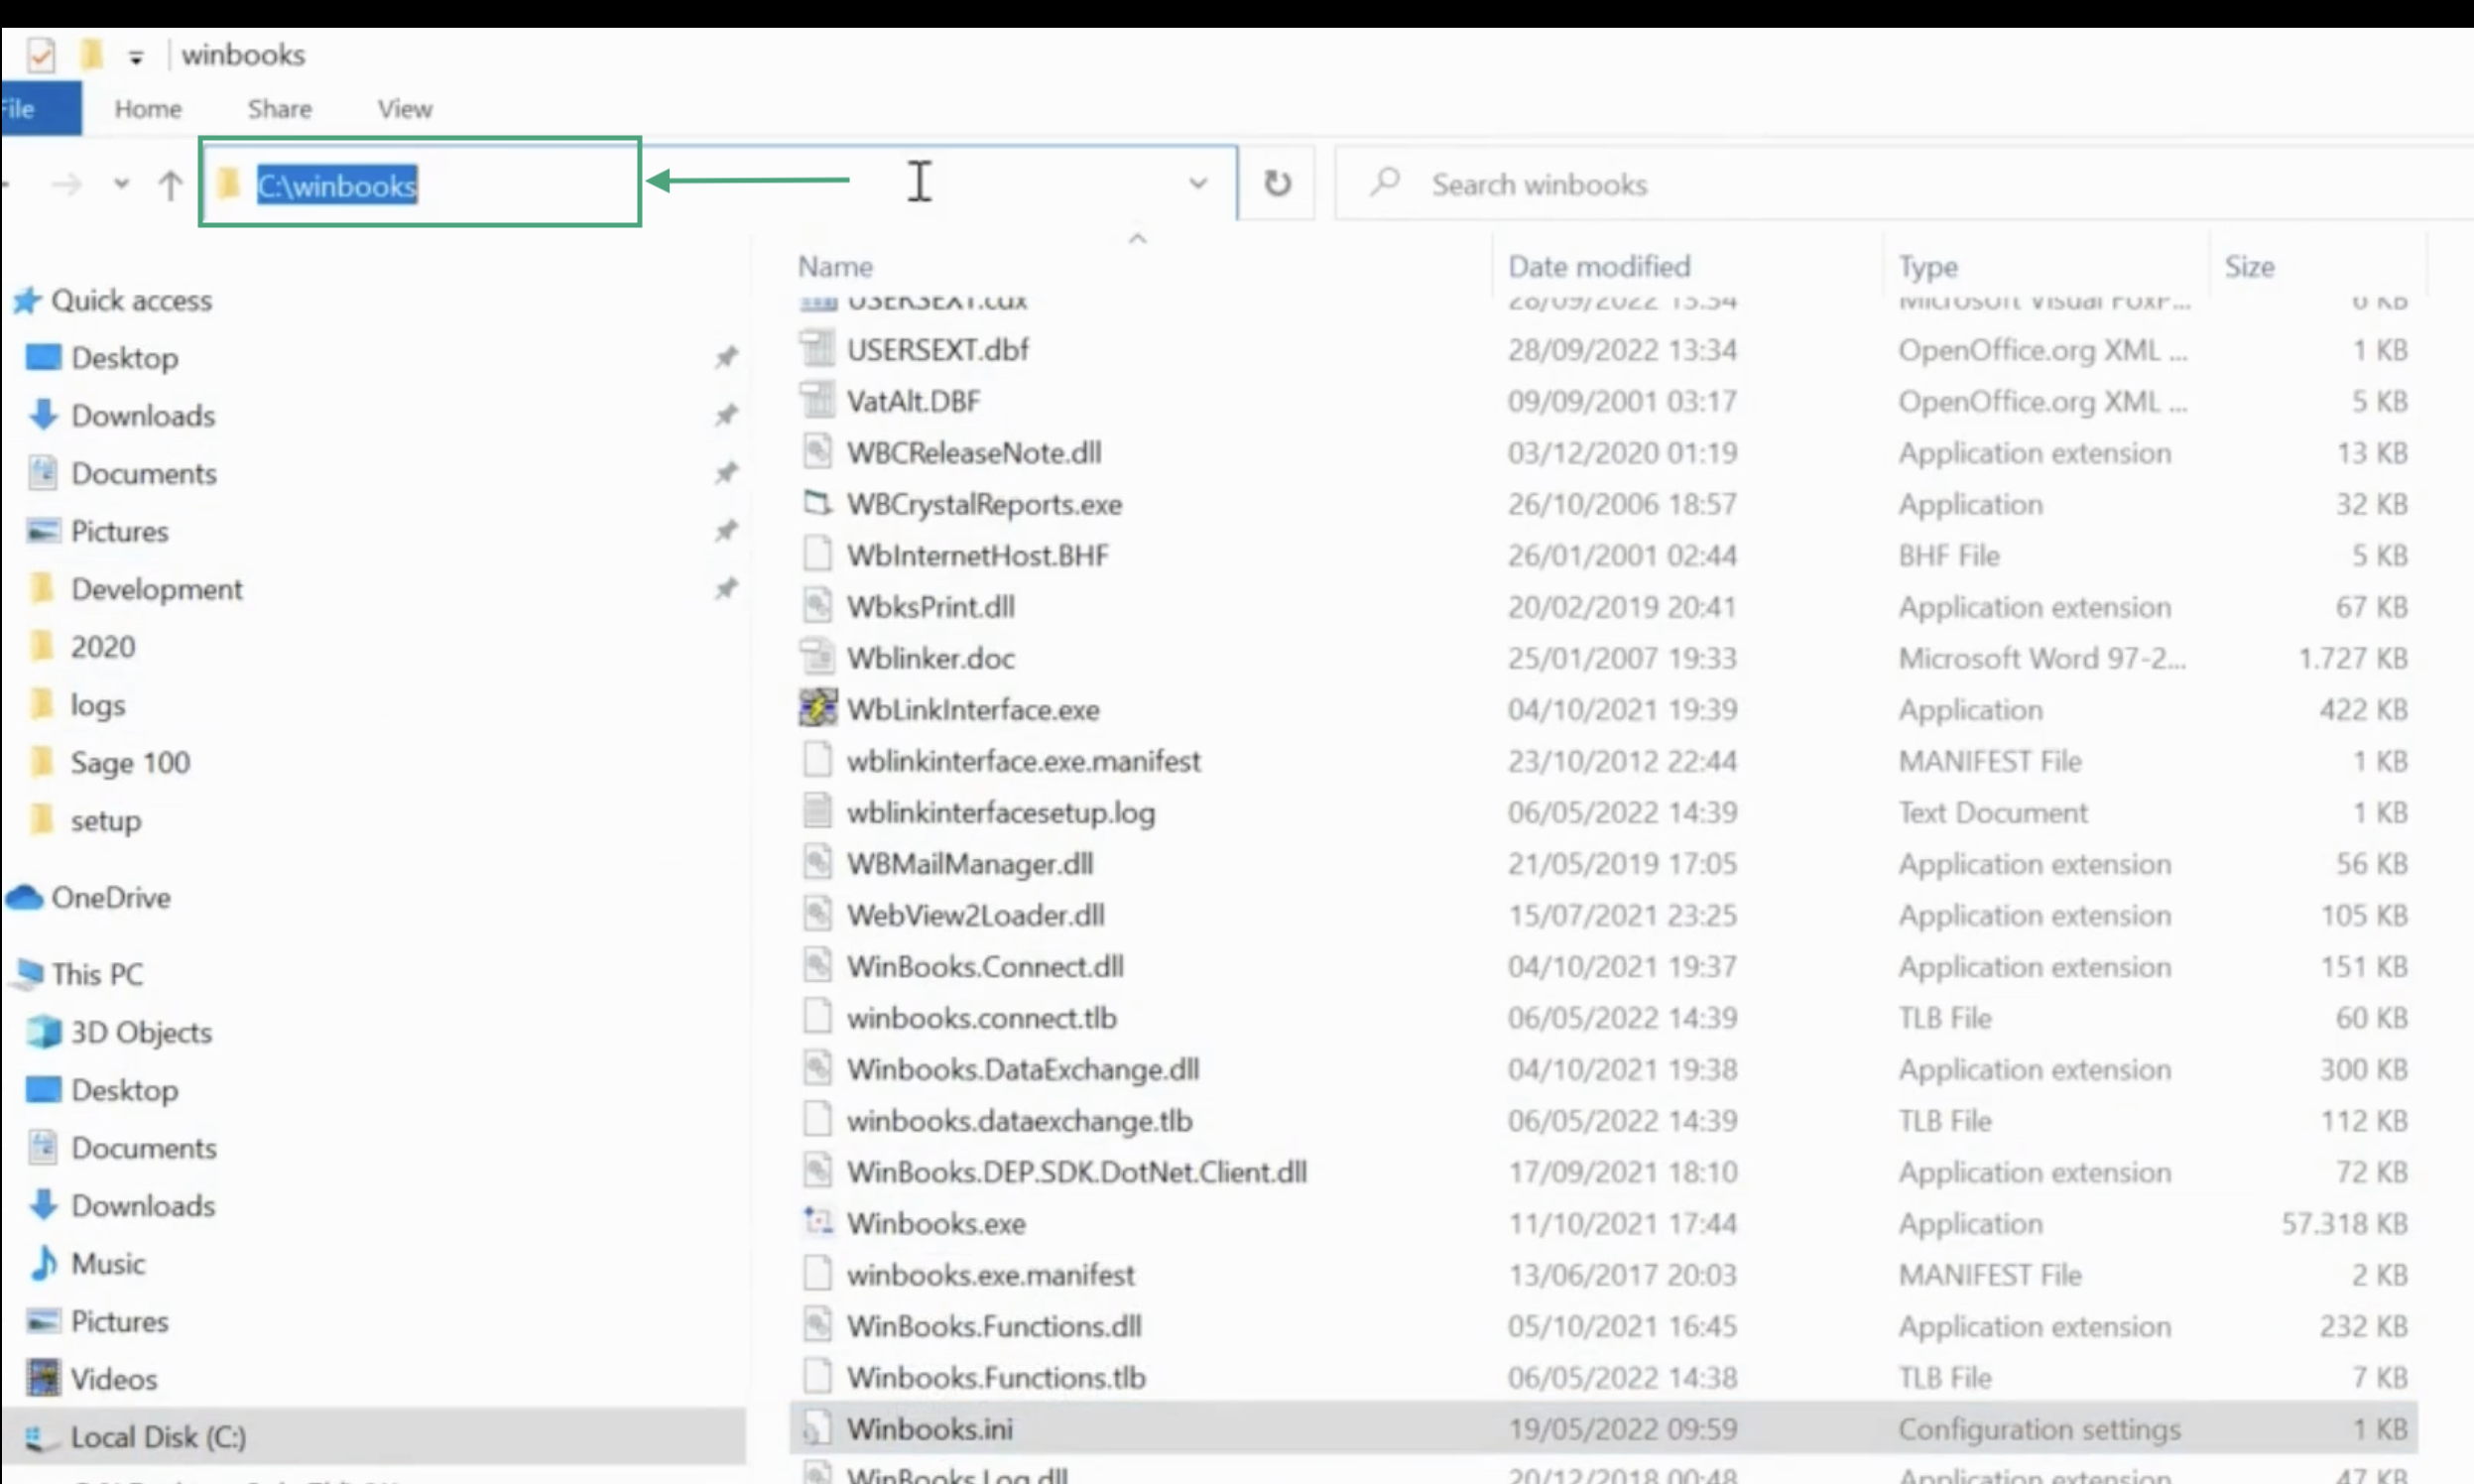
On your computer, find the disk on which the Winbooks.ini file is located and copy the route the the folder
CONNECTION
Step 1: Choose a name for your connection

Step 2: Select the analytic plan you want to configure by default & enter the path where your Winbooks software is located

Step 3: Download the zip archive and paste it on the server that runs your Winbooks instance.

Step 4: Enter your accounting folder code, corresponding with your Winbooks account

Step 5: Click "Submit" to finalise the connection
Step 6: Go back onto your server and start the installation of the local agent by executing the WinbooksServiceSetup file from the archive you just downloaded on step 3.
DOWNLOAD OF THE LOCAL AGENT
Winbooks is installed on a server. To enable data sharing, it is necessary to download a connector (local agent) that will allow data transmission with Winbooks.
After the connection step, you will have two options to download and install the local agent on the same server as your Winbooks instance:
If Winbooks is hosted on your computer, you can directly download the program by clicking on Download
If Winbooks is hosted on another server, you have the option to send the installer of the connector via email to the person or company hosting Winbooks so they can download and install it
Here is a video of the full installation of the service.
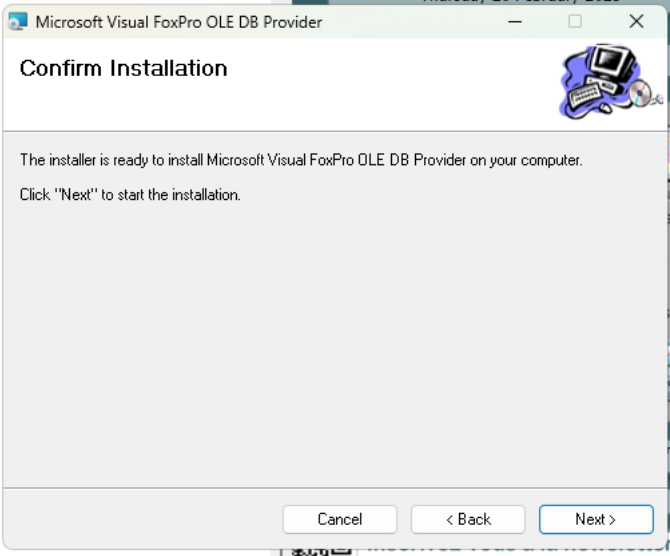
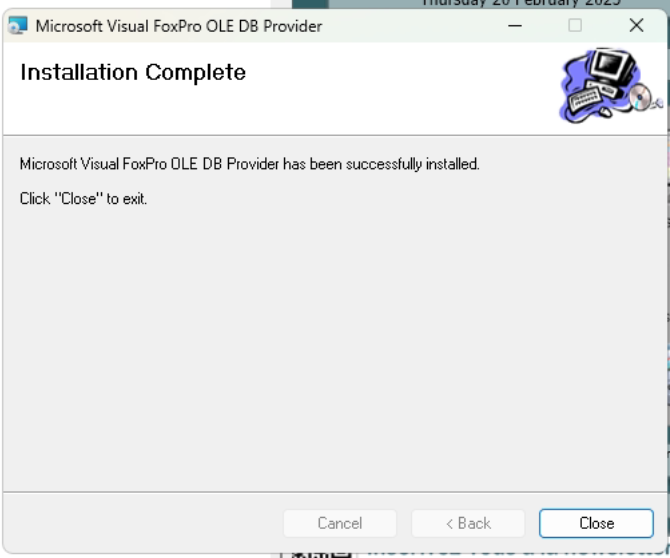
It is required to install VFPoleDB for the service to work, a dedicated installation page will automatically open during the installation of the service.
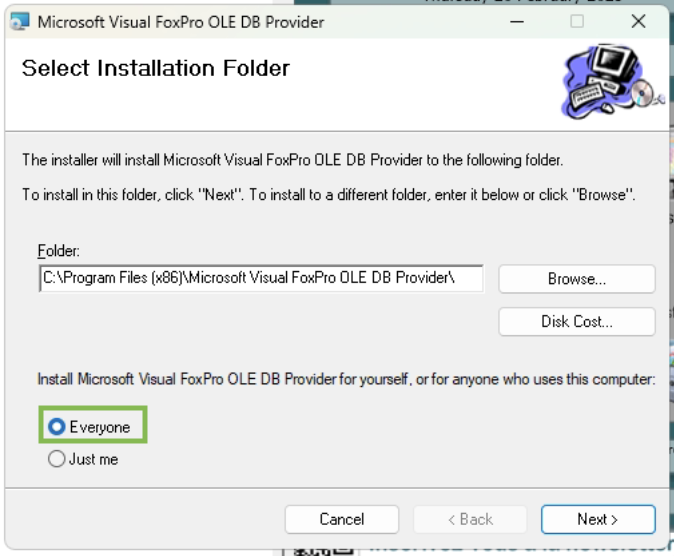
It is required not to install the "samble data" and to make sure that you install it for Everyone and not just your user, otherwise the service won't be able to use it and the connexion will not work.
🚨 If there is an error with Winbooks local agent in Chift
Go to the logs folder in the Service (C:/Program Files (x86)/WinbooksService/Log/log.html) and open the file with your default browser. The most recent lines will be on the very end of this file. The most recent lines will be at the end of the file and should help to understand what is going on. If the file do not exist, it means that we haven't tried to reach to connector yet, so there is no logs to see. In that case, a request has to be done for this consumer in order to have it created.
Is Winbooks installed on a network drive or the data hosted on a network drive
Update the settings.json to map your network drive with a UNC path
If the user is using a network drive, some changes needs to be done in the settings.json to be able to have the connection running properly.
You will first need to be find the UNC path of your network drive.
For example if you are using the P:// drive, this is most likely a network drive so you'll need to get the UNC path for that drive. It will look like something like this: \\chi-win02\sage_compta
You will then need to update the value of the settings.json to be able to let the agent know how to handle this P:// path. For this, you will find two values in the Json: toReplace and replaceWith. The values will by default be set to null
The idea is thus to change the values provided for those fields and to fill in the values that you got just before.
You will then end up with the following elements in the settings.json
"toReplace": "P://" , "replaceWith": "\\\\chi-win02\\sage_compta"
Note that in this json file, all \ need to be doubled (here in my example, \\chi-win02\sage_compta became \\\\chi-win02\\sage_compta)
Make sure that the user that is running the service has access to both Winbooks and the network drive
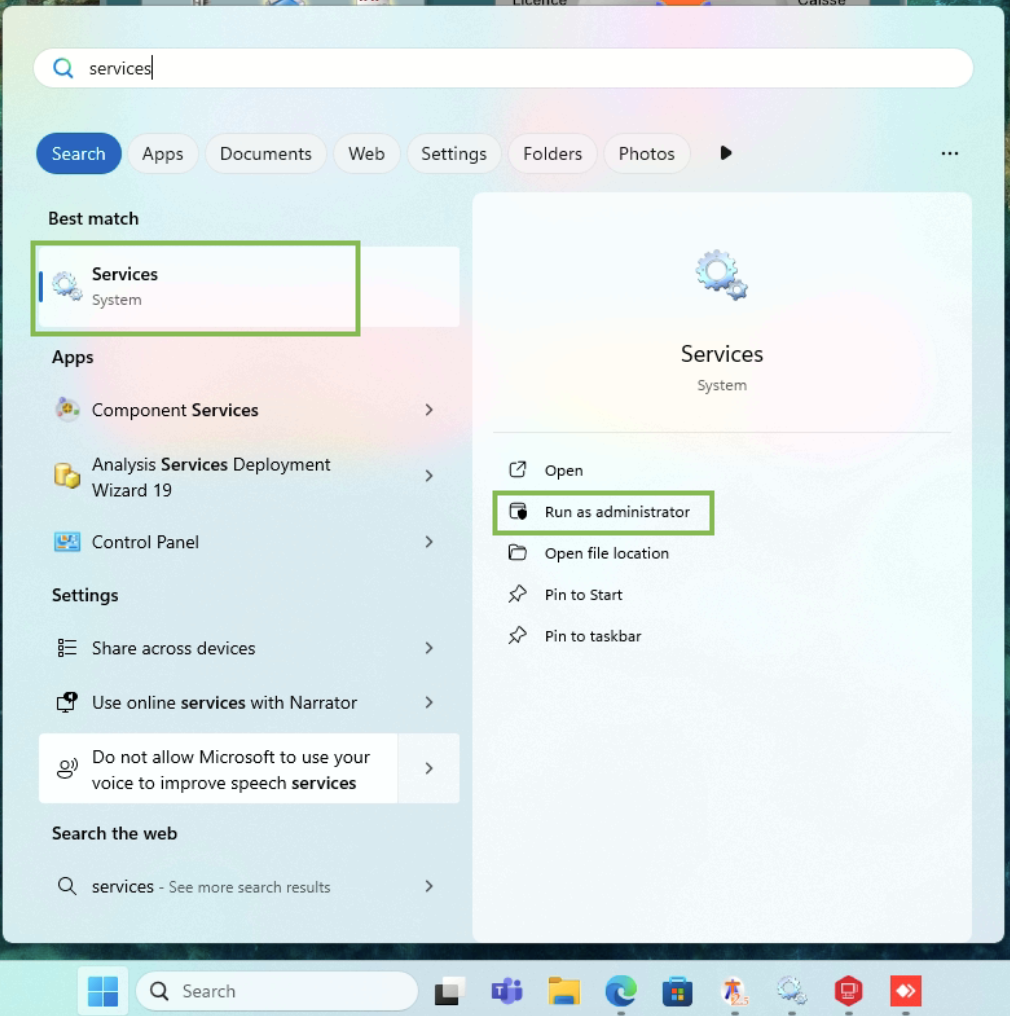
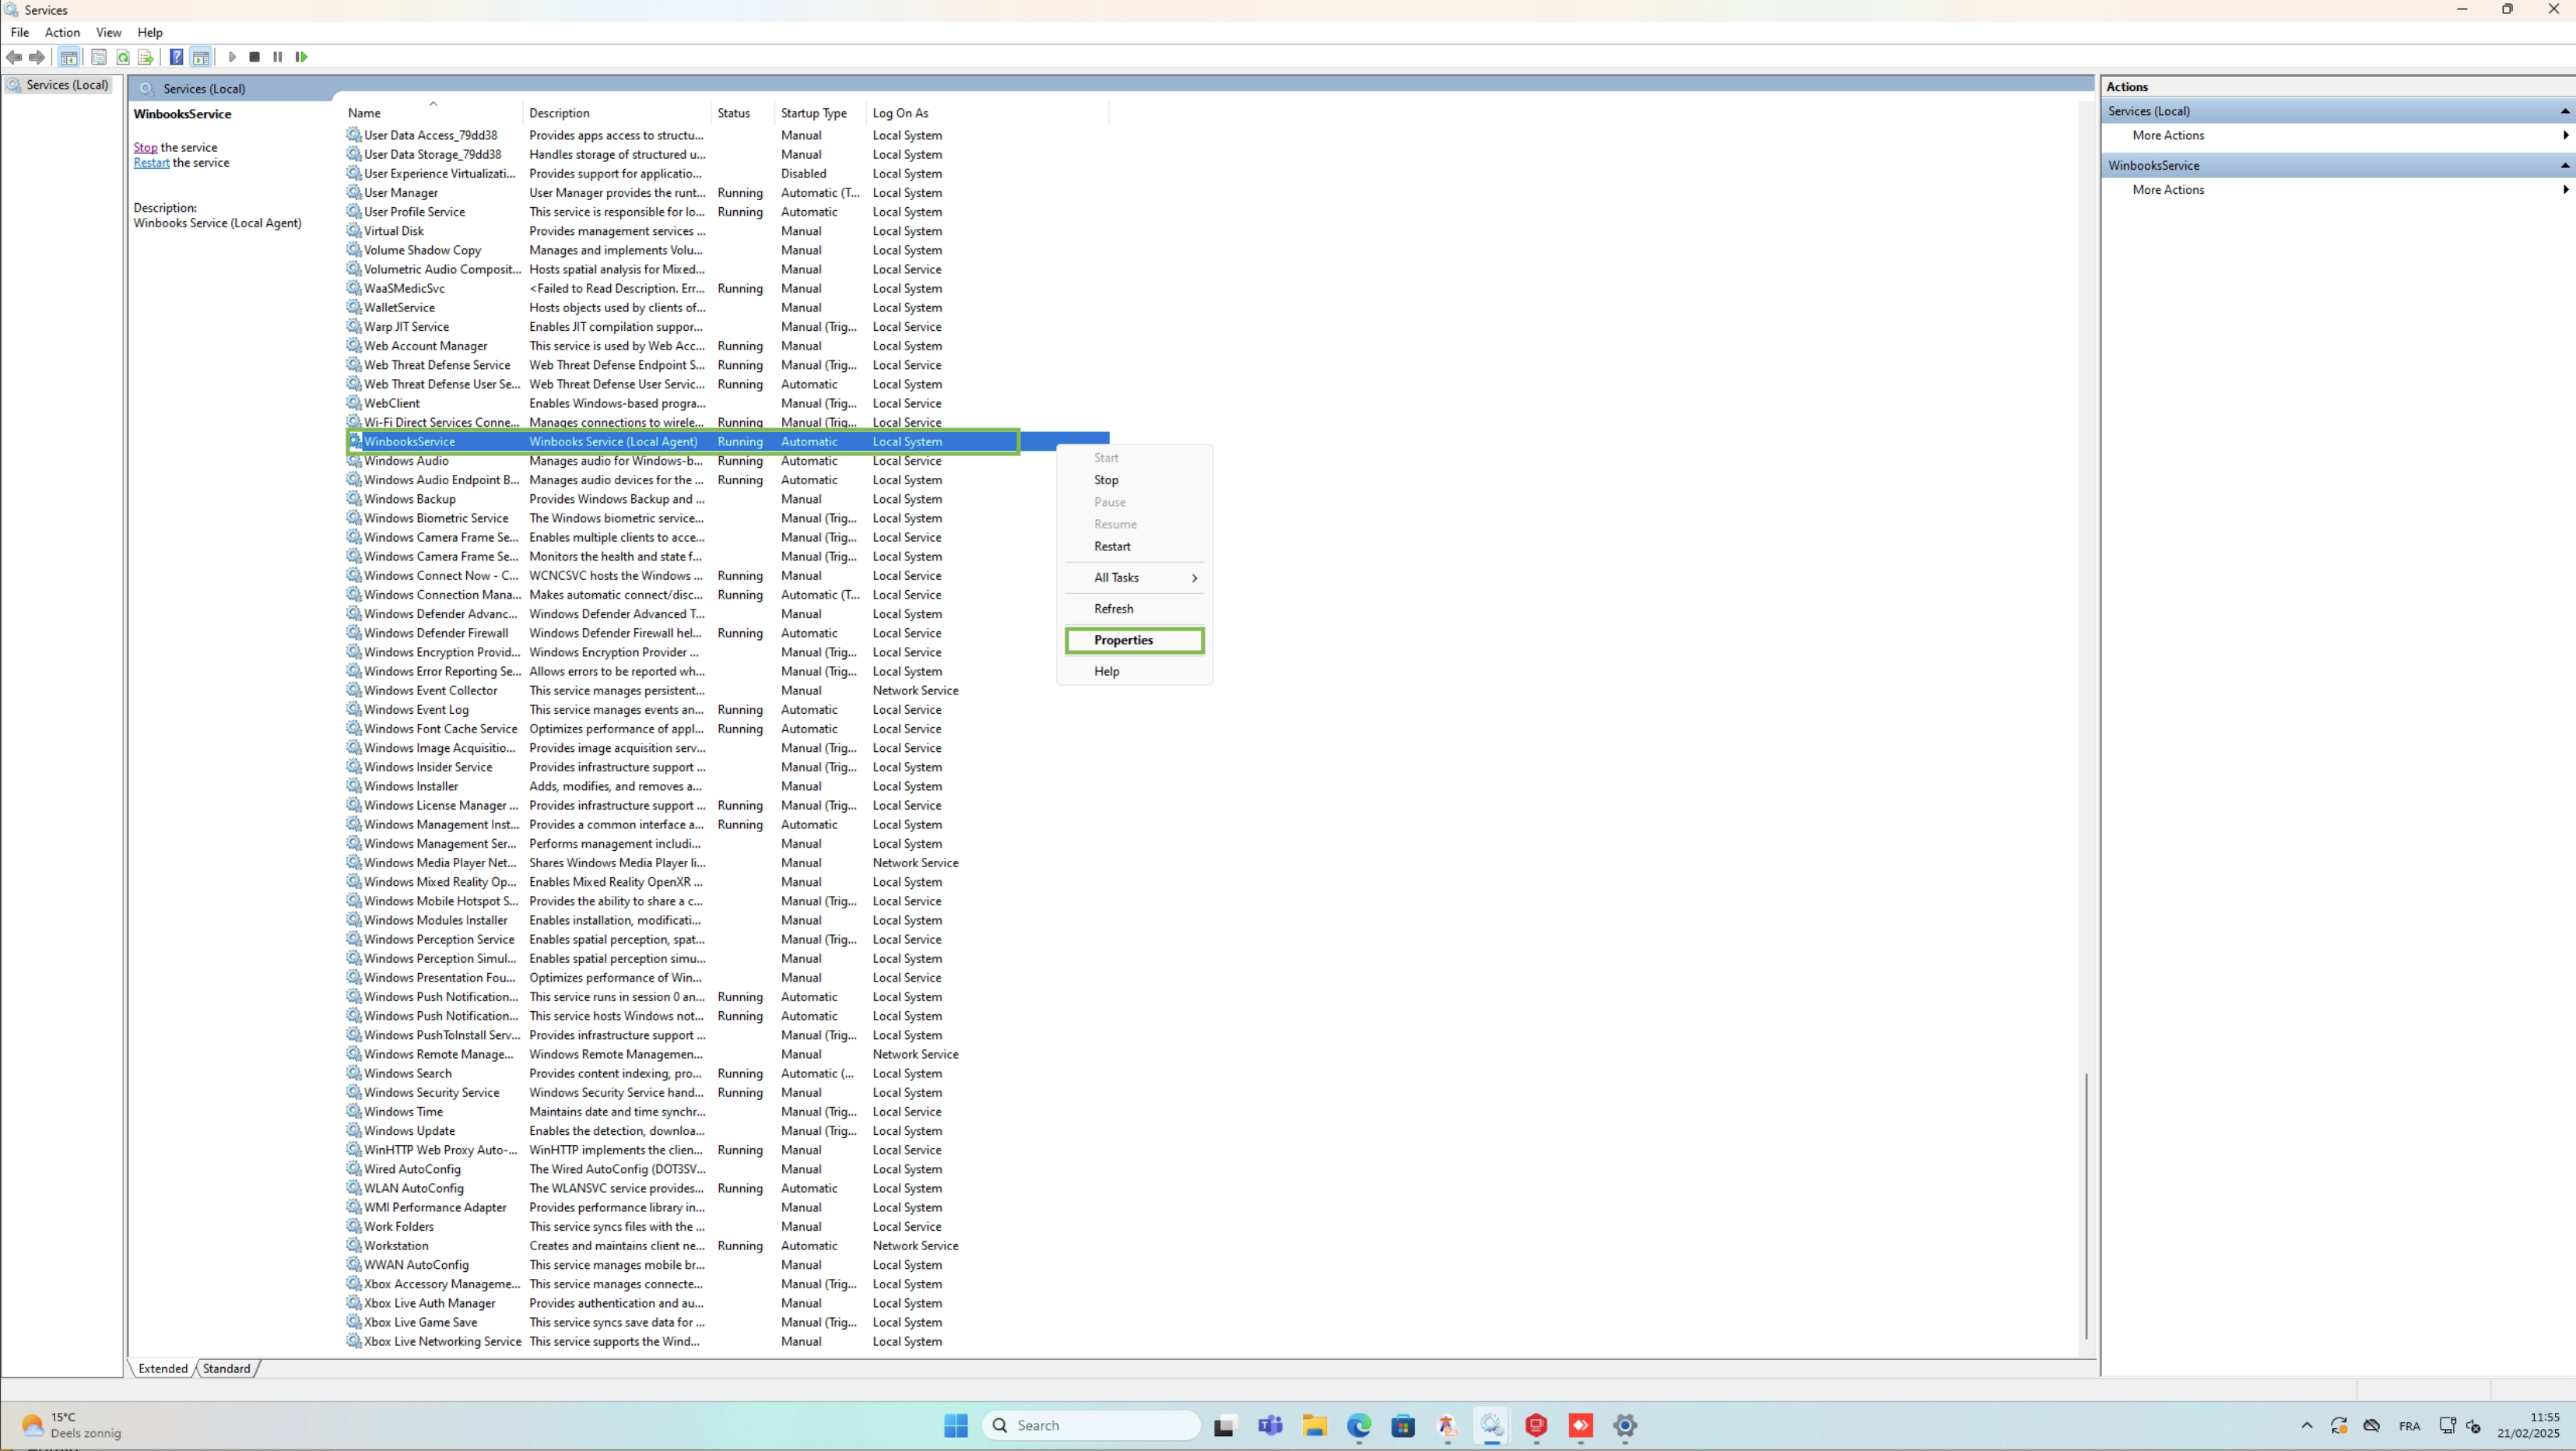
Open the service tab of your windows server by searching with the service keyword on your server.

Open it and search for the service named WinbooksService.
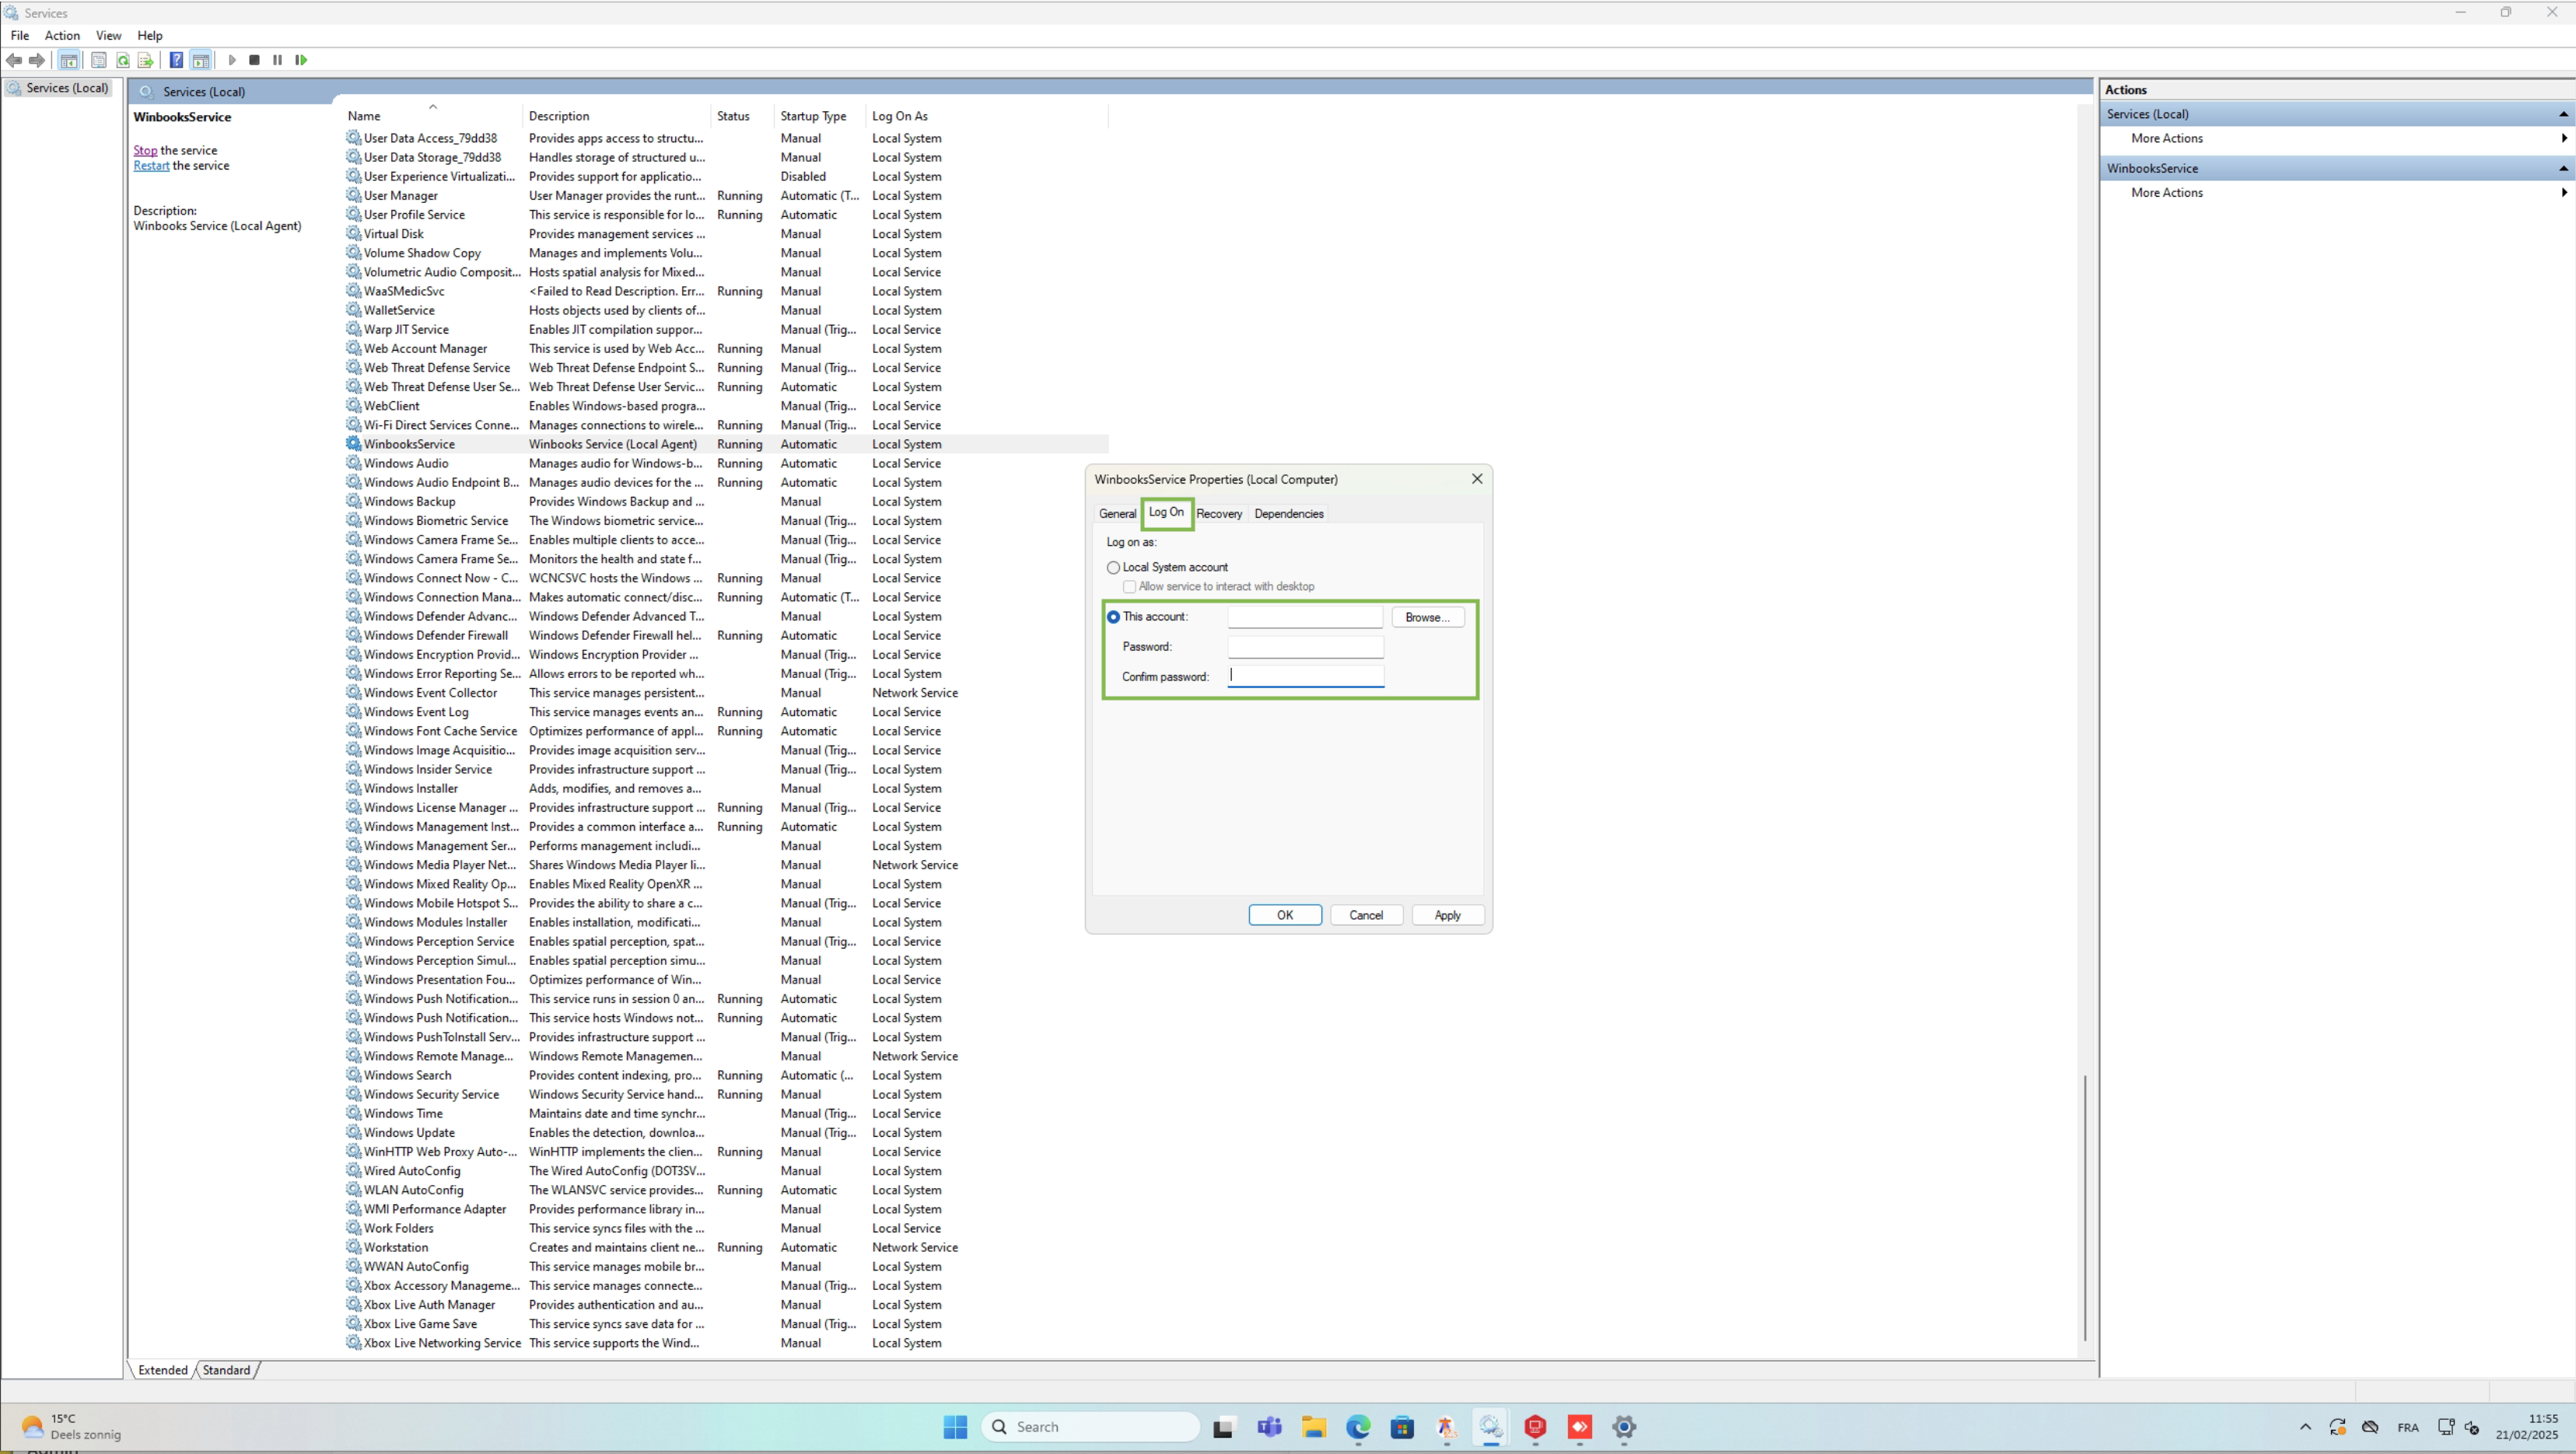
You need to perform a right click on this service, click on the properties option.

You will need to use the this account section and select a user that has access to both the network drive and the folder into which all winbooks files are stored.
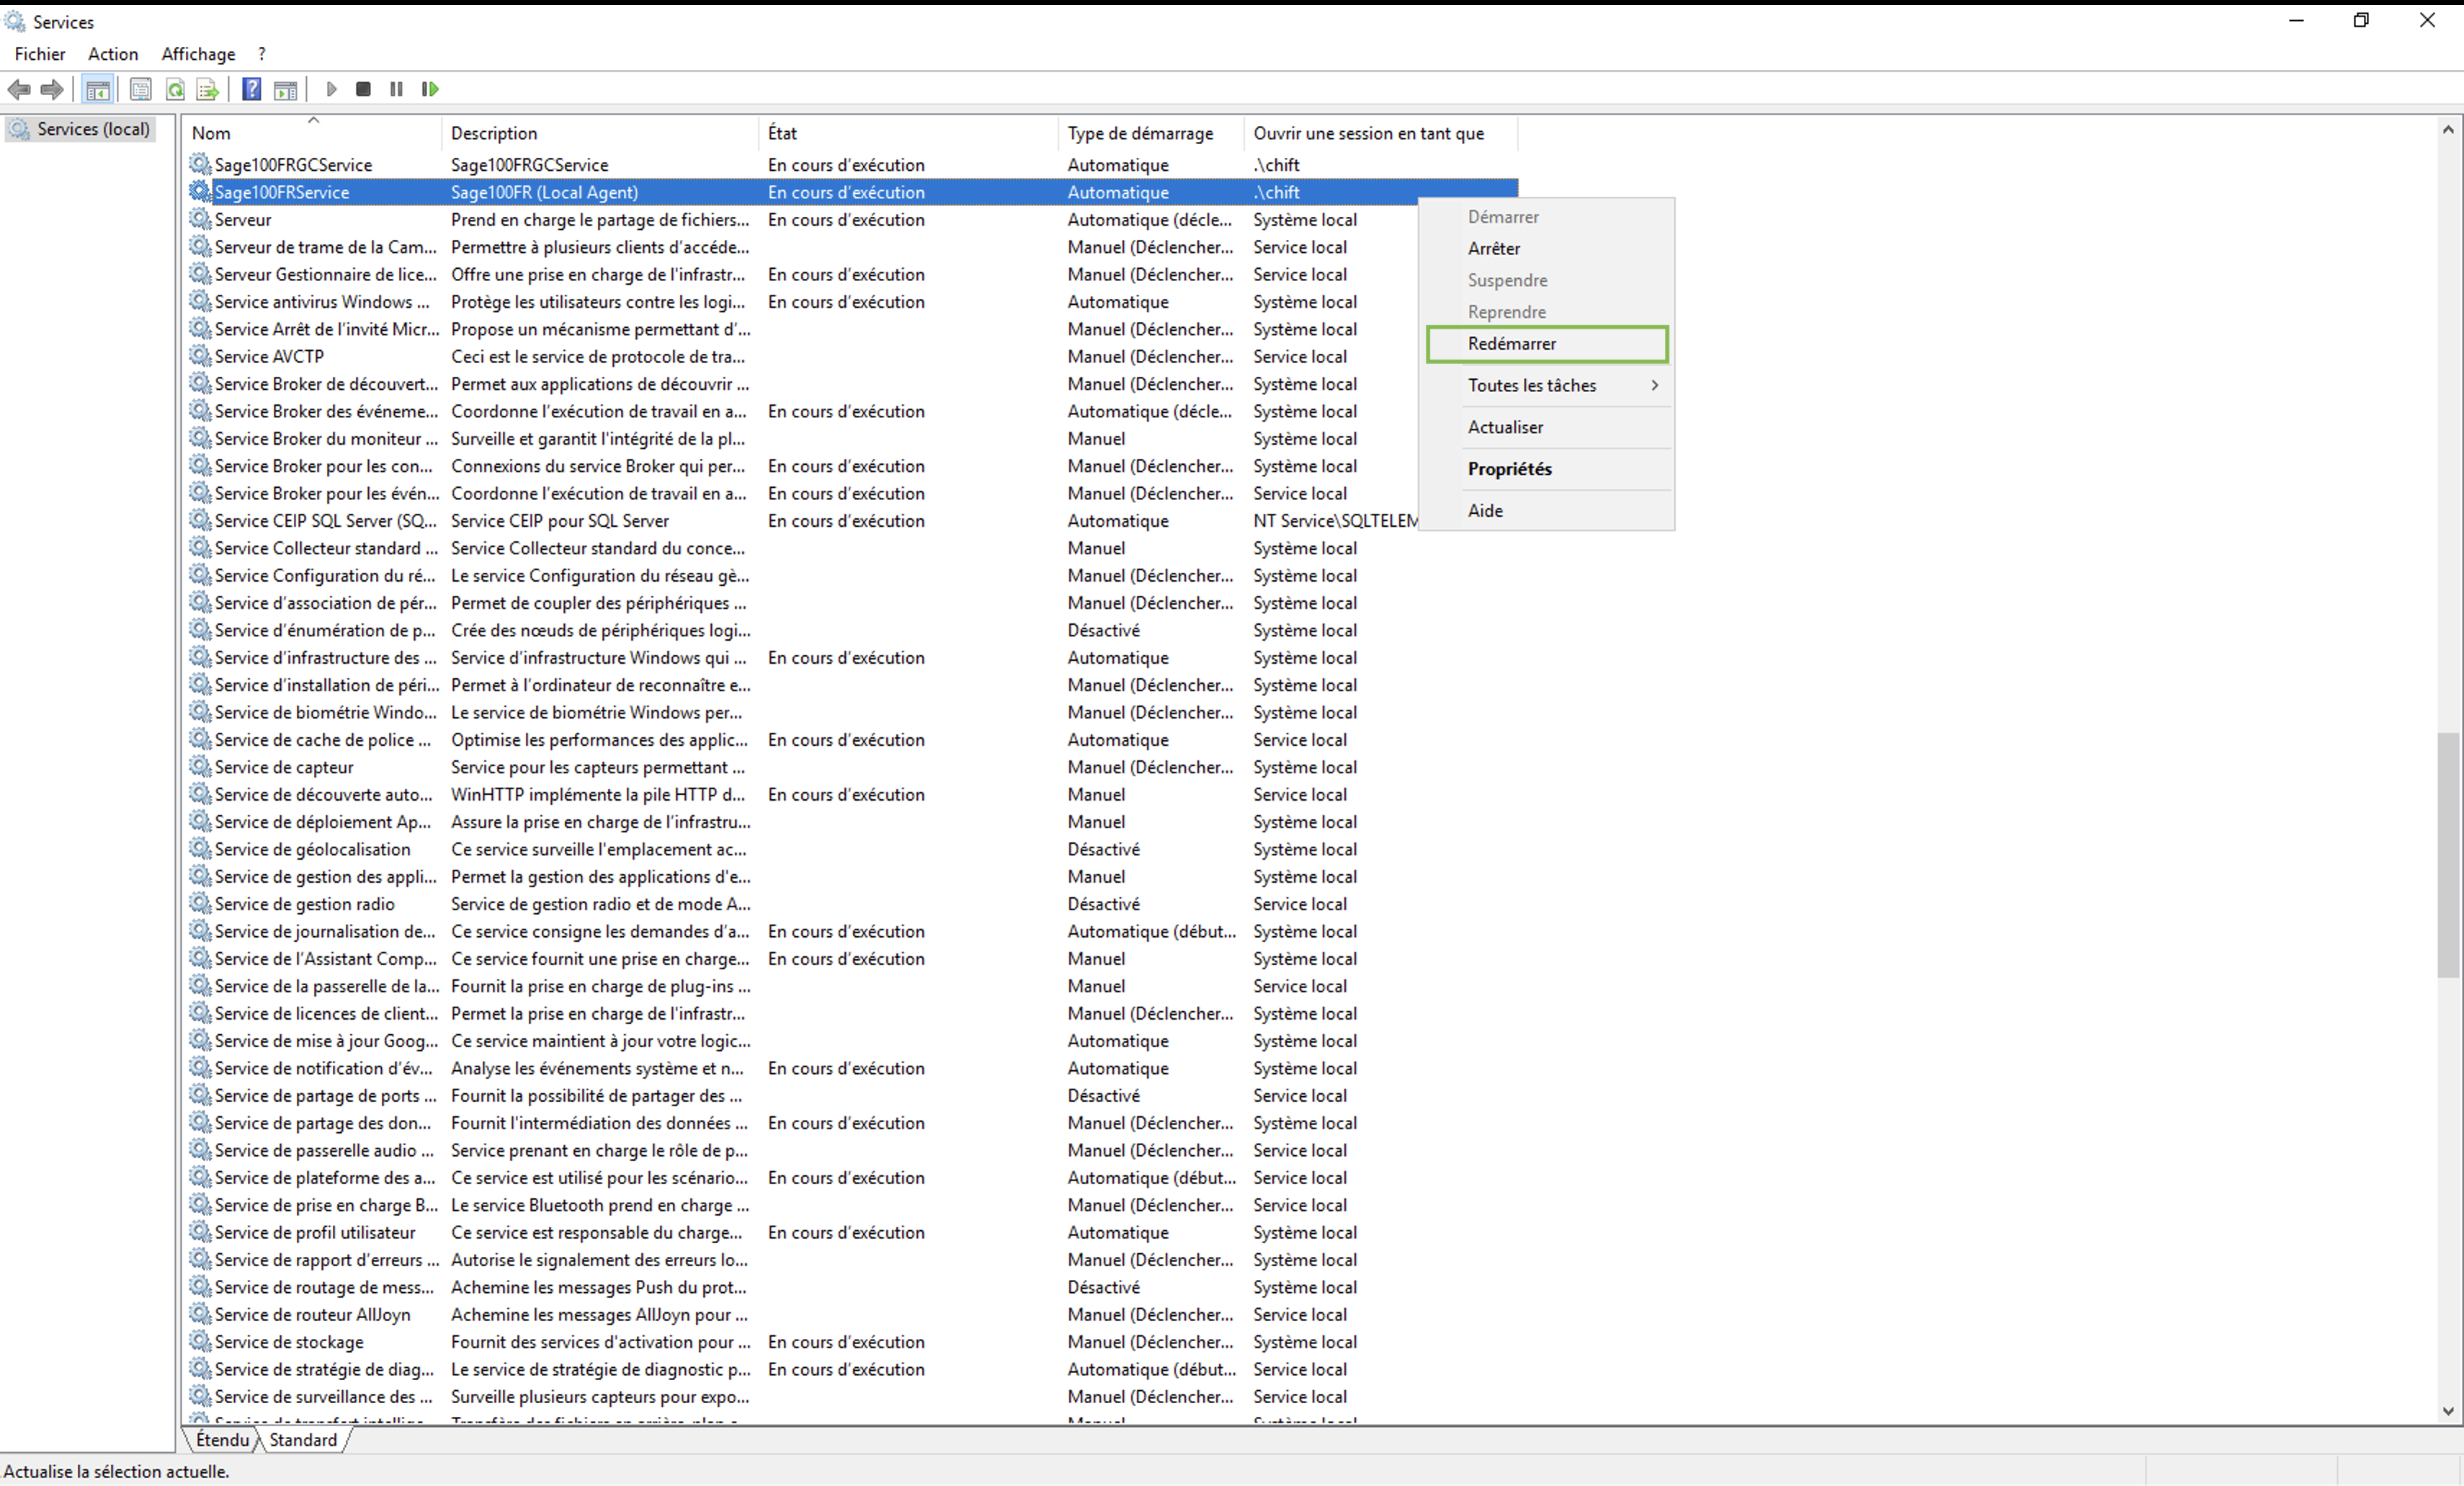
Once all the checks before have been completed, restart the service and test the connection
Restart the local agent
Navigate to the service.msc windows app
Make sure that service is configured with a windows user with access privileges to SQL DB and network shared drives

Then restart the winbooks service
Errors related to VFPOLEDB on the log.html file
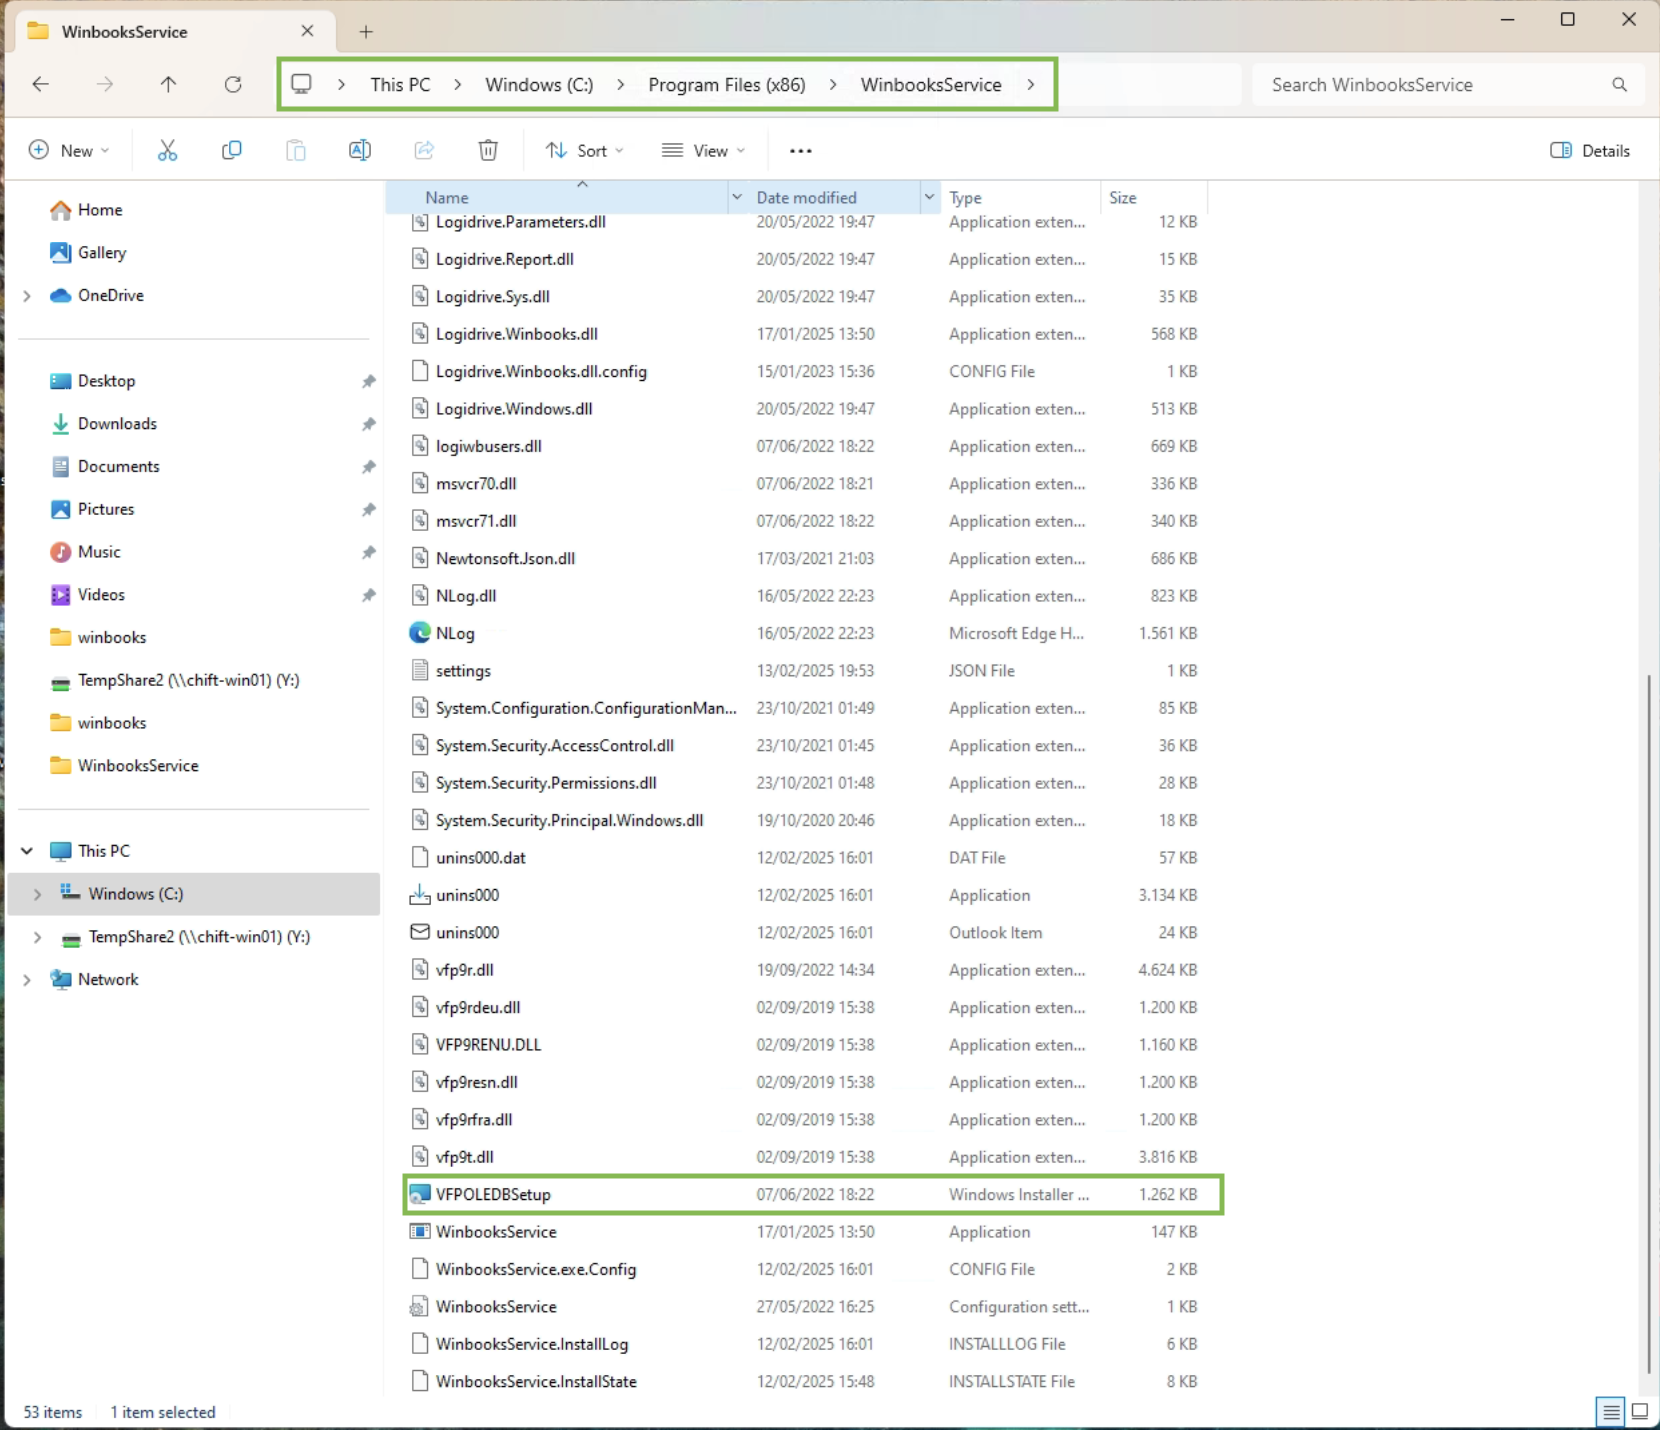
Navigate to the Winbooks service folder “C:/Program Files (x86)/WinbooksService/” and launch the “VFPOLEDBSetup” executable
Uninstall it (windows admin privileges required)
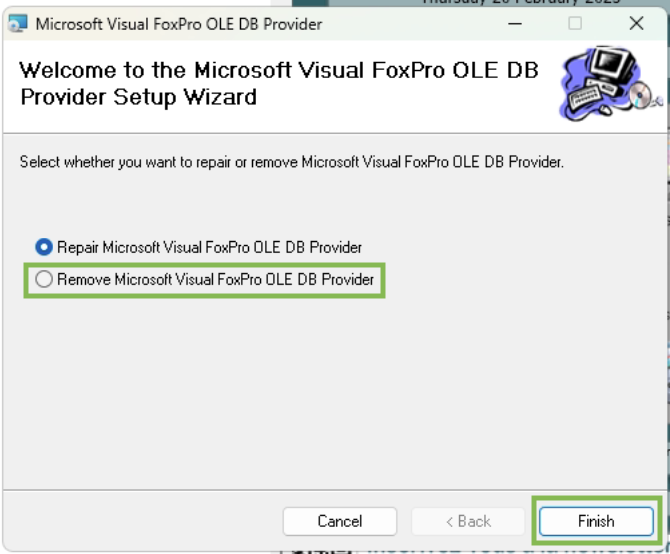
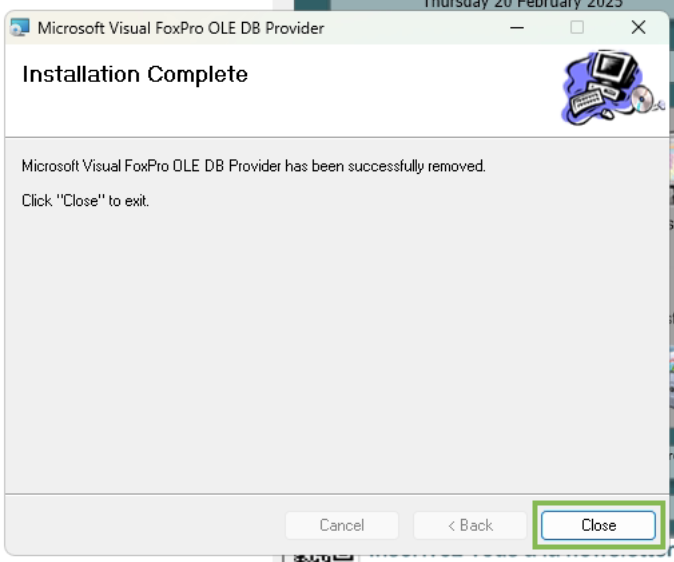
Then launch the installer again (windows admin privileges required)

Don’t check the “Sample data files and programs” checkbox
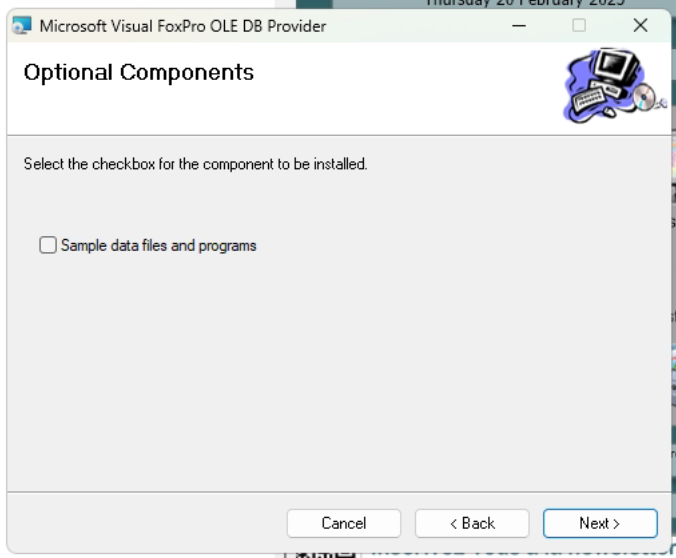
Make sure that “Everyone” option is checked, otherwise the driver won’t work with the local system user executing the Winbooks service.
Proceed with installation
Navigate to the service.msc windows app

Make sure that service is configured with a windows user with access privileges to SQL DB and network shared drives
Then restart the winbooks service
The given company doesn't exist in the accounting system
This means that we are not able to find the accounting folder. This is often due to the connector not being able to find the path where the data is stored. Either due to access rights issues or network drives access issues.
Check the path configured in the Winbooks connection form on Chift
Make sure the specified path (e.g.,
C:\\Winbooks) exists.Verify that this folder contains the Winbooks.ini file.
⚠ If the path does not exist or is not accessible by the user running the Windows service → use a UNC path if the folder is on a shared or network drive.
Open the Winbooks.ini file
Check for the presence of the UsersPath variable.
If the variable is missing or empty → This is most likely the issue (often happens when the connector is installed on a proxy server instead of the main server).
Verify the folder specified in UsersPath
Make sure the folder exists.
Check that it contains the Users.dbf file.
⚠ Same rule: if the folder is shared or on a network drive, replace with a UNC path in the winbooks.ini file
Check the Users.dbf file
This file contains the list of all companies (1 row = 1 company).
Each company entry specifies the path to its DB/DATA folder. If your path is leading to a network drive, this path has to be a UNC path.
⚠ The file is encrypted → the connector automatically decrypts it and creates a temporary decrypted file in:
C:\\Program Files (x86)\\WinbooksService\\tmp. This file will only be visible when a request is performed to the service.
There is an example of a users.dbf file once opened, you have the CODESOC column referencing the folders codes and the path indicating the related paths.
.png")
To verify:
The company code entered in Chift matches a company in the file.
If no match is found in the file, then the connector won't work. You can re submit the form on Chift to change it without having to reinstall the service
The path specified for the DB/DATA folder is valid and accessible.
If the path does not exist or is not accessible by the user running the service, then it cannot work. You thus have to update the user running the service as explained in the detailed troubleshooting section.
The path exist, is correct but is not UNC and is associated to a network drive, then you have to update this file to have the UNC path and not the local path. This won't change anything to your winbooks configuration as those 2 paths are the same for your machine but will allow the service to know where to look for winbooks related files