Odoo Invoicing
Last updated: April 7, 2026
PREREQUISITES
The integration is enabled for Odoo versions 13 and above for Odoo.sh et Odoo SaaS.
A "custom" pricing plan is necessary for the activation of the integration with Odoo. (Odoo's Plans & Pricing)
Must have admin permissions to enable the connexion
Constraints added in customisations in Odoo may impact the performances of the connector.
PREPARATION
Watch this video:
https://chift-connector-videos.s3.eu-west-3.amazonaws.com/1000/1000-config.mp4
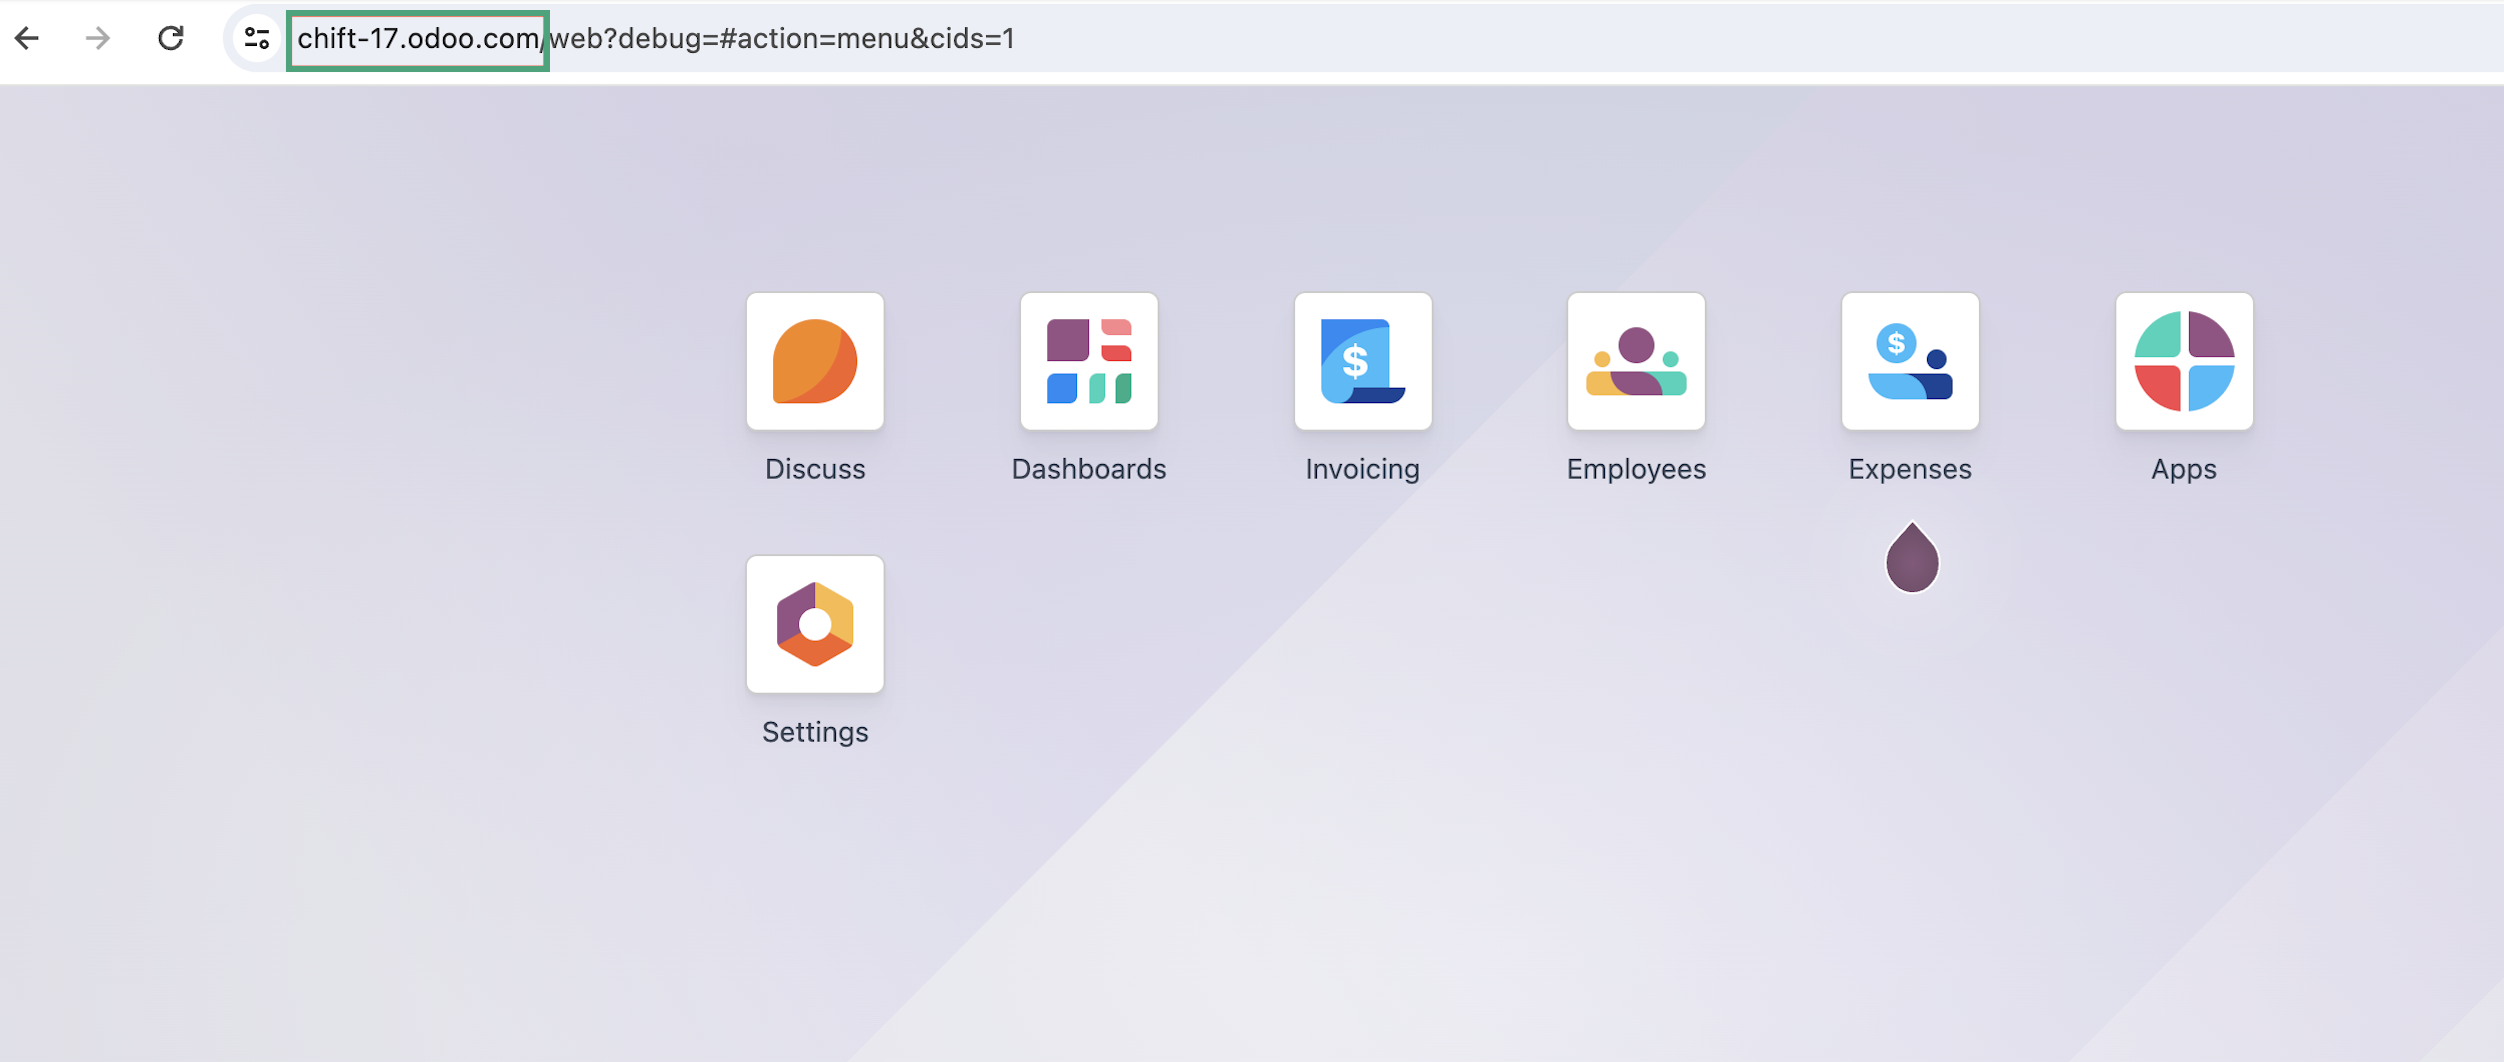
1. Find your Odoo URL.
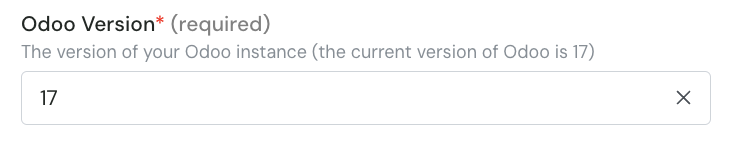
2. Find the version of your Odoo account
Go to Odoo → Parameters
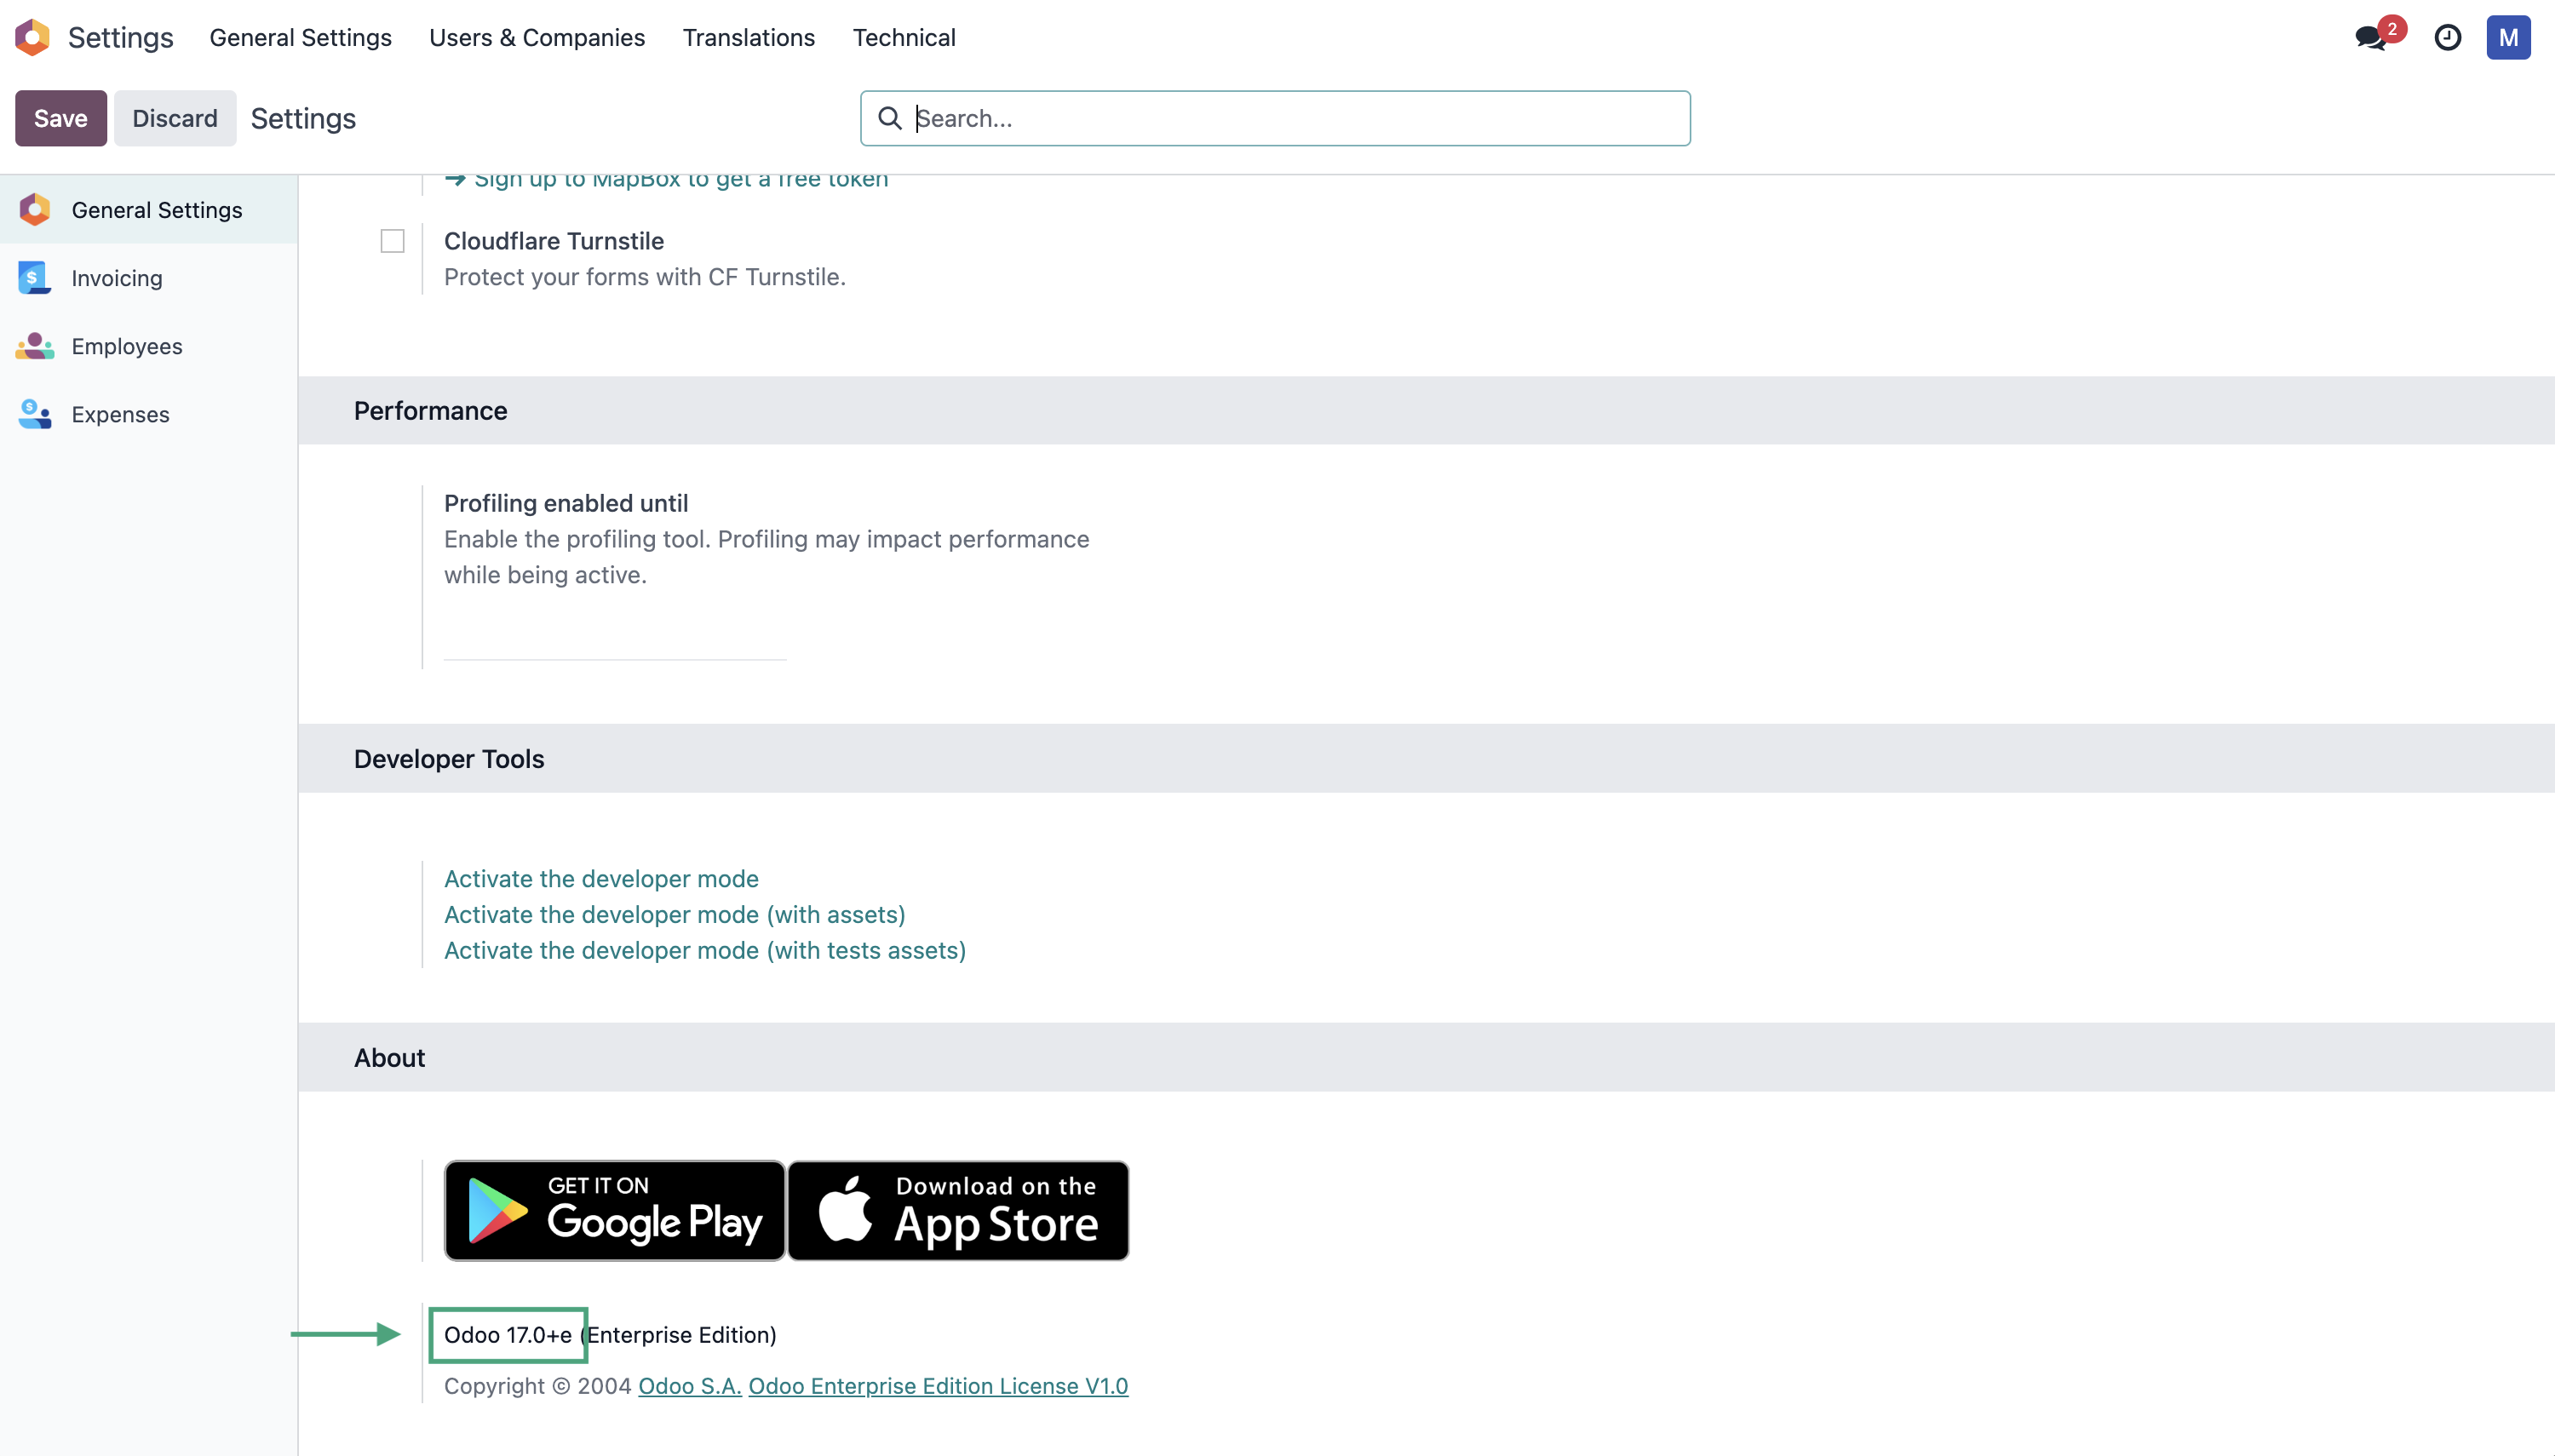
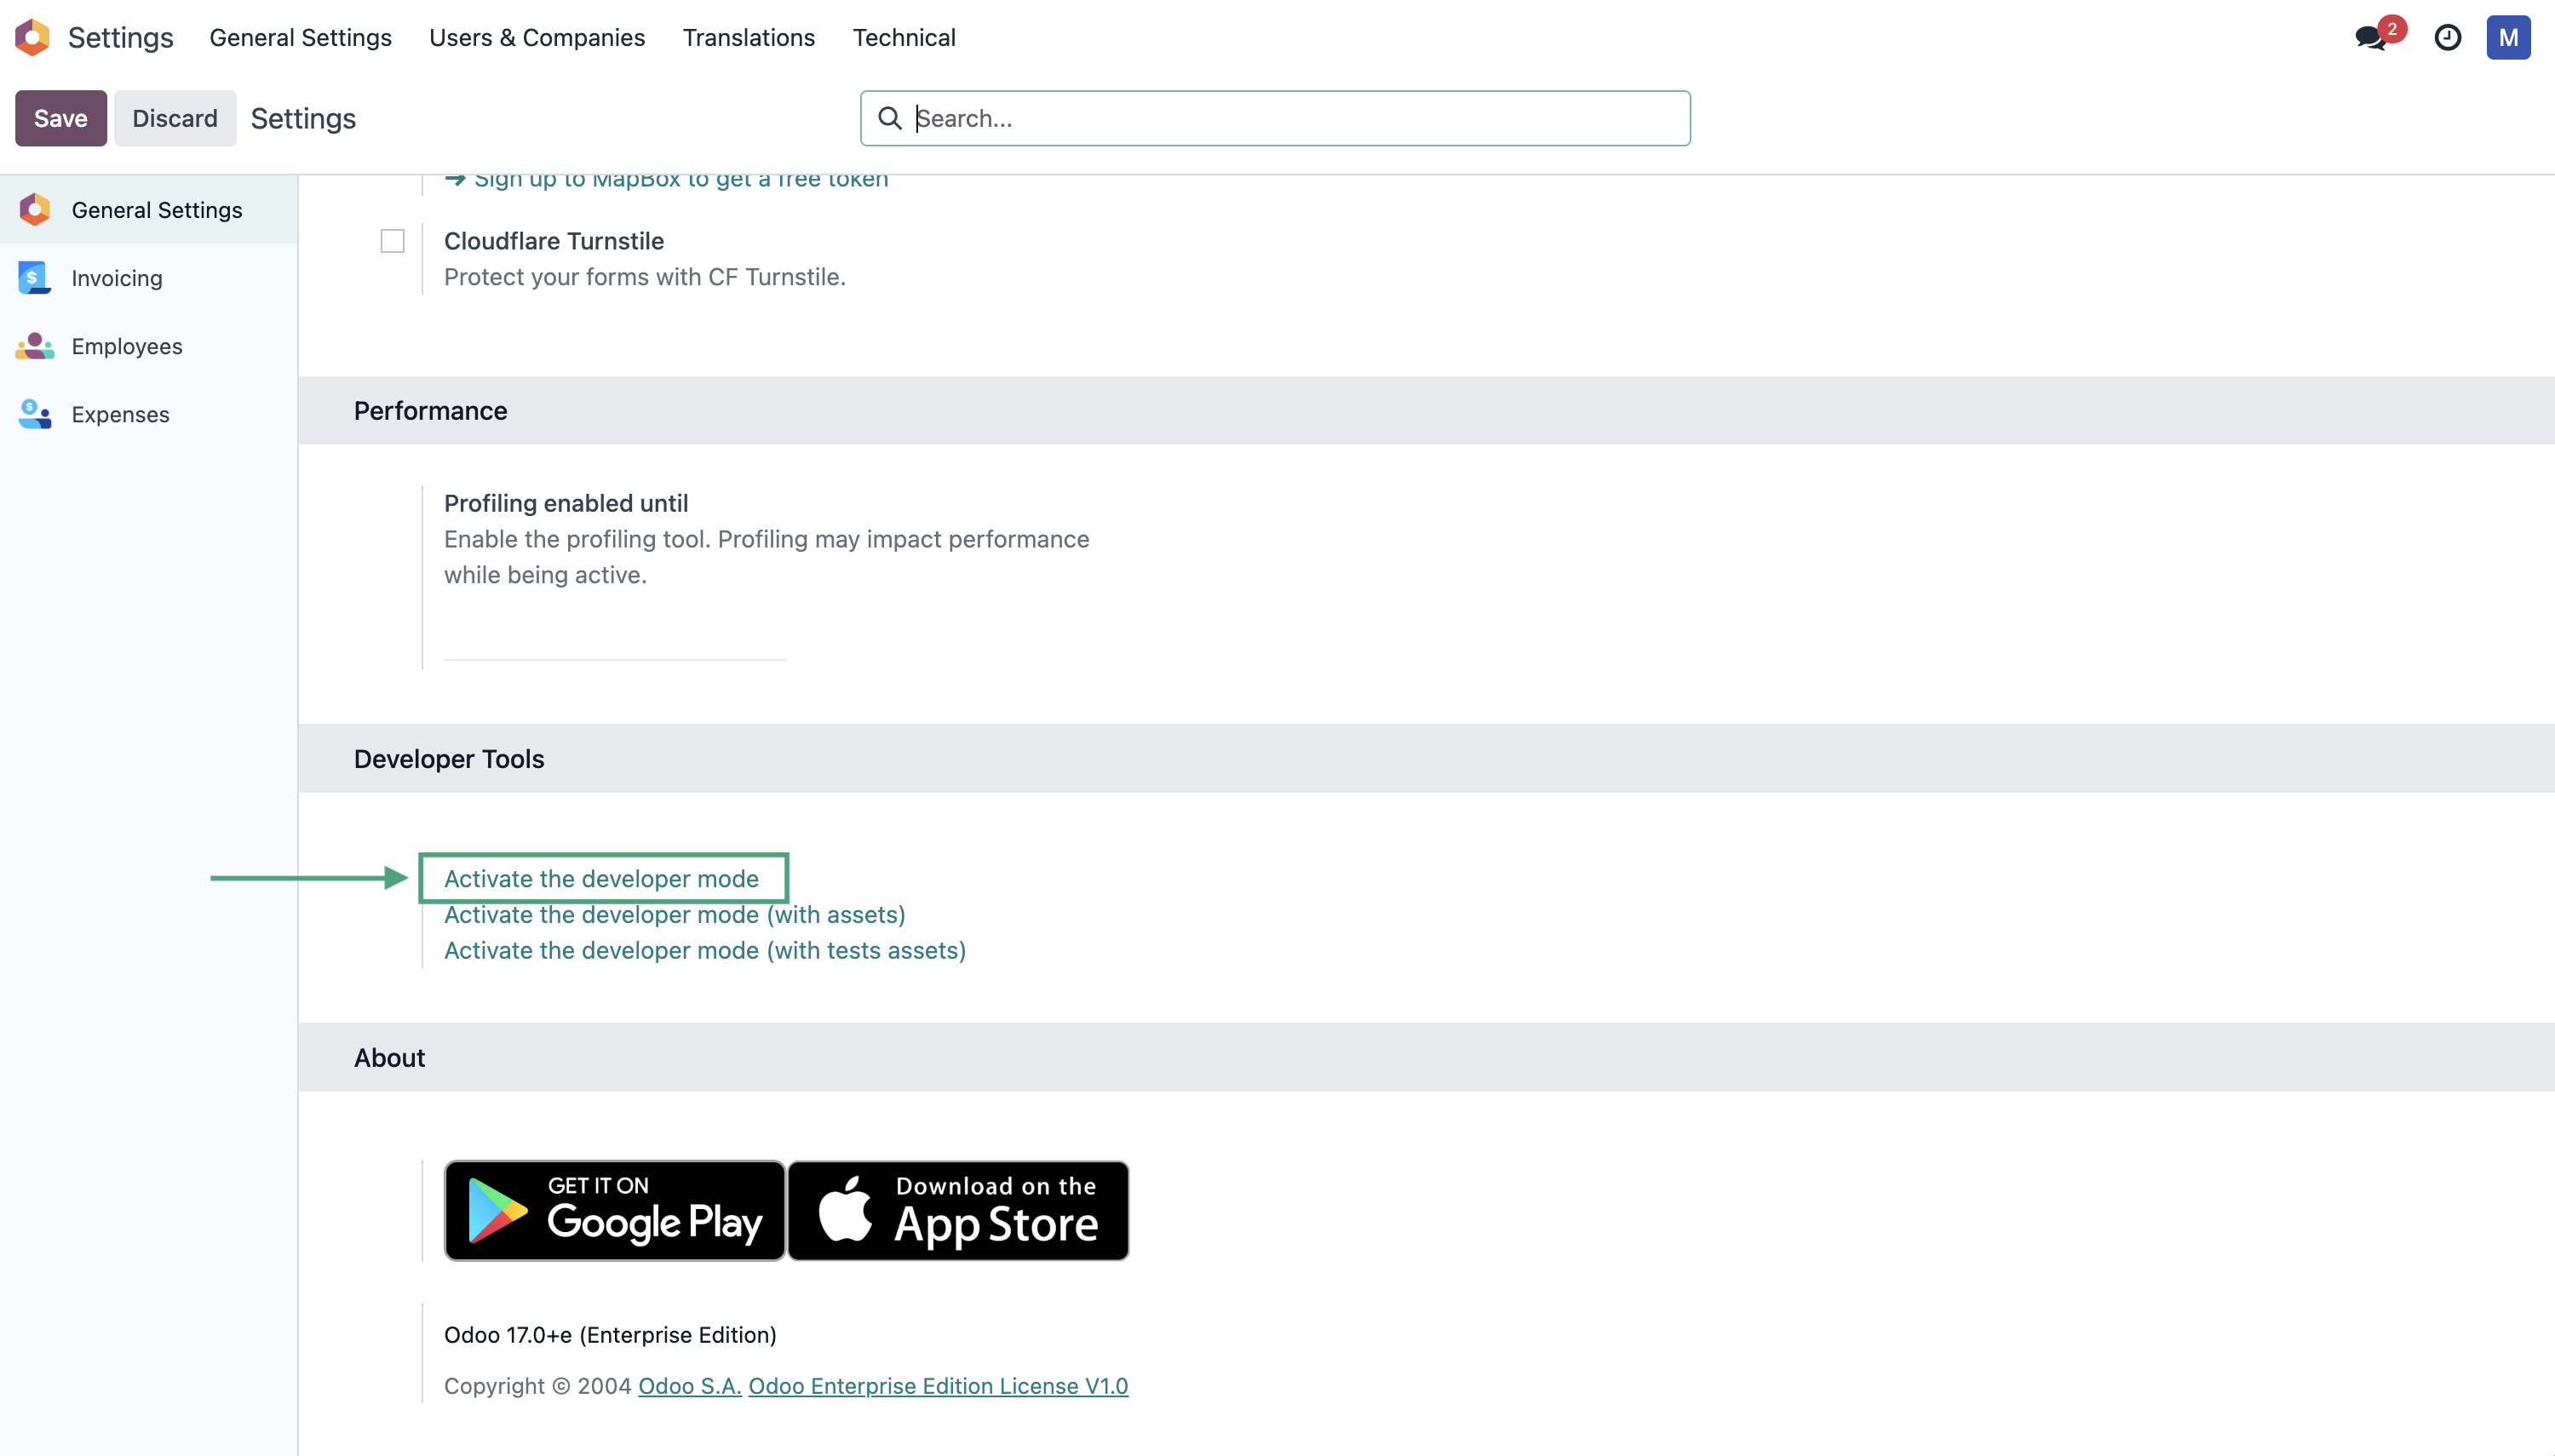
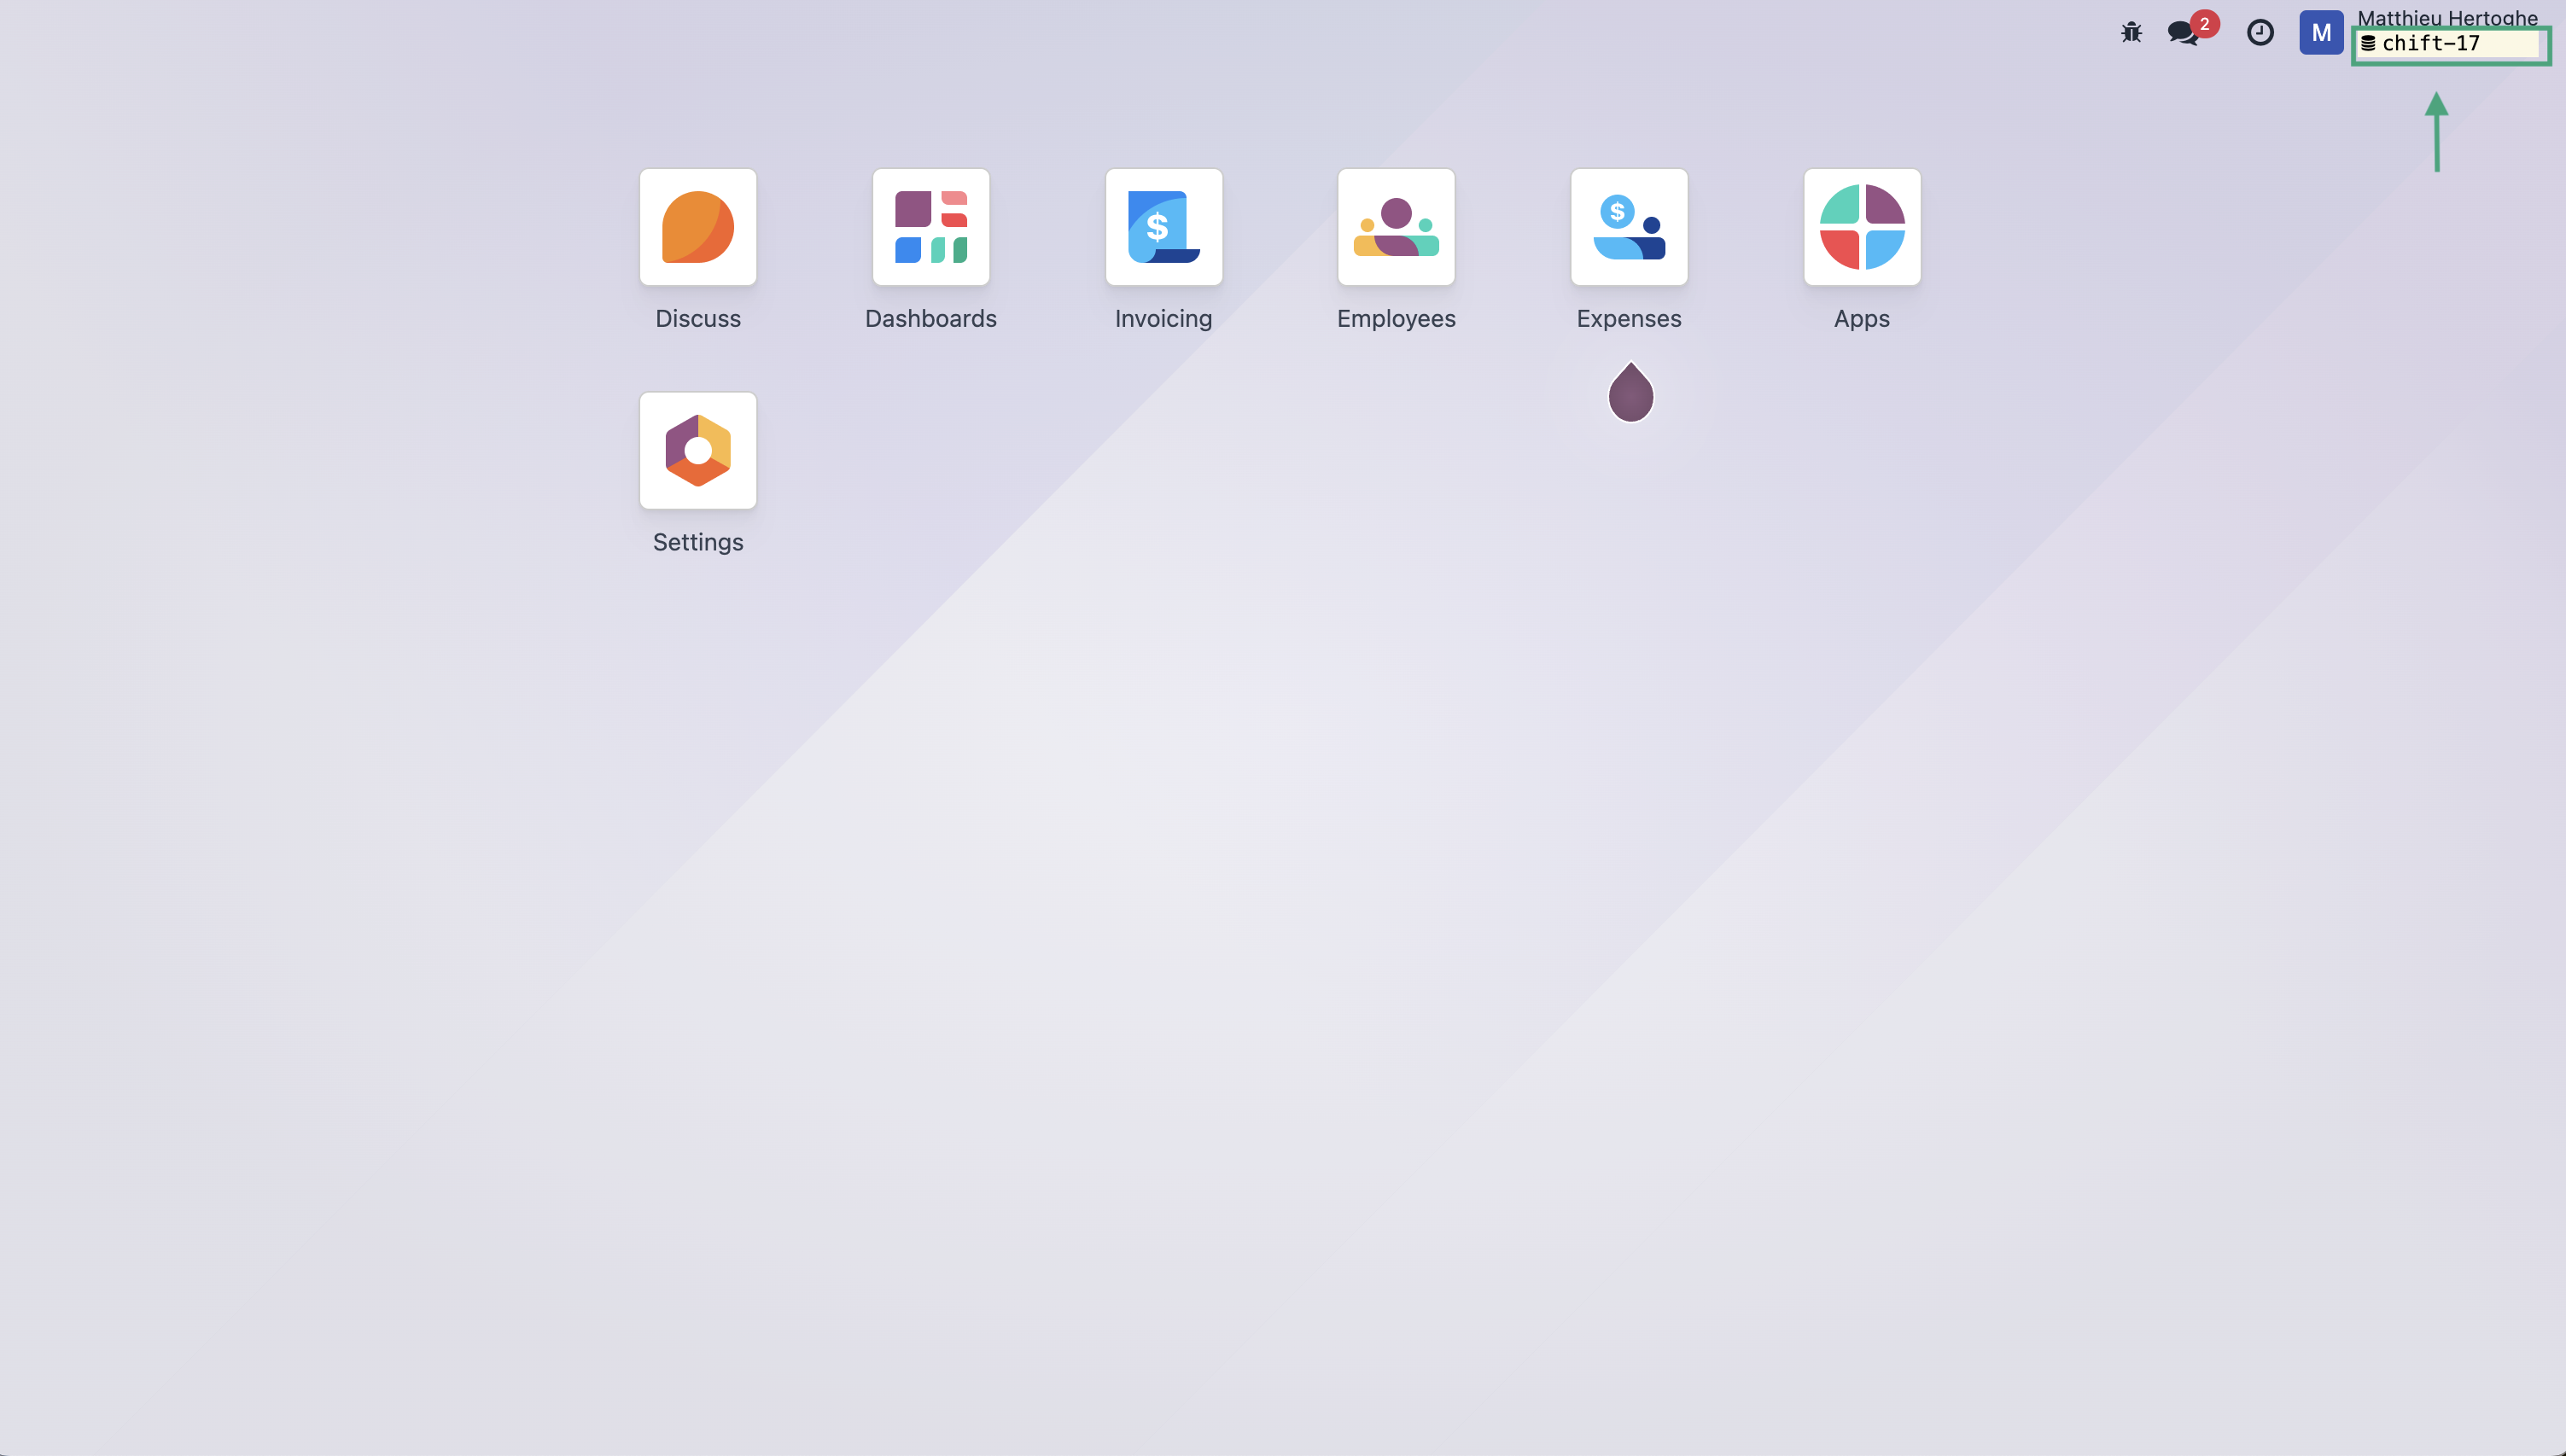
3. Find your account's database name by activating the developer mode and looking up the data on your home page.
CONNEXION
Step 1: Choose a name for your connexion.

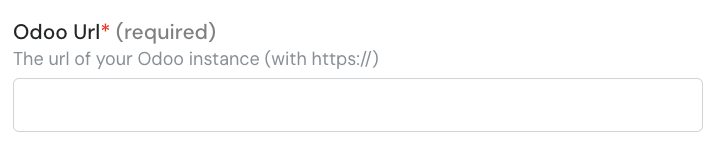
Step 2: Enter the url of your Odoo instance.
Step 3: Enter the version of your odoo account.
Step 4: Enter the database name

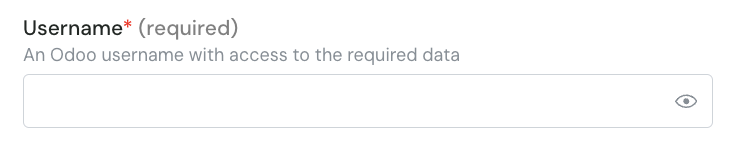
Step 5: Enter your Odoo account username.
Step 6: Enter your Odoo account password.
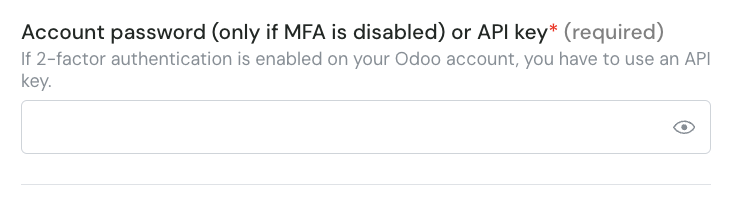
⚠ Please note that is you activated the MFA on your Odoo account, you will need to setup an API Key and use it instead of your password.
Step 6-1: If you need to generate an API Key, log into Odoo and click on the right top corner button and on "preferences".
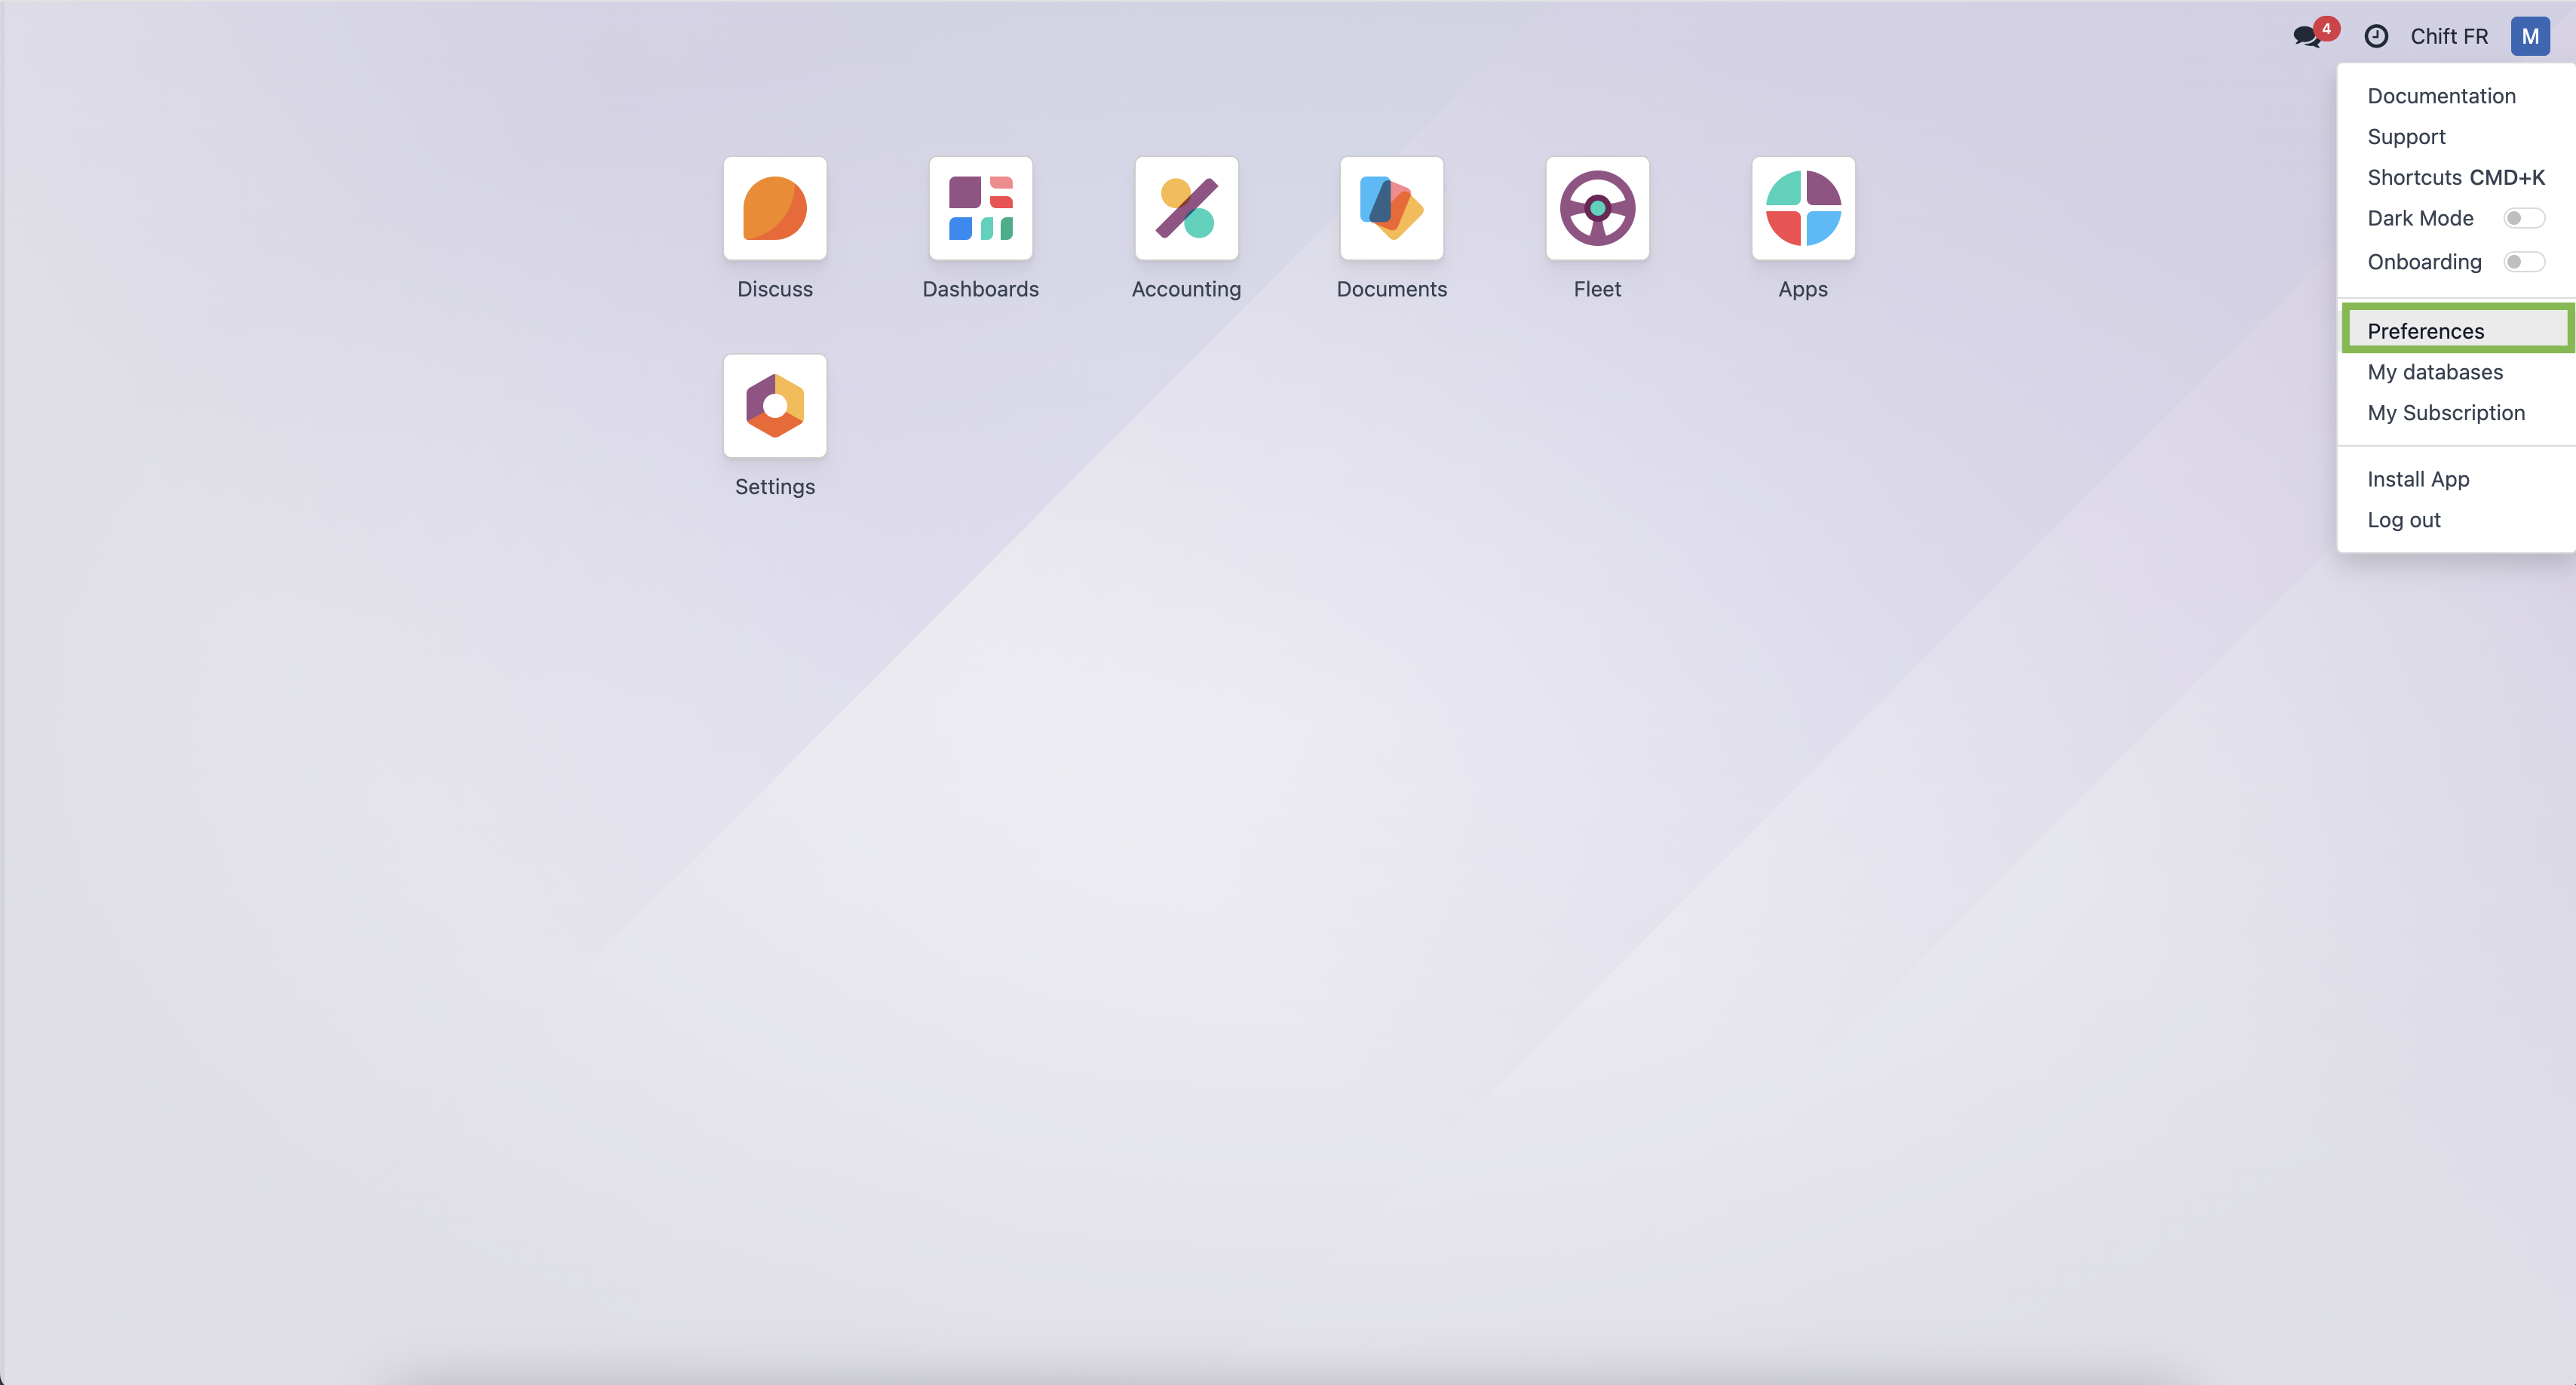
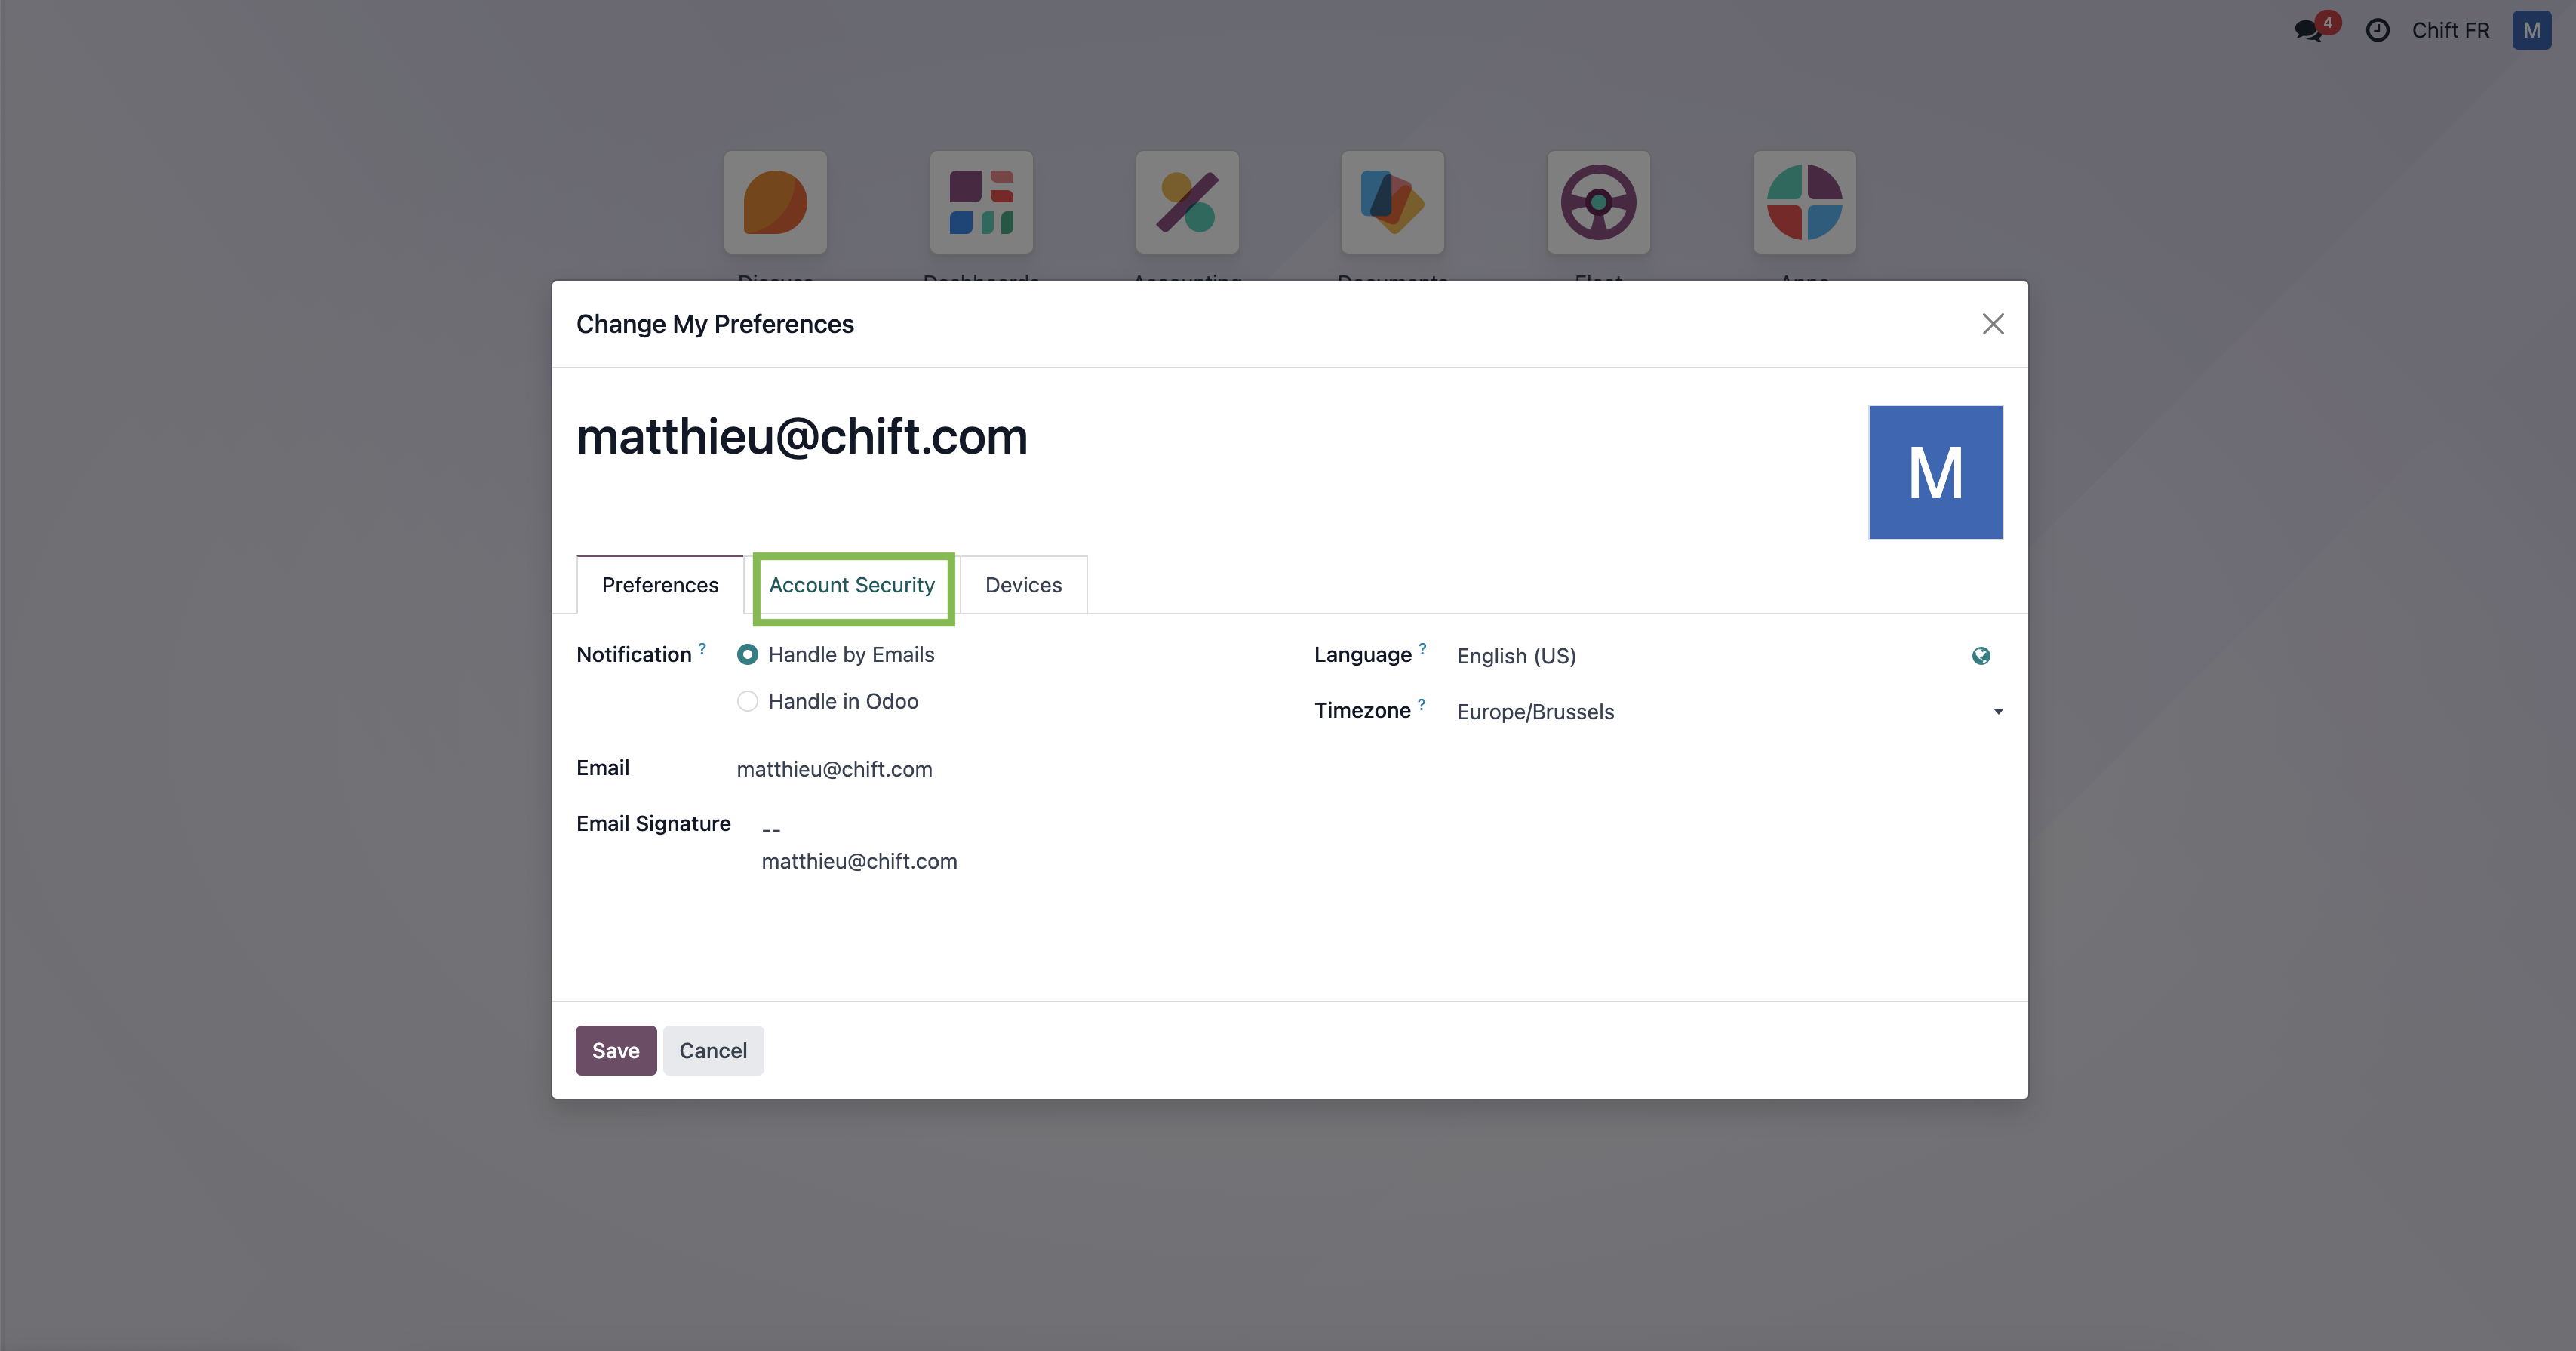
Step 6-2: Select "Account security"
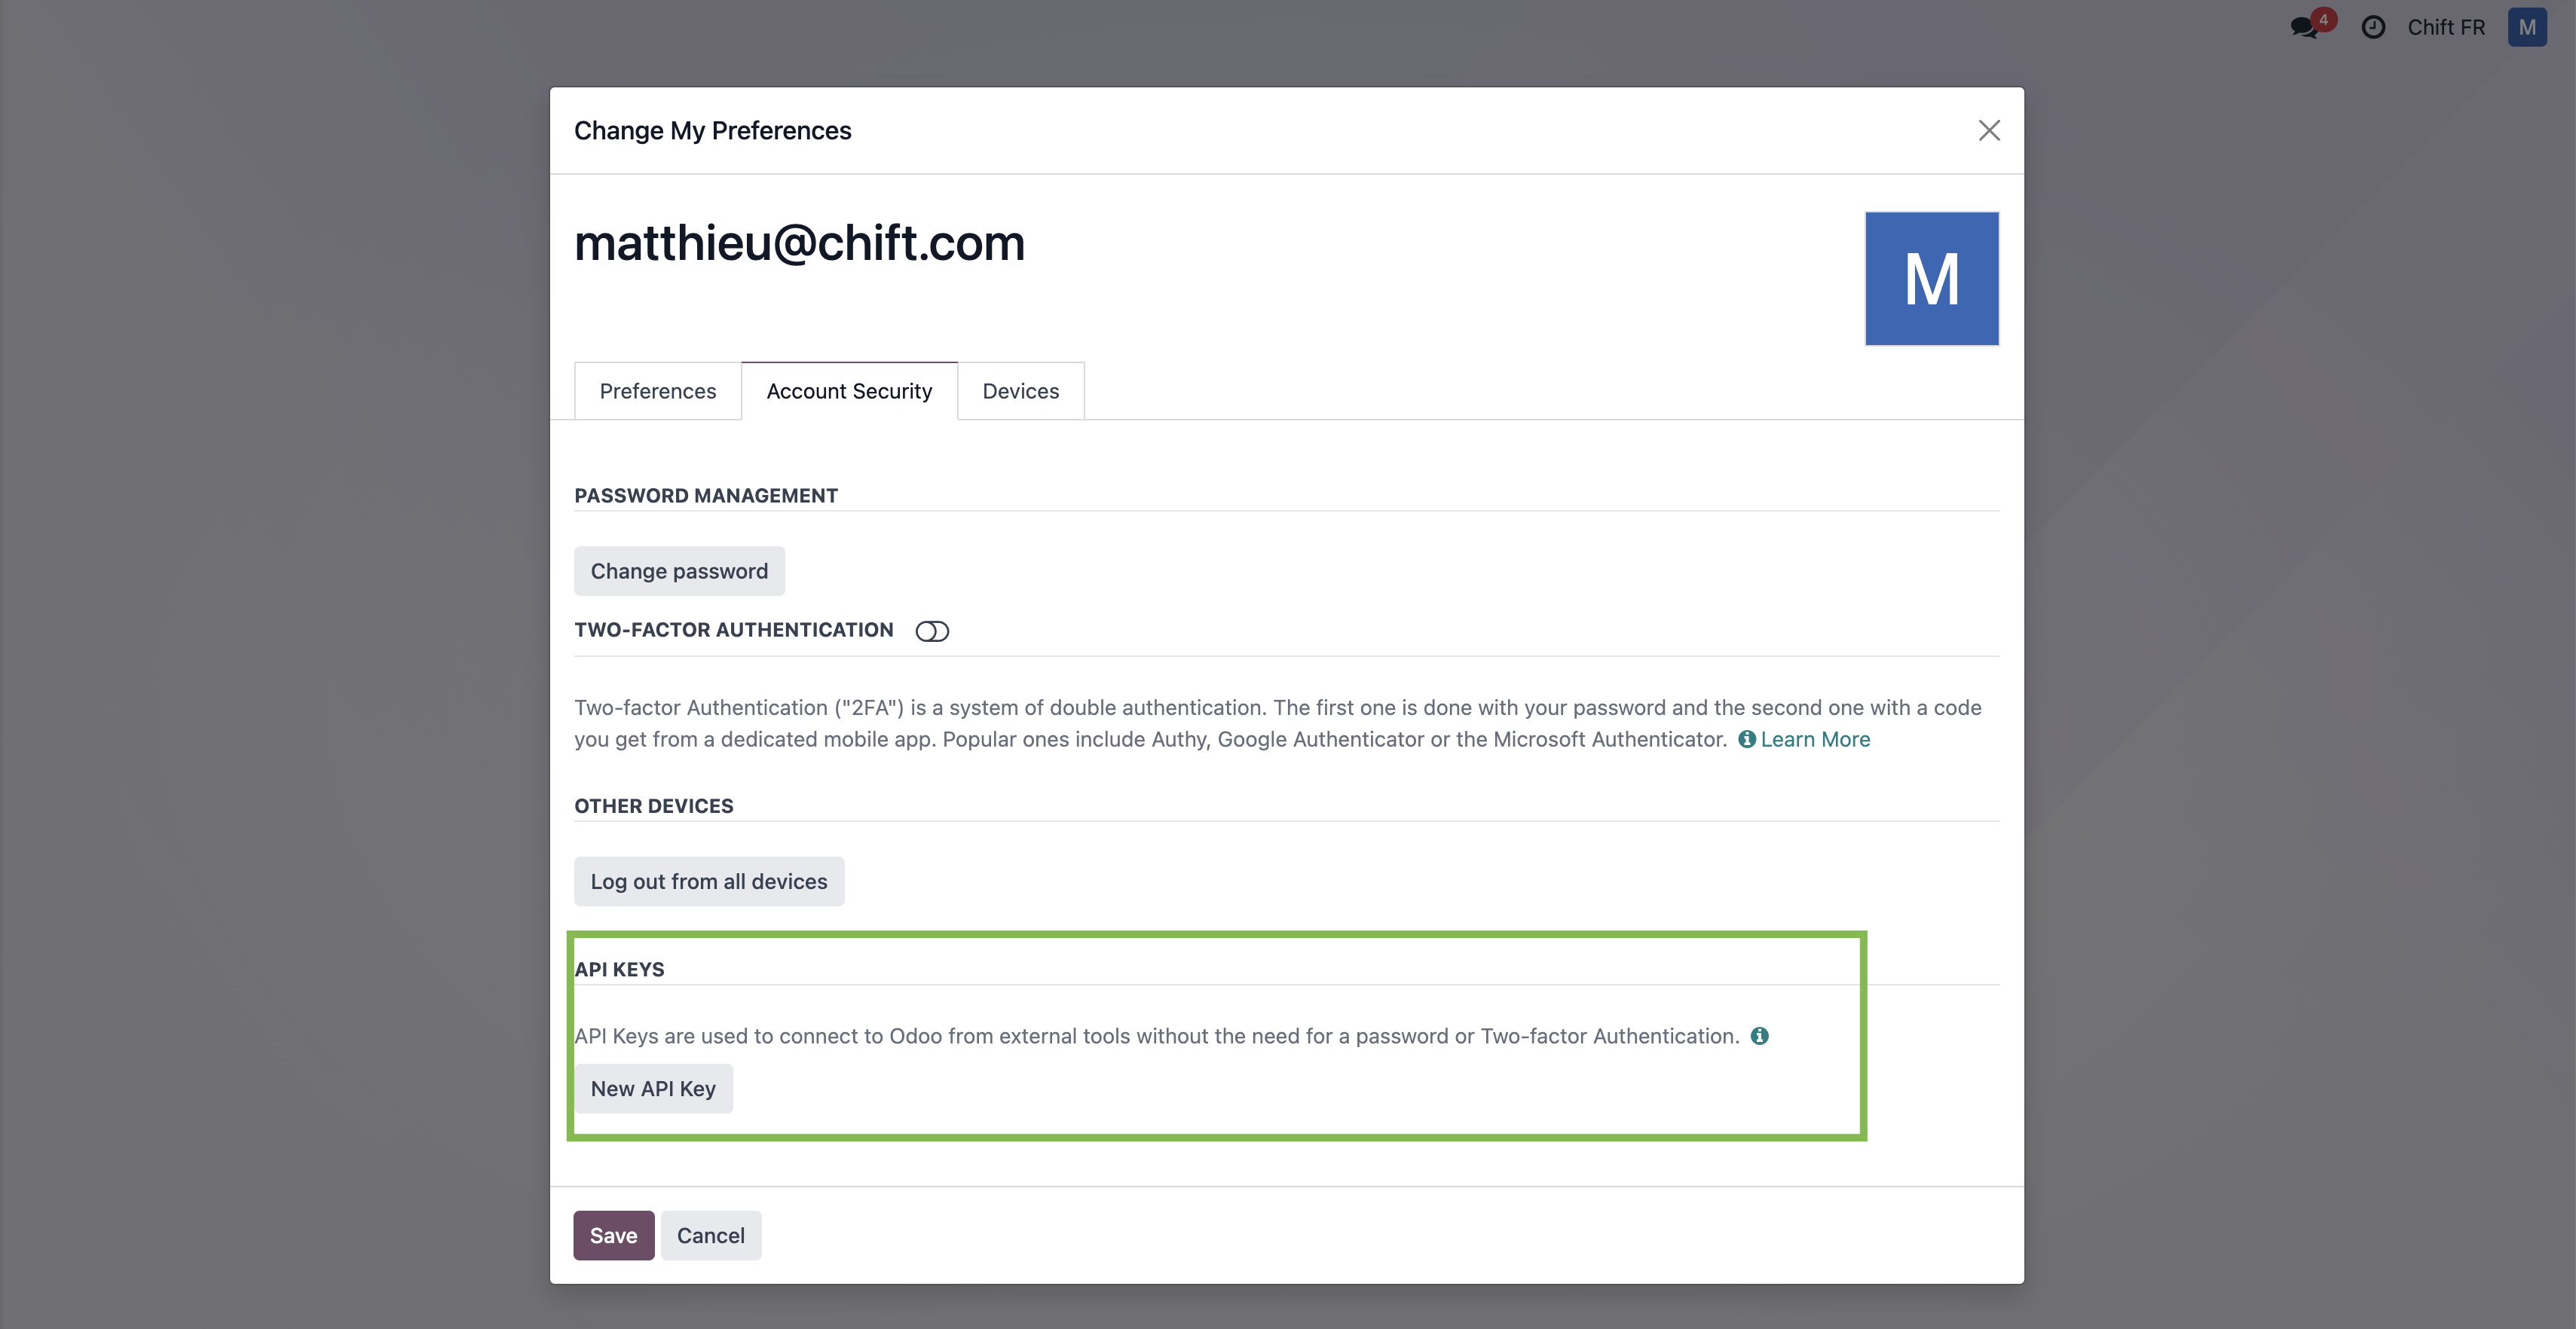
Step 6-3: Select "New API key"
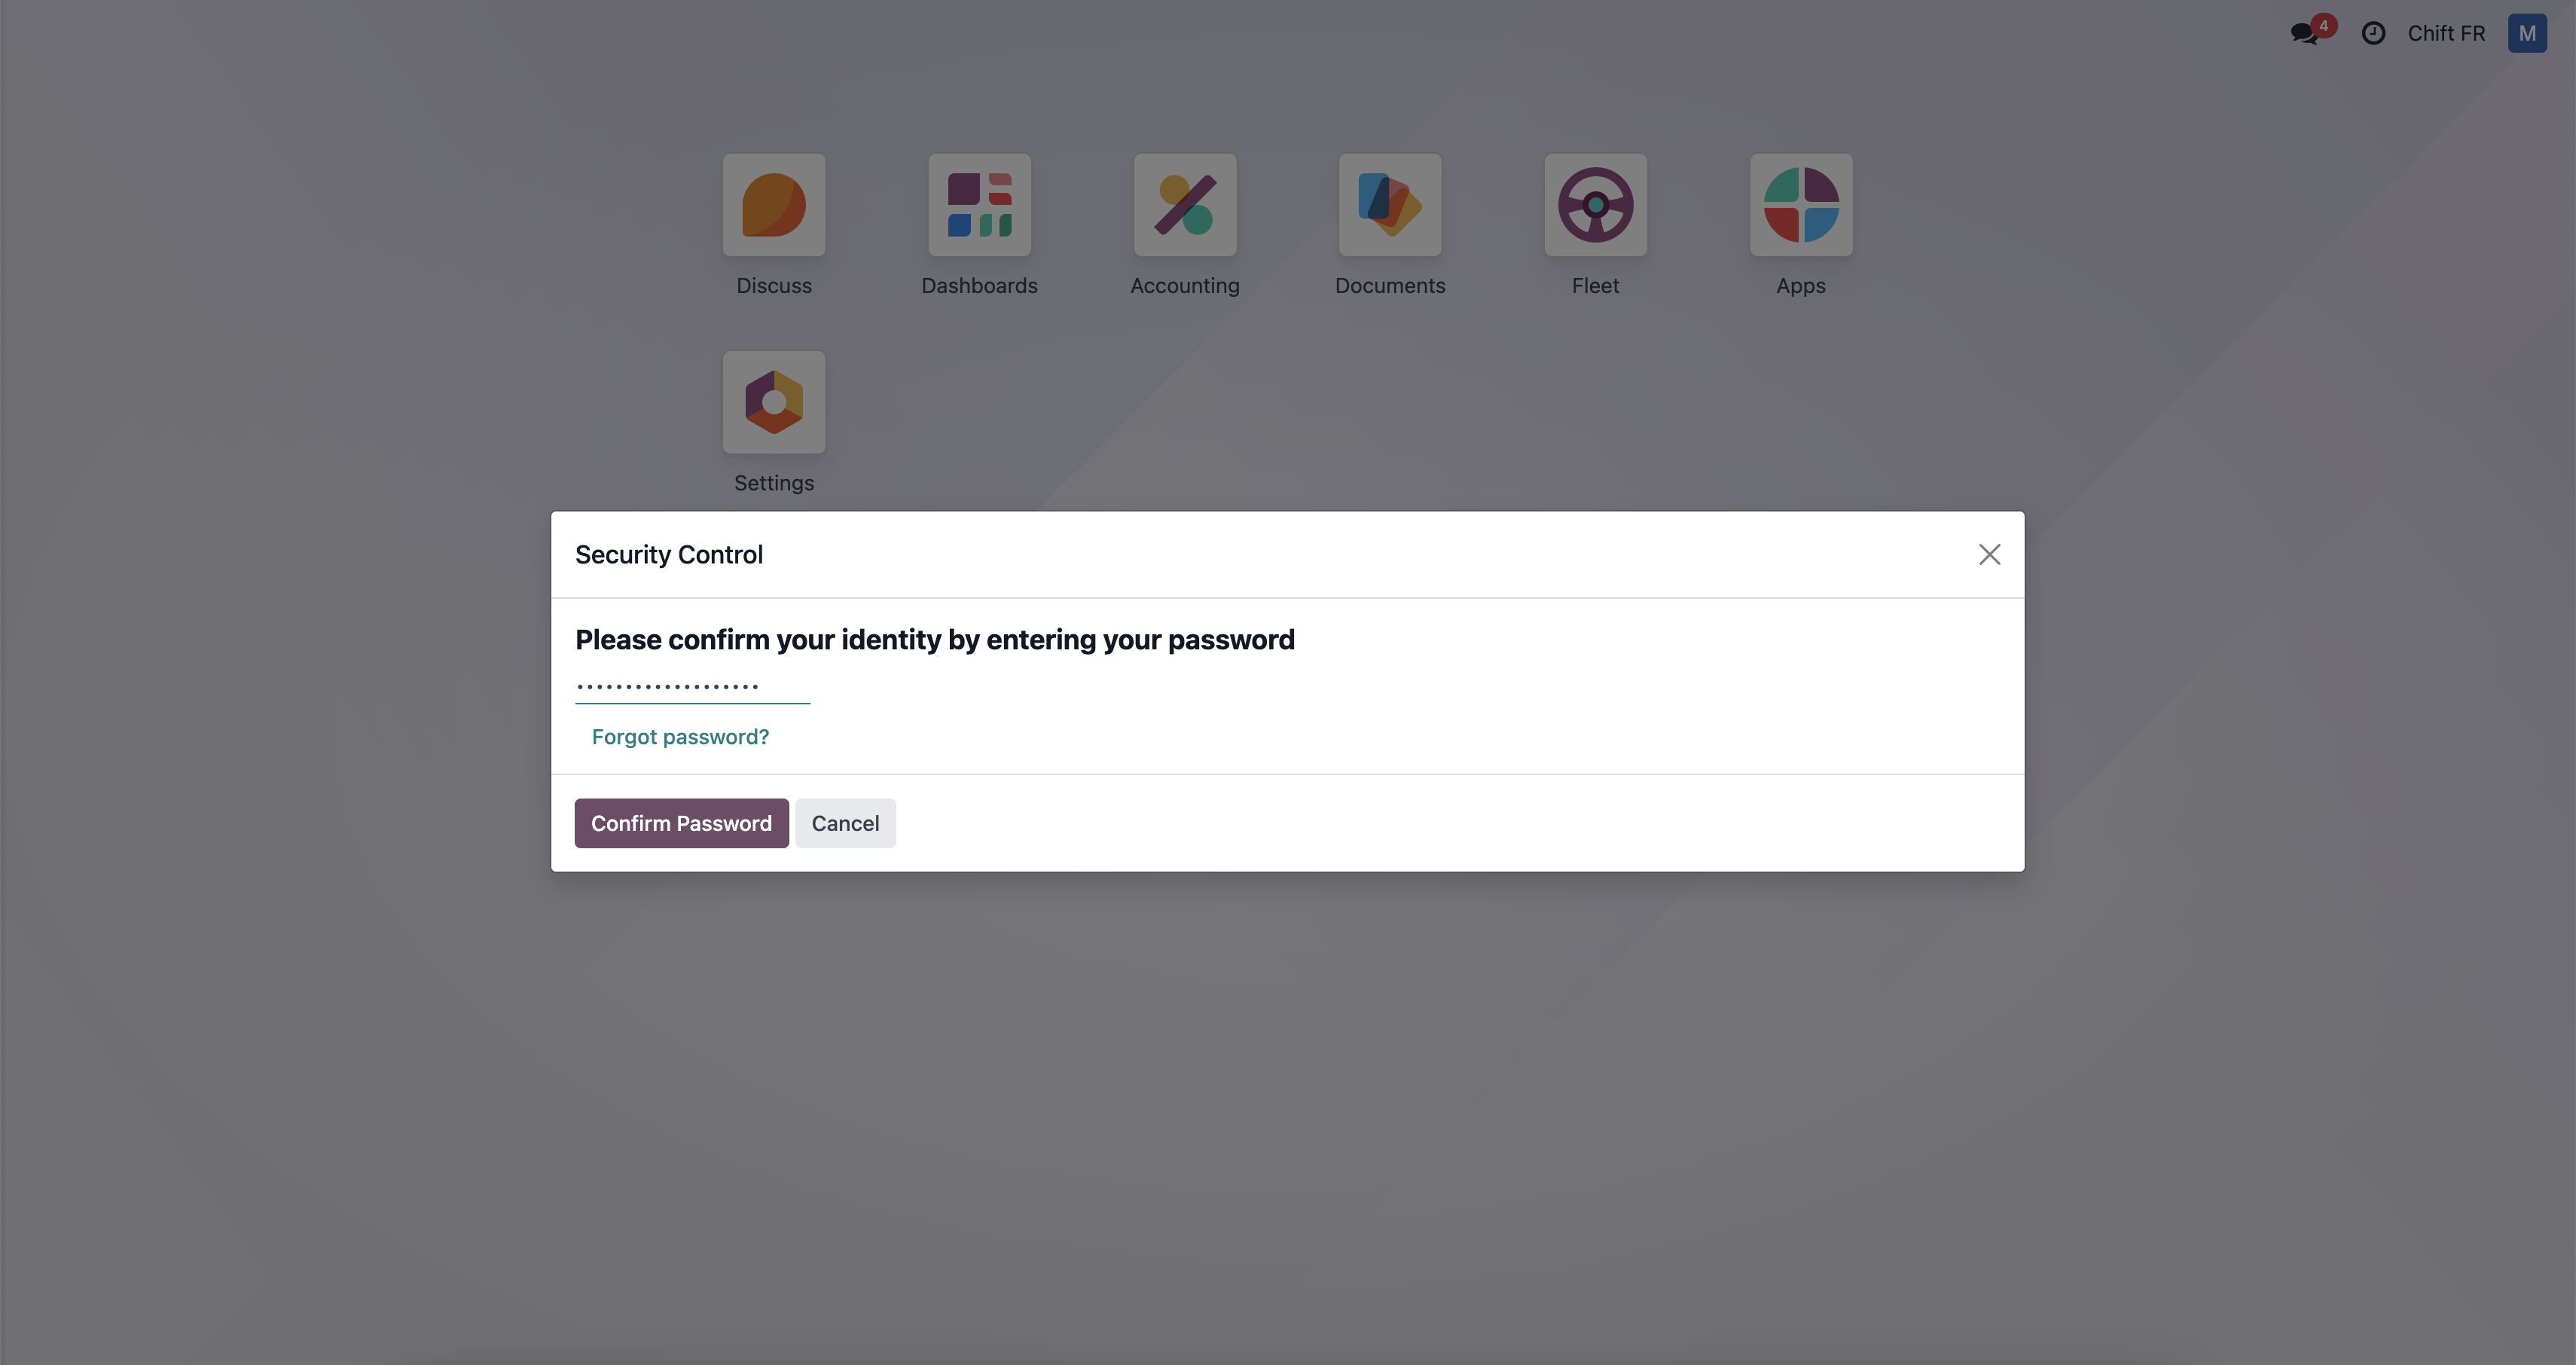
Step 6-4: Fill your password
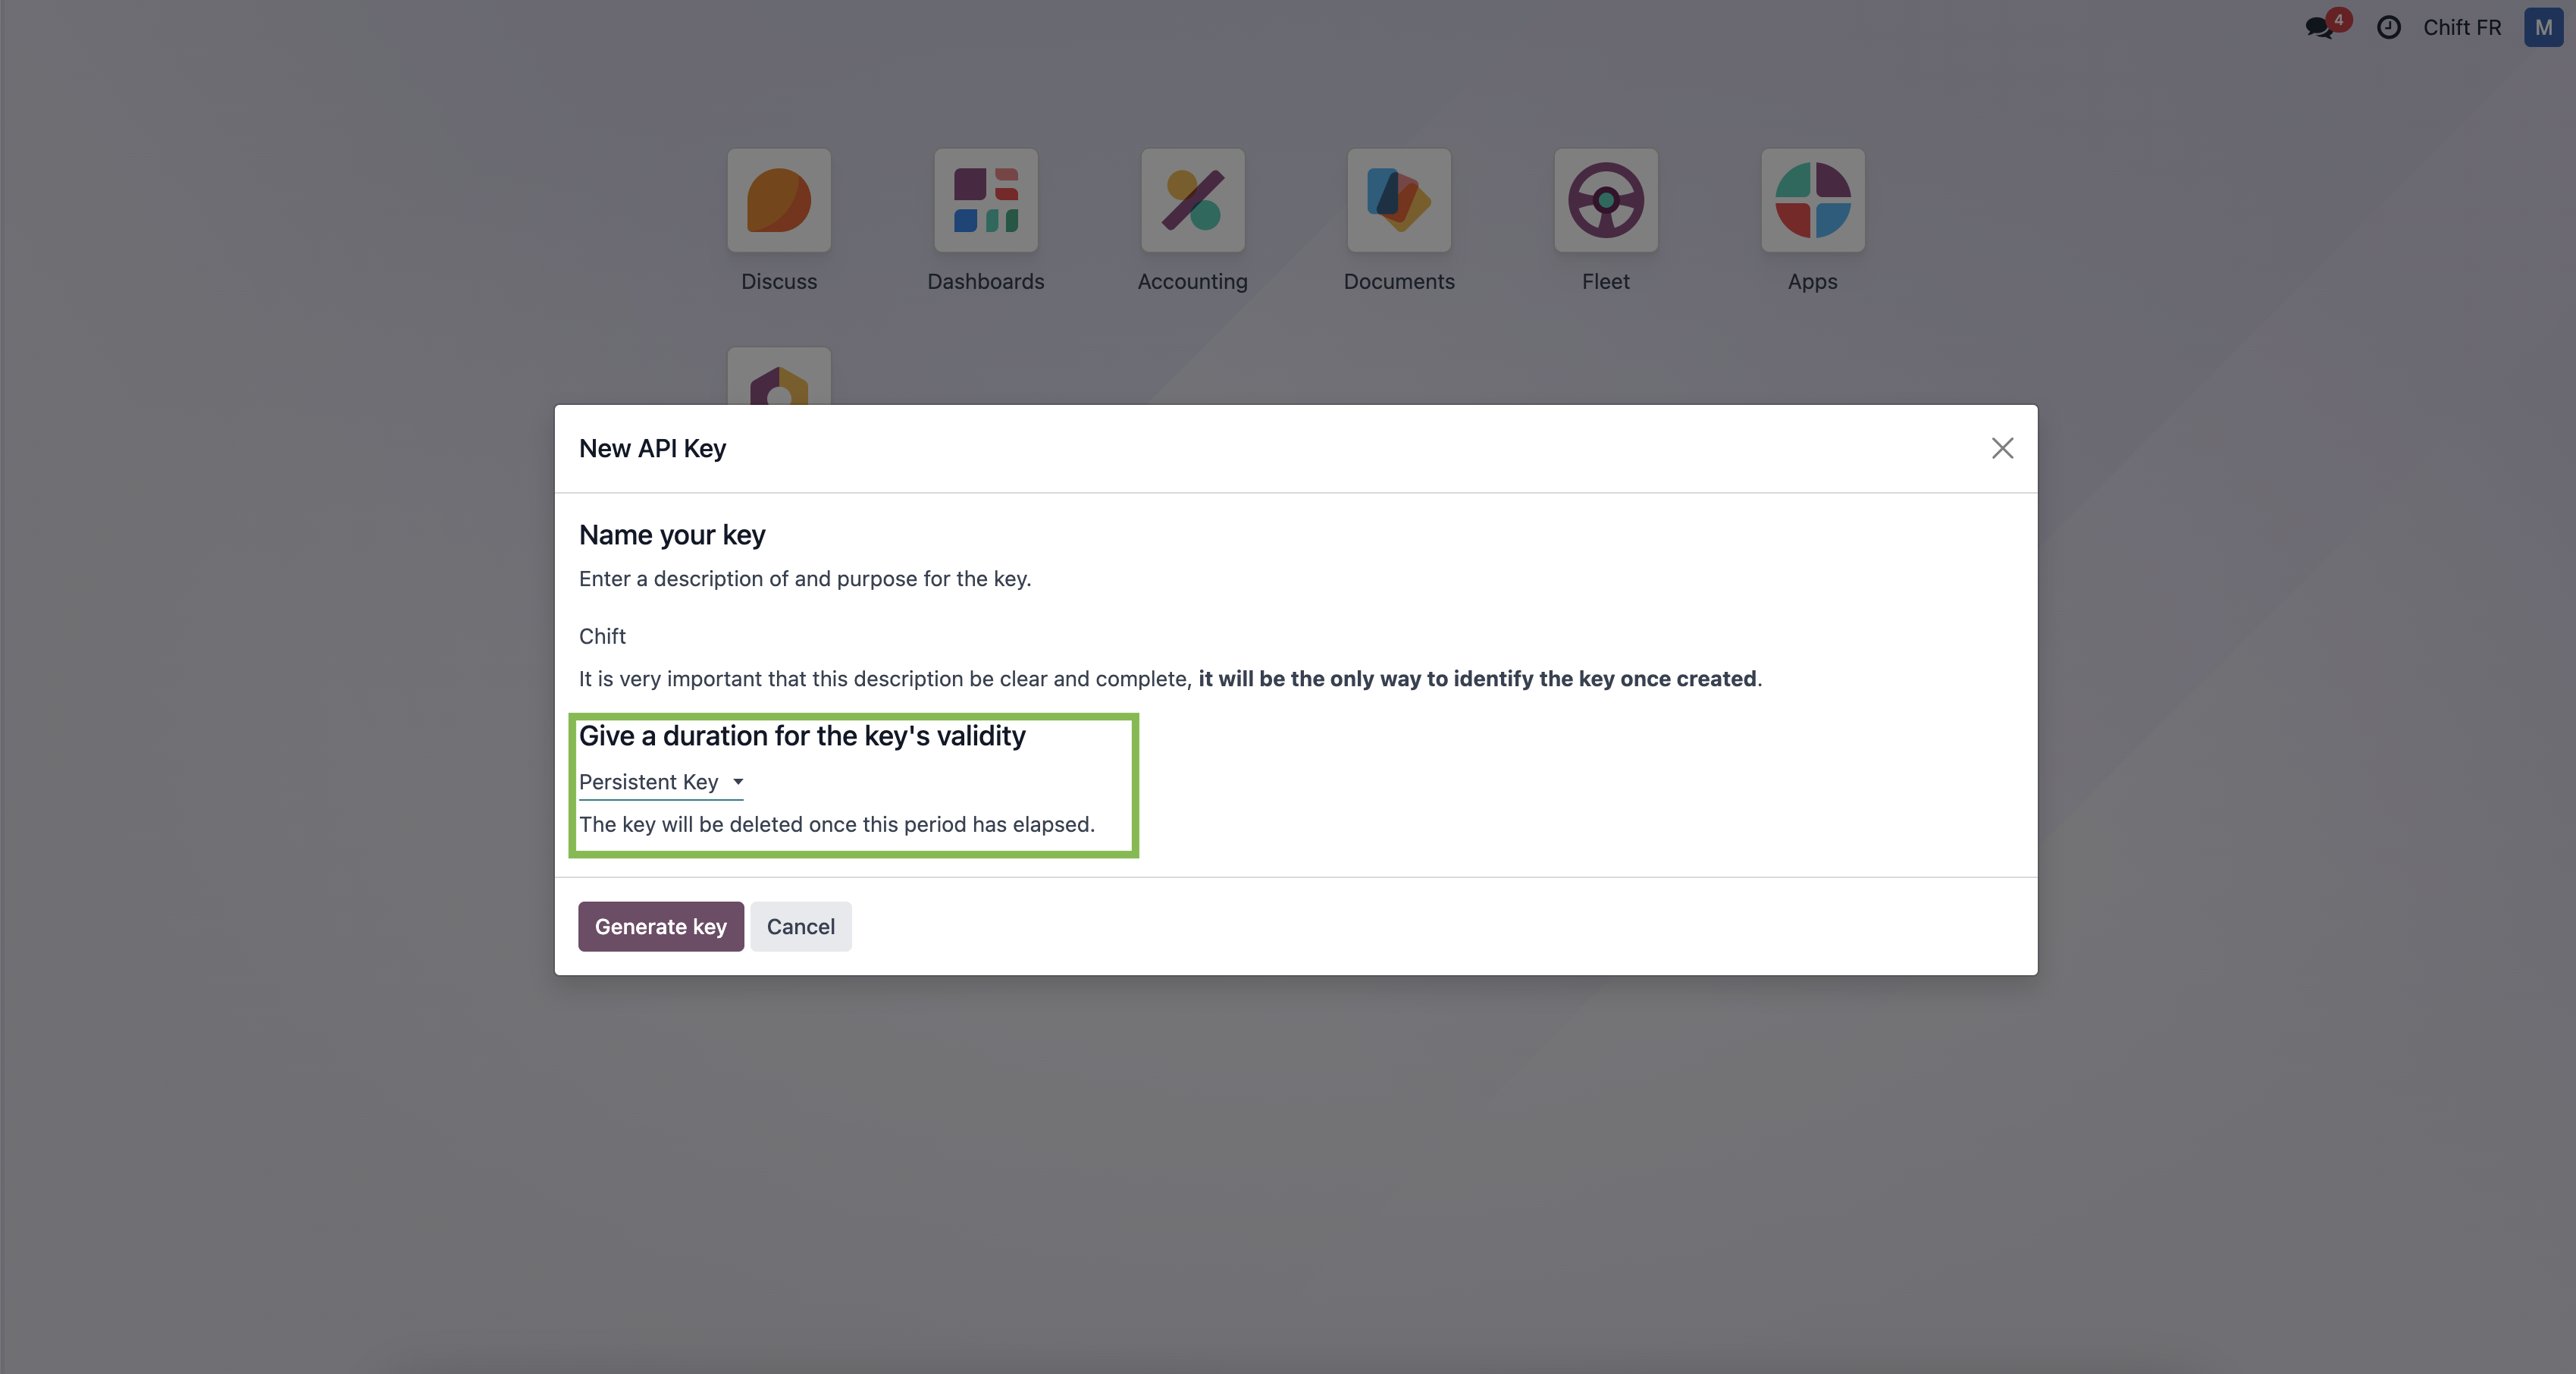
Step 6-5: Give a name to your api key and give "persistant key" as duration.
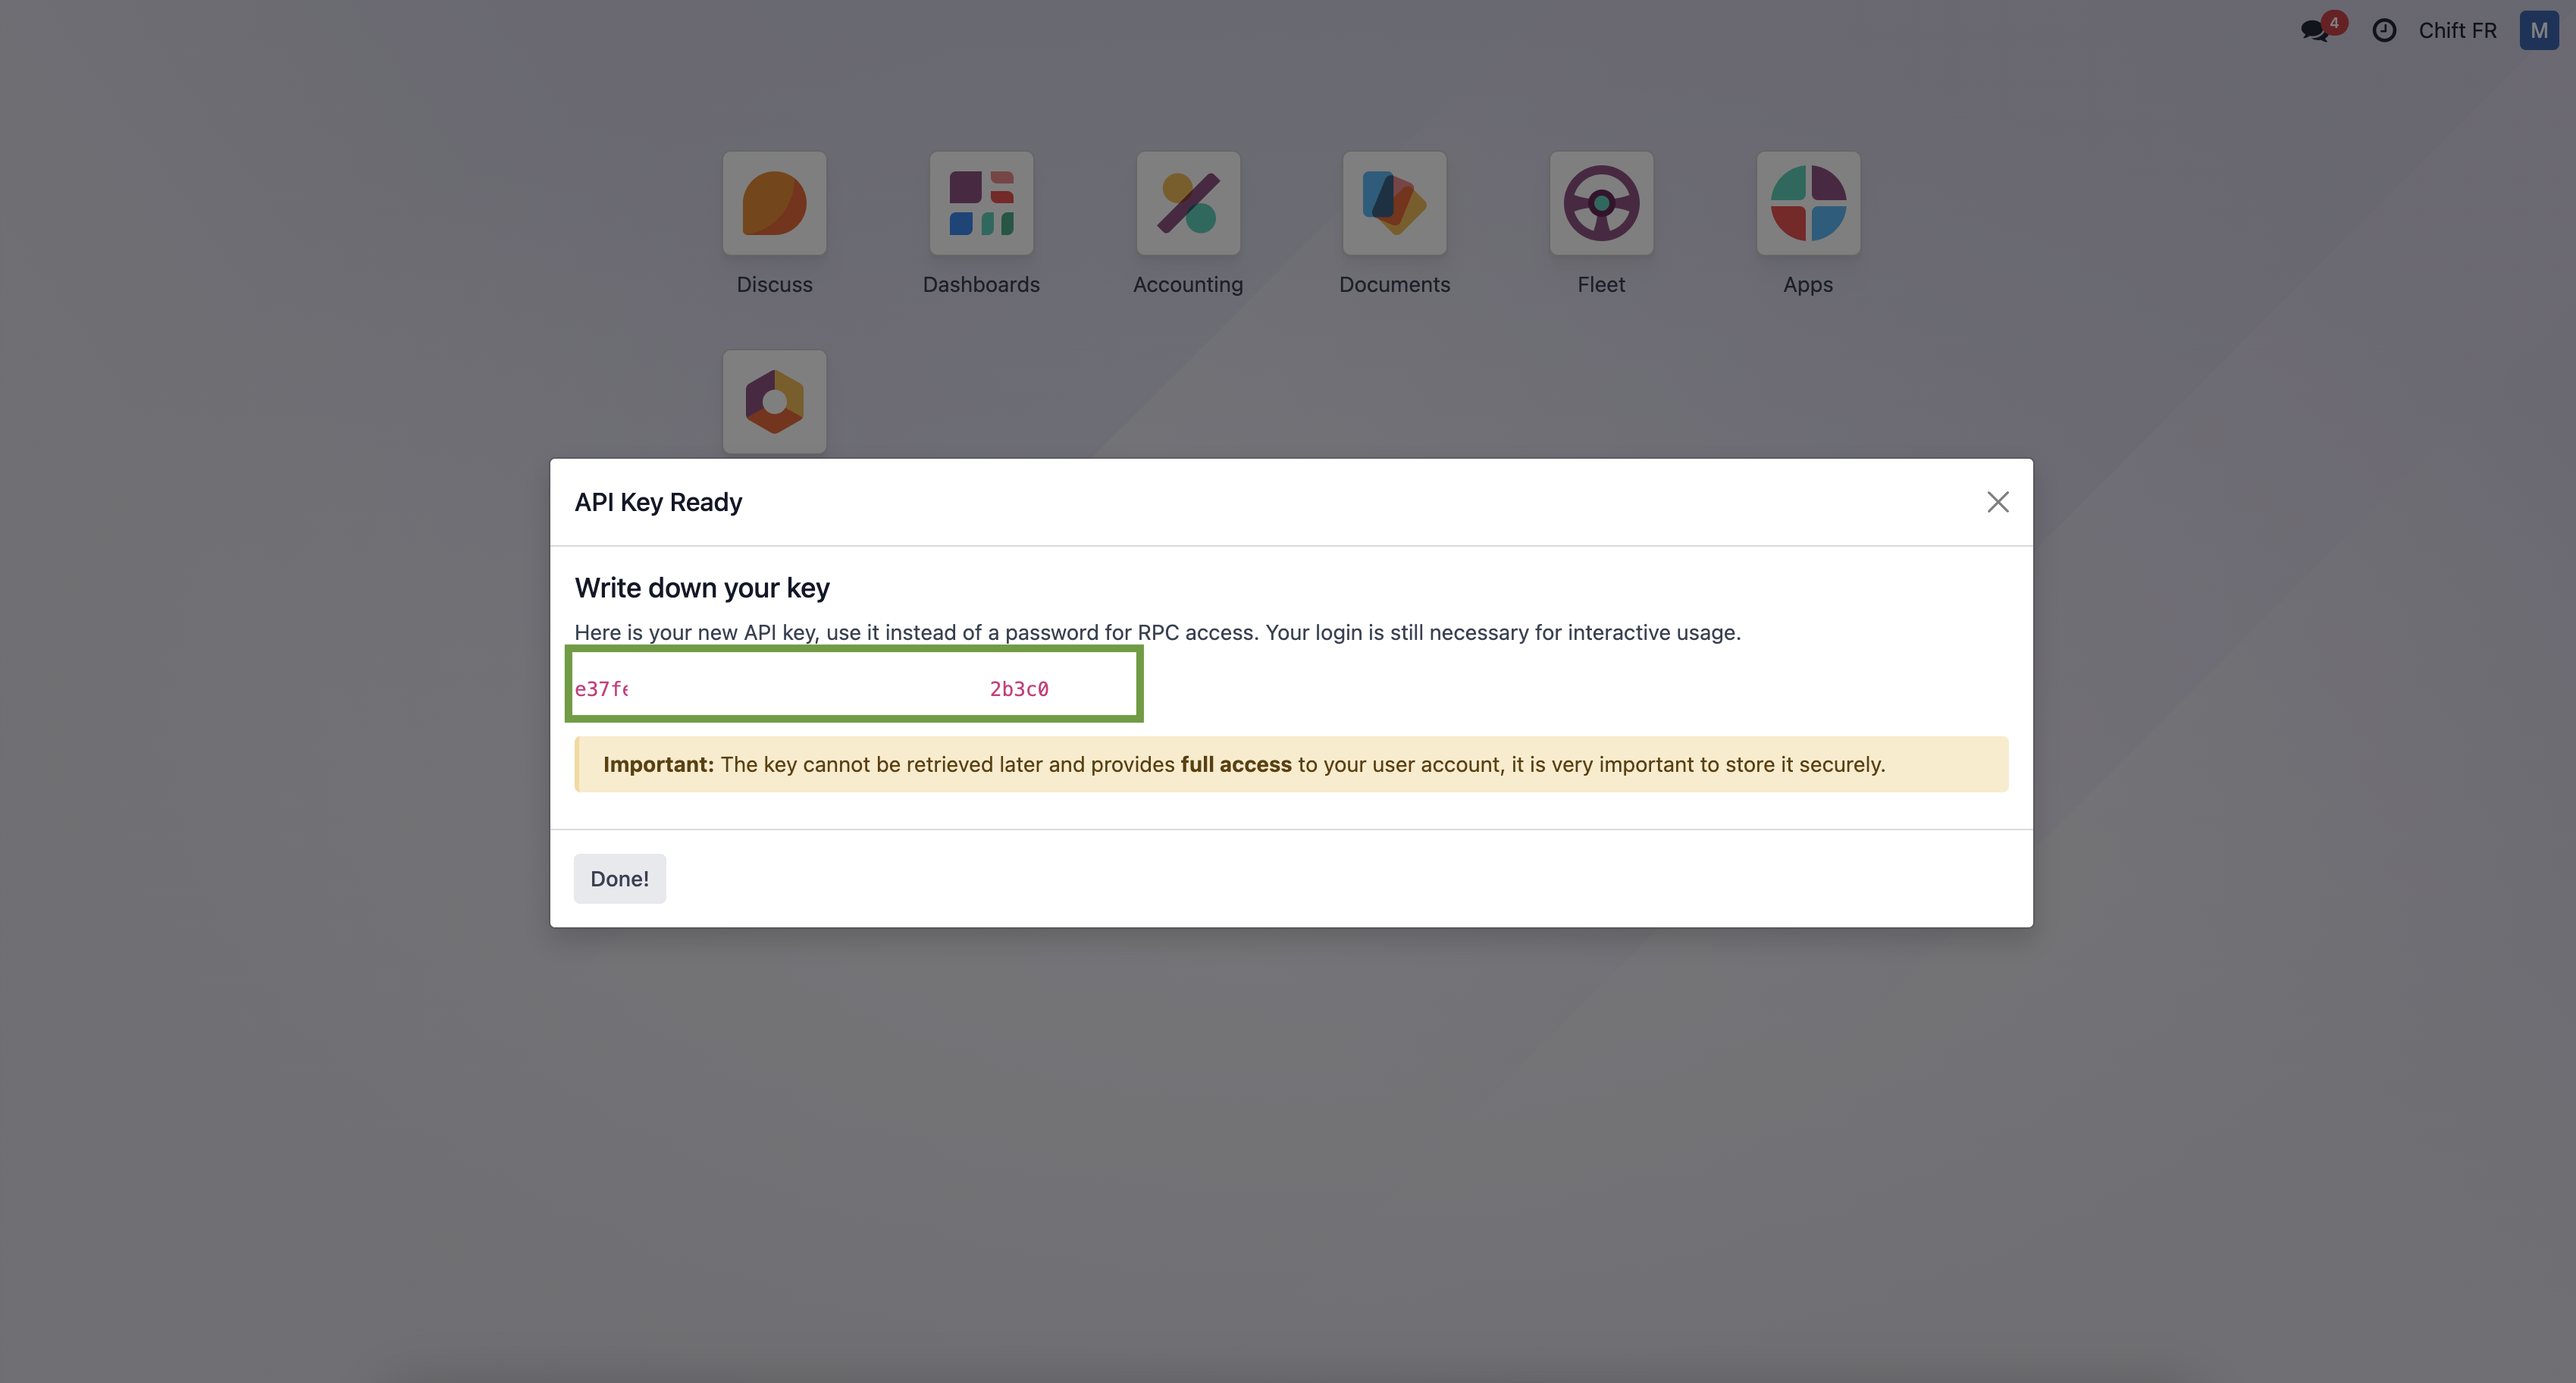
Step 6-6: Here is your API key that you can use in Chift funnel to connect Odoo.
Step 7: Click "Connect" to finalise the connexion.

CONFIGURATION
Step 1: Select the company to connect to on Odoo.

Step 2: Click "Submit" to finalise the configuration