Sage 100: Connect Multiple Accounting Folders at Once
Last updated: July 28, 2026
By default, the Sage 100 installer sets up one accounting folder (dossier) per run. If you need to connect several accounting folders at once, you can do it in a single installation, but it requires a bit of manual preparation first.
Before you start, make sure you have:
Completed the connection form once per accounting folder you want to connect, so you have one setup zip per folder
Admin rights on the machine where you'll run the installer
1. Download Your Setup Files
Each accounting folder you connect requires its own setup package. When you complete the connection form for a folder, you receive a zip file containing the Sage 100 installer plus a settings.json file unique to that connection.
If you're connecting 10 accounting folders, you'll end up with 10 zip files, each containing its own settings.json.
Create a temporary directory on your machine (e.g. C:\Sage100-Setup\) to collect everything in the next steps.
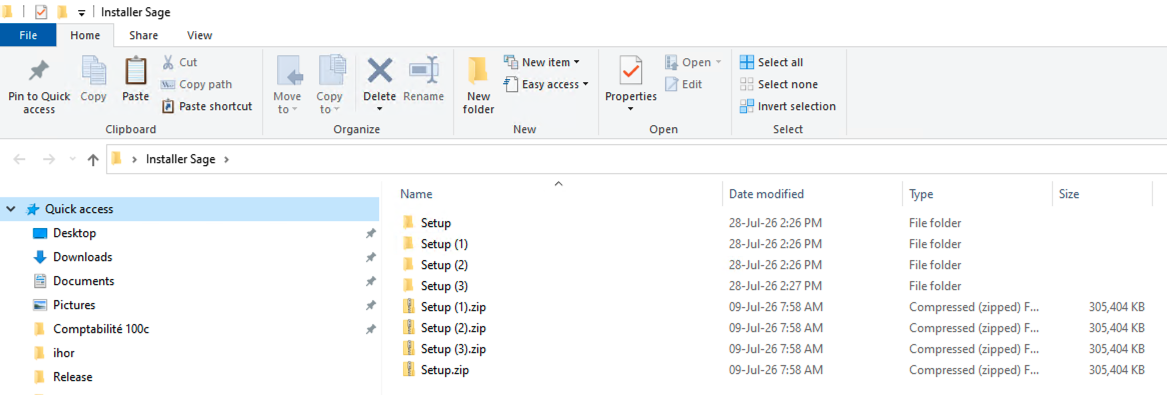
2. Duplicate a settings.json file
Pick any one of your downloaded zip files, extract its settings.json, and copy it into the temporary directory you just created. This copy becomes your single consolidated settings file — you'll add the rest of your connections into it.
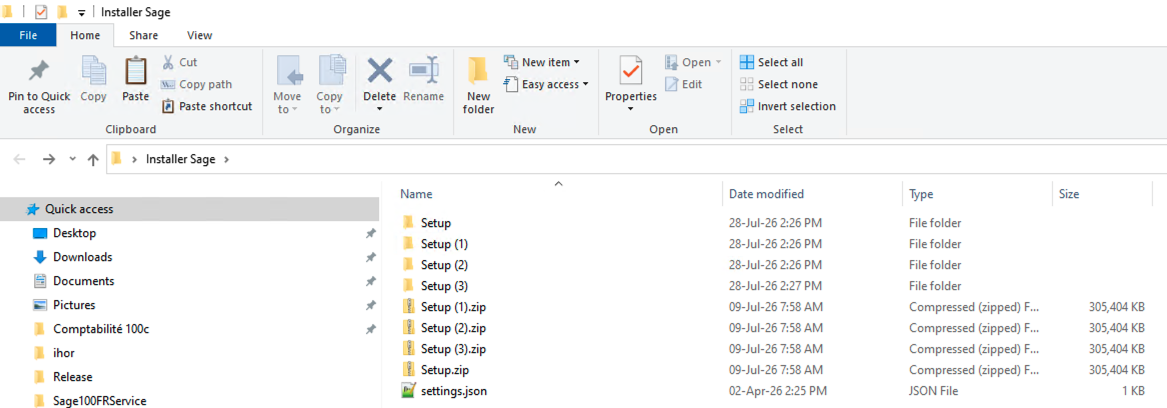
3. Merge the Connections
Open your consolidated settings.json. It currently looks like this, with one connection block inside the connections array:
{
  "url": "https://api.chift.eu",
  "toReplace": null,
  "replaceWith": null,
  "connections": [
    {
      "clientId": "",
      "clientSecret": "",
      "accountId": "12345678-1234-1234-1234-123456789012",
      "consumerId": "12345678-1234-1234-1234-123456789012",
      "connectionId": "12345678-1234-1234-1234-123456789012",
      "connectionName": "The name I gave to my connection",
      "consumerName": "Name of my accounting folder"
    }
  ]
}
clientId and clientSecret are real secret values in your own files — they appear empty here only because they were redacted for this example. Copy them exactly as they appear in each source settings.json; don't leave them blank.
For each additional accounting folder, open its settings.json and copy the entire connection block — the { ... } object containing clientId, clientSecret, accountId, consumerId, connectionId, connectionName and consumerName — into the connections array of your consolidated file.
Your final file should look like this, with one block per accounting folder:
{
  "url": "https://api.chift.eu",
  "toReplace": null,
  "replaceWith": null,
  "connections": [
    {
      "clientId": "",
      "clientSecret": "",
      "accountId": "12345678-1234-1234-1234-123456789012",
      "consumerId": "12345678-1234-1234-1234-123456789012",
      "connectionId": "12345678-1234-1234-1234-123456789012",
      "connectionName": "The name I gave to my connection",
      "consumerName": "Name of my accounting folder"
    },
    {
      "clientId": "",
      "clientSecret": "",
      "accountId": "87654321-4321-4321-4321-210987654321",
      "consumerId": "87654321-4321-4321-4321-210987654321",
      "connectionId": "87654321-4321-4321-4321-210987654321",
      "connectionName": "Name of another connection",
      "consumerName": "another accounting folder"
    }
  ]
}
Watch the commas. Each connection block must be separated by a comma (see the comma after the first } above). A missing or extra comma makes the file invalid, and the installer won't be able to read it. If you're not sure your file is valid, paste it into a free checker like https://jsonlint.com before continuing.
4. Run the Installer
Launch the installer from any one of your downloaded setup folders — it doesn't matter which, since you'll point it to your consolidated file next.
During the first steps, the installer will ask for the path to your settings.json. By default, it fills in the path to the original file next to the installer — you need to change this to point to the consolidated file you edited in the temporary directory.
Once the path is updated, continue through the installer normally.